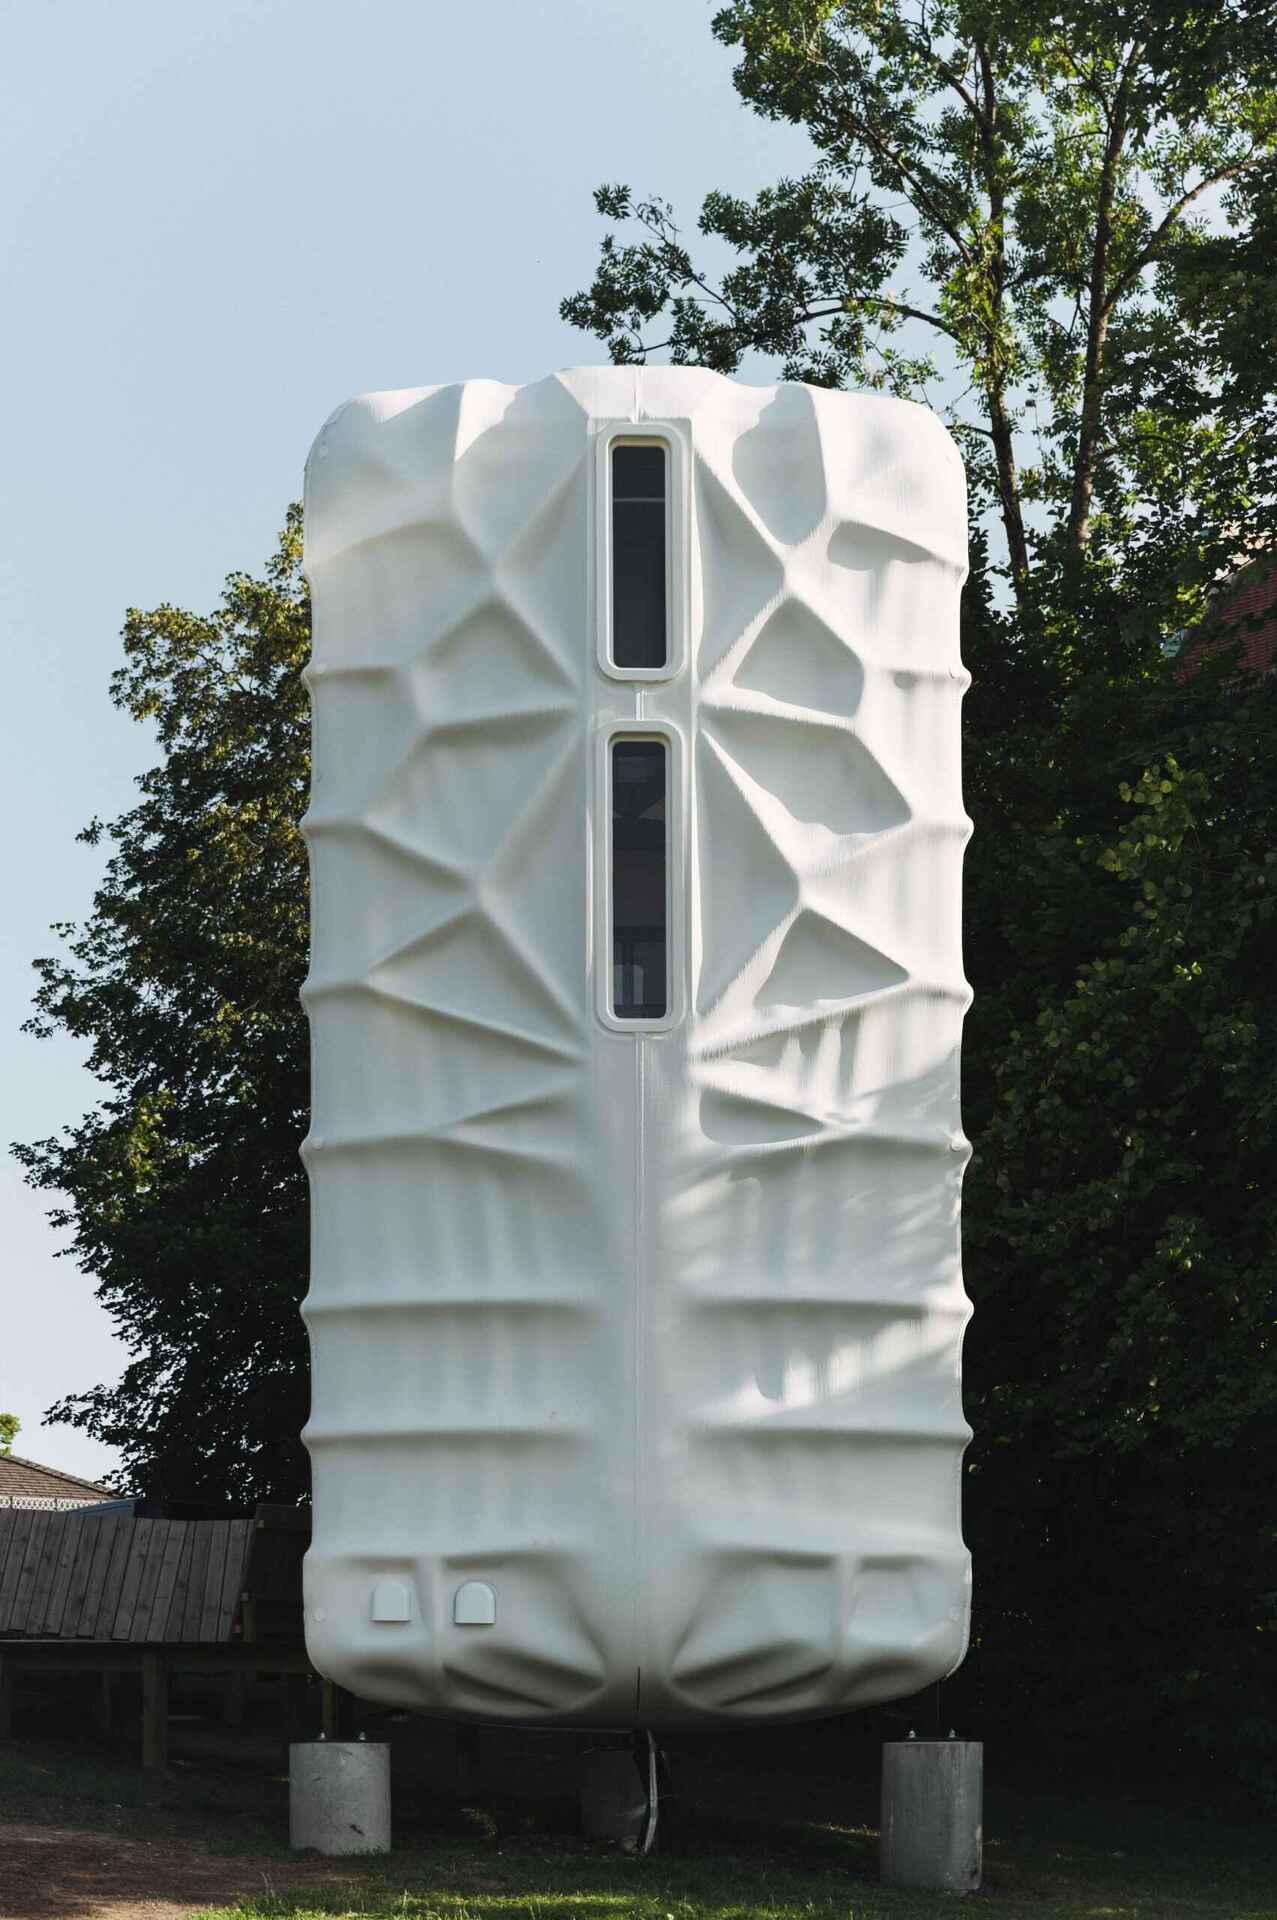
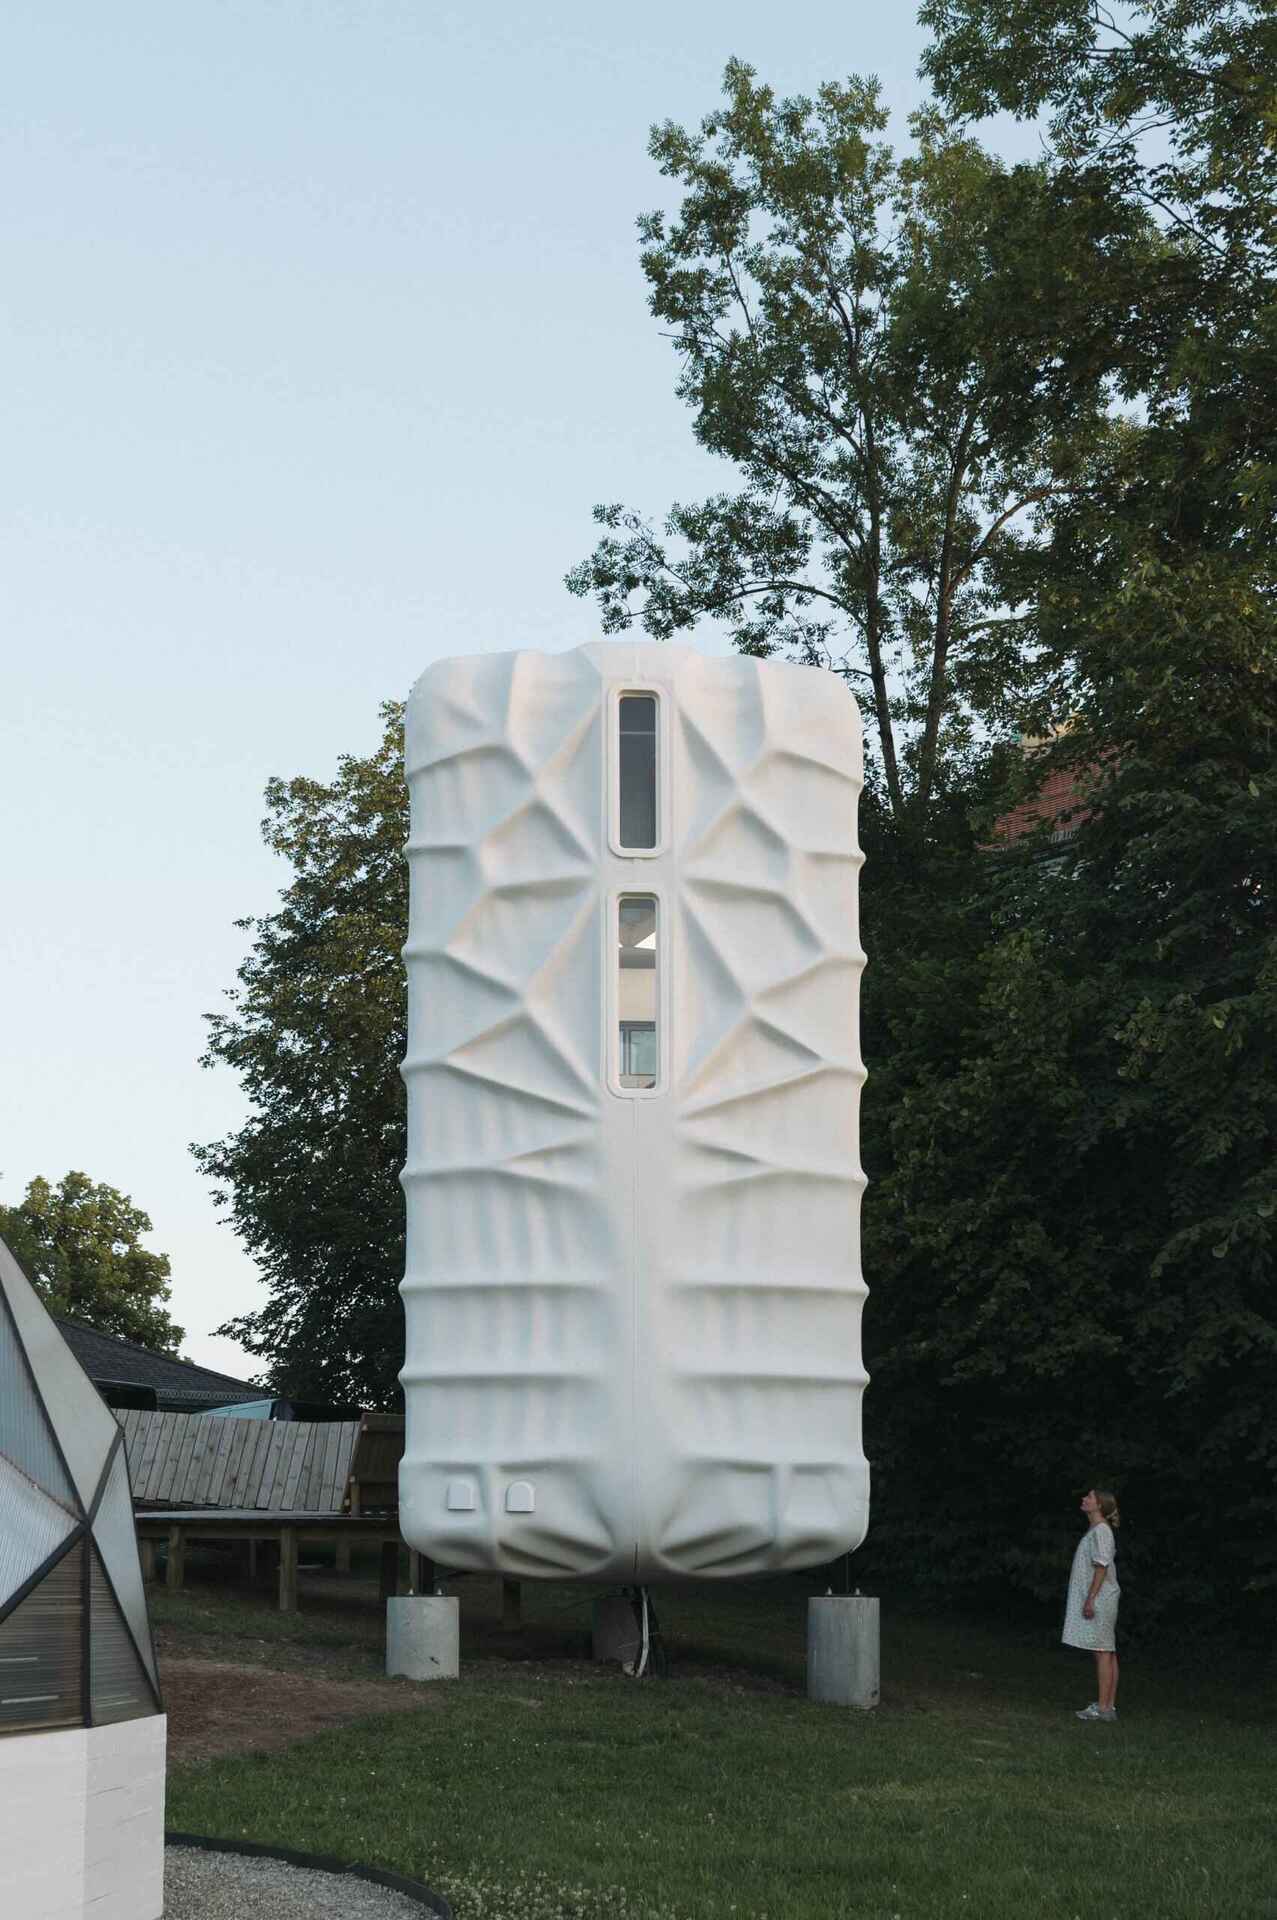
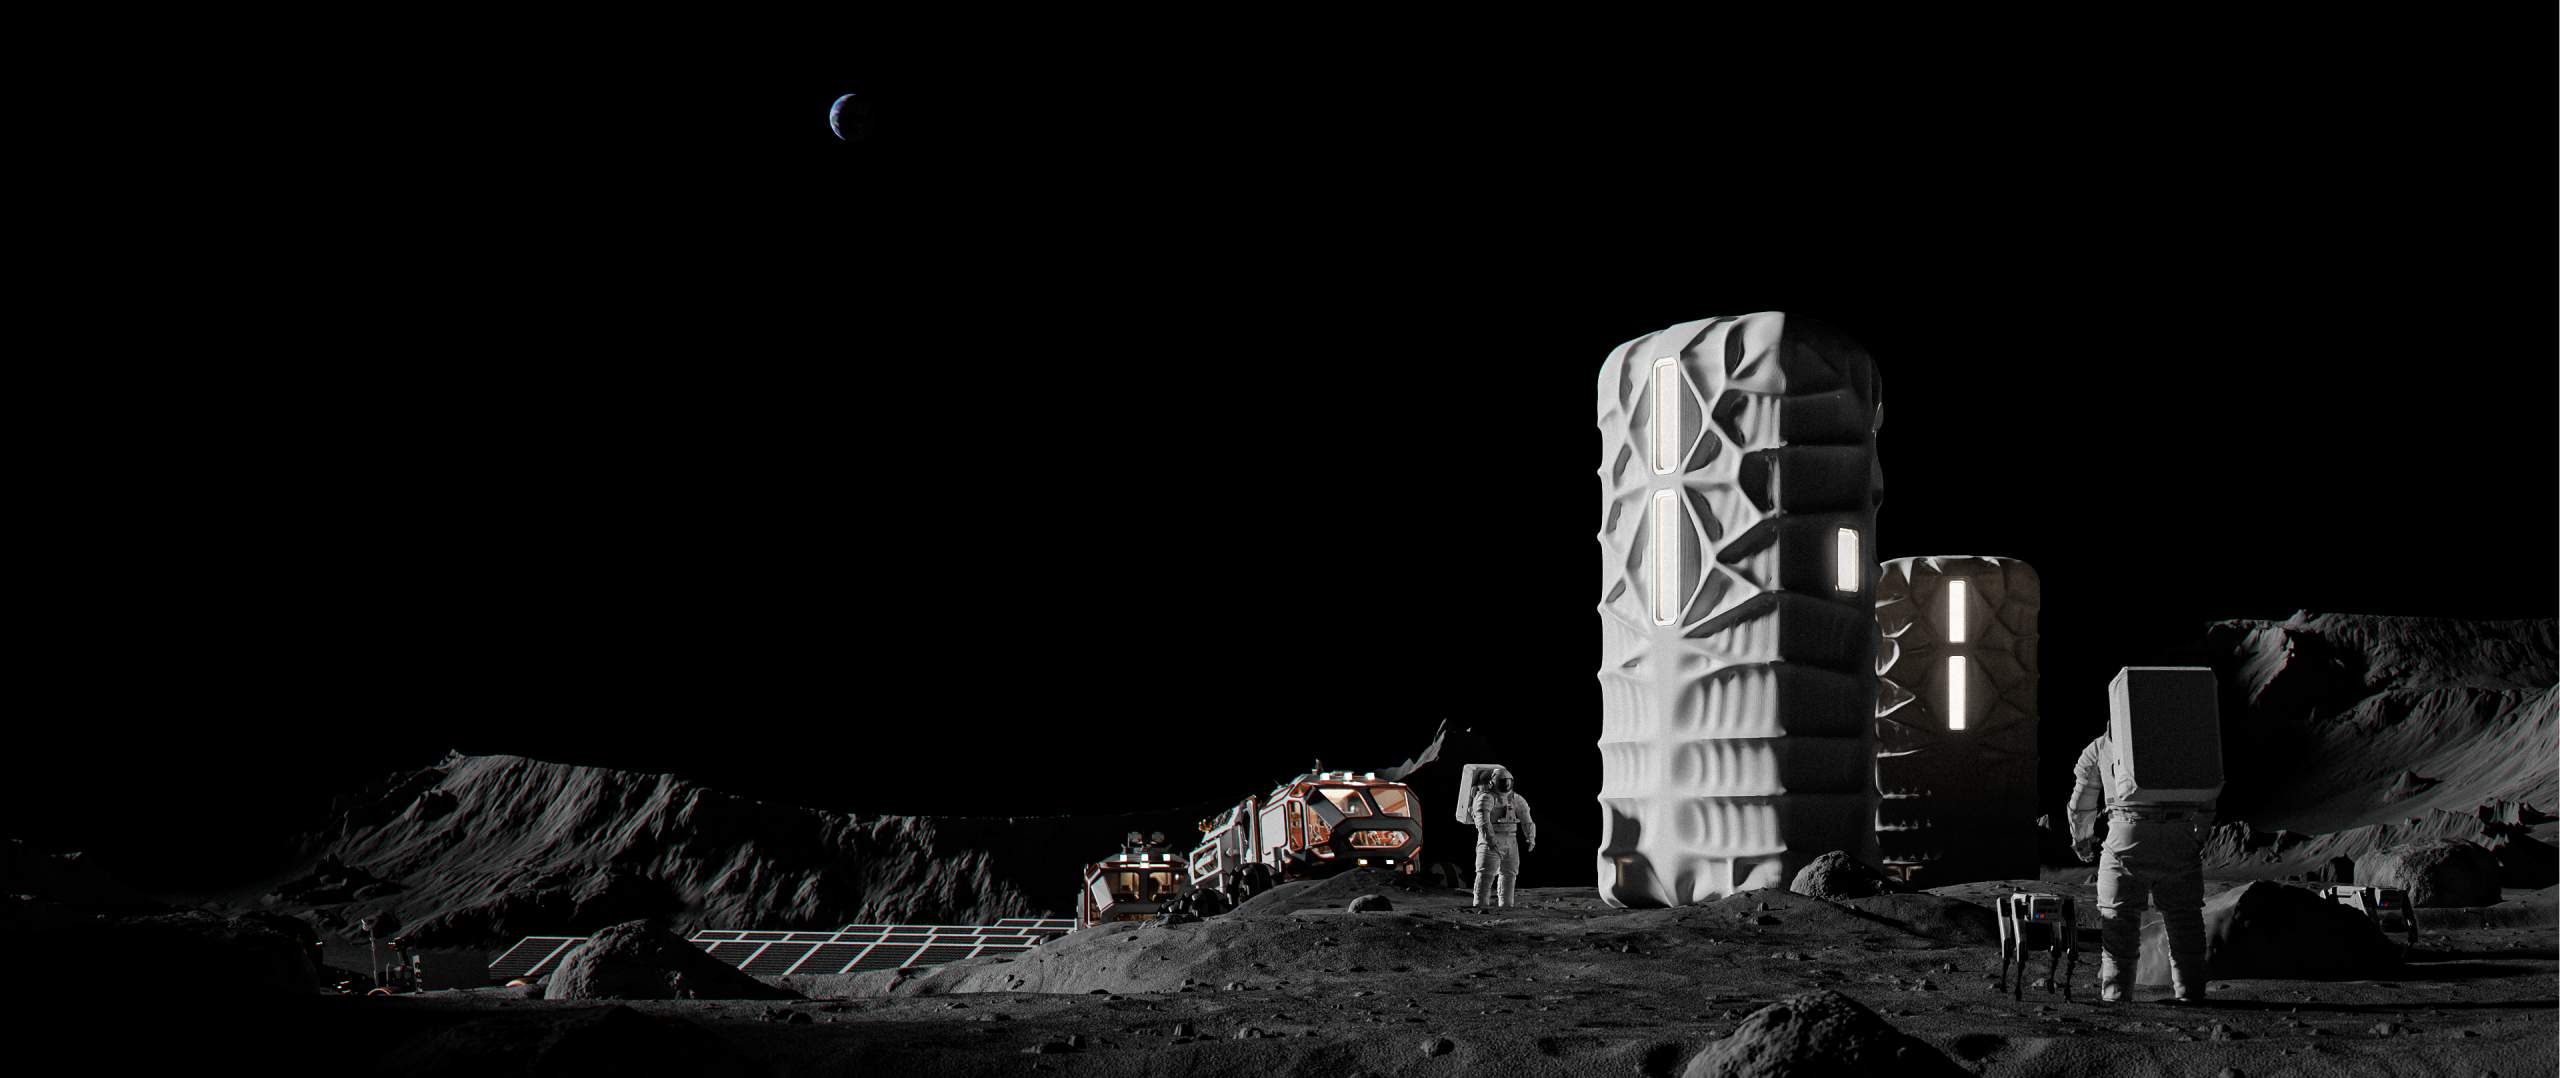
The Rosenberg Space Habitat
We have finished designing and building our 2nd analog moon habitat which was designed, constructed, and installed all in 9 months!
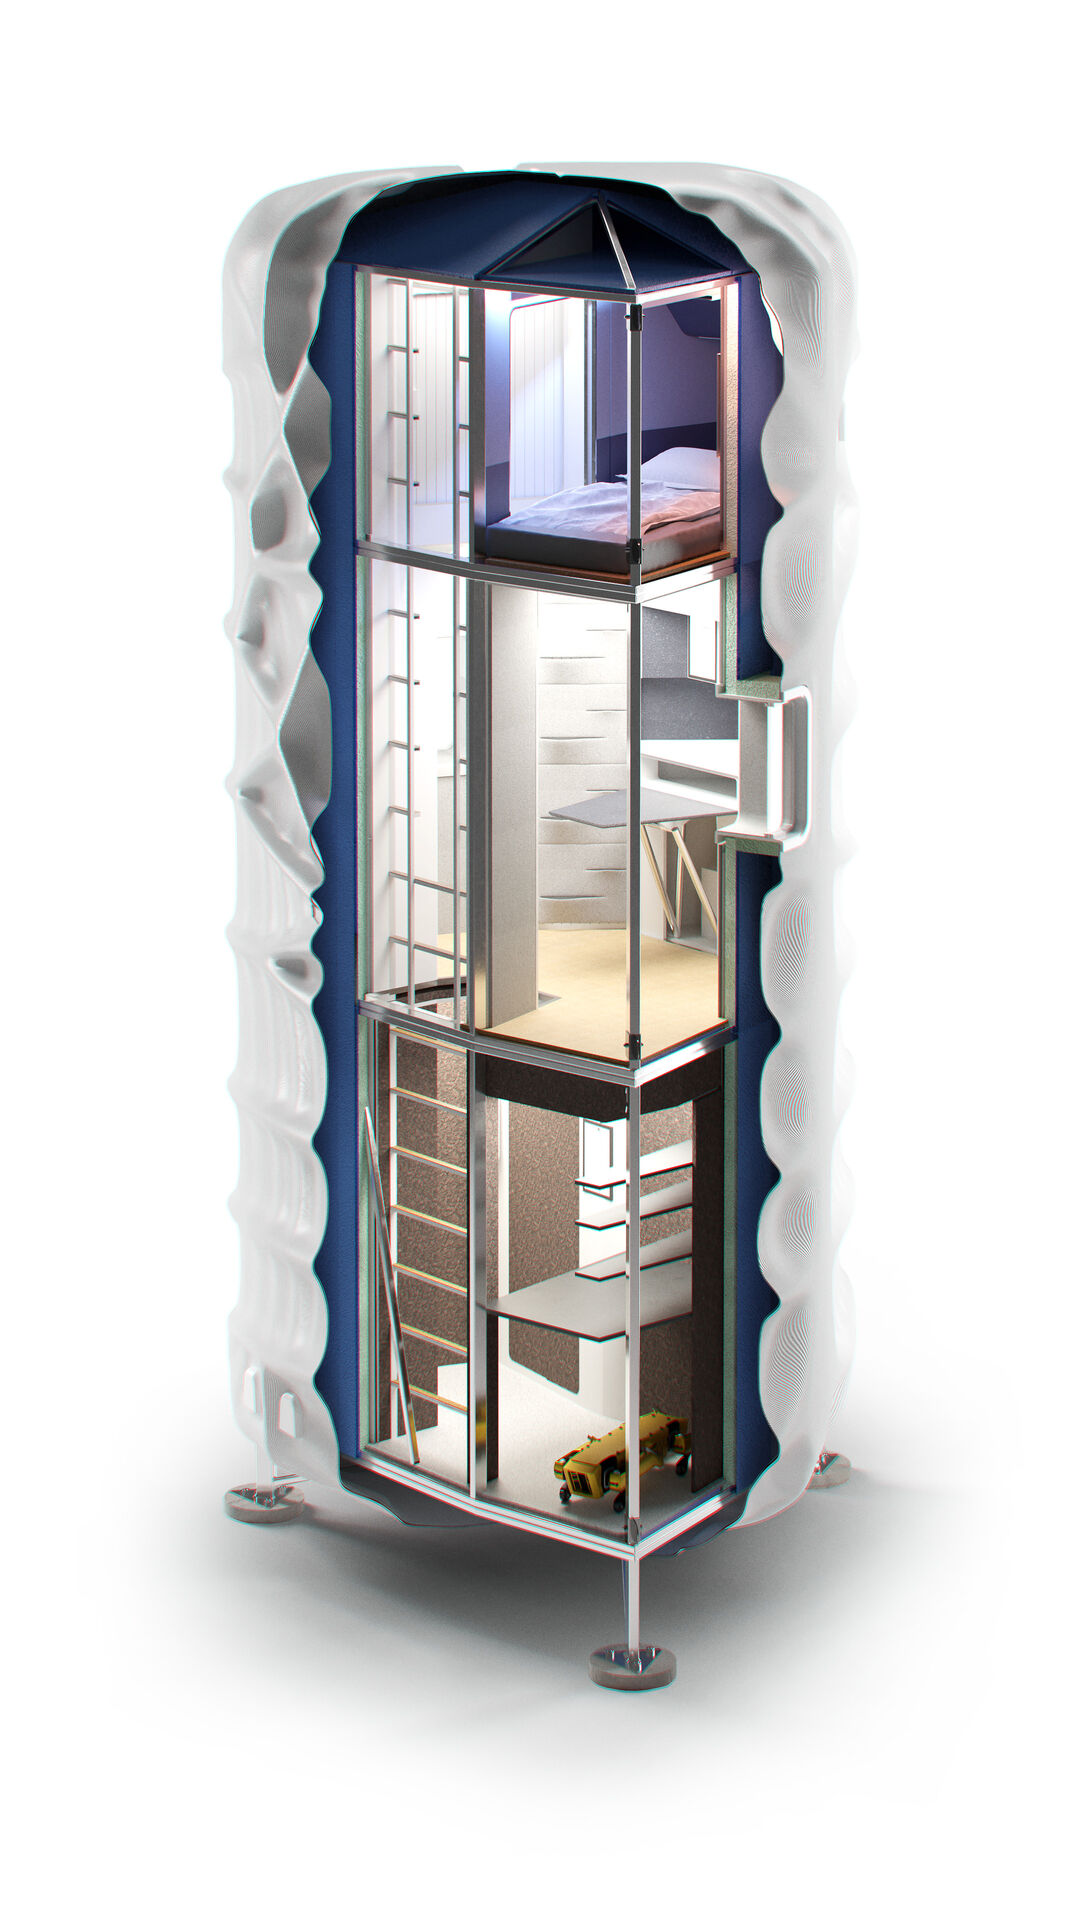
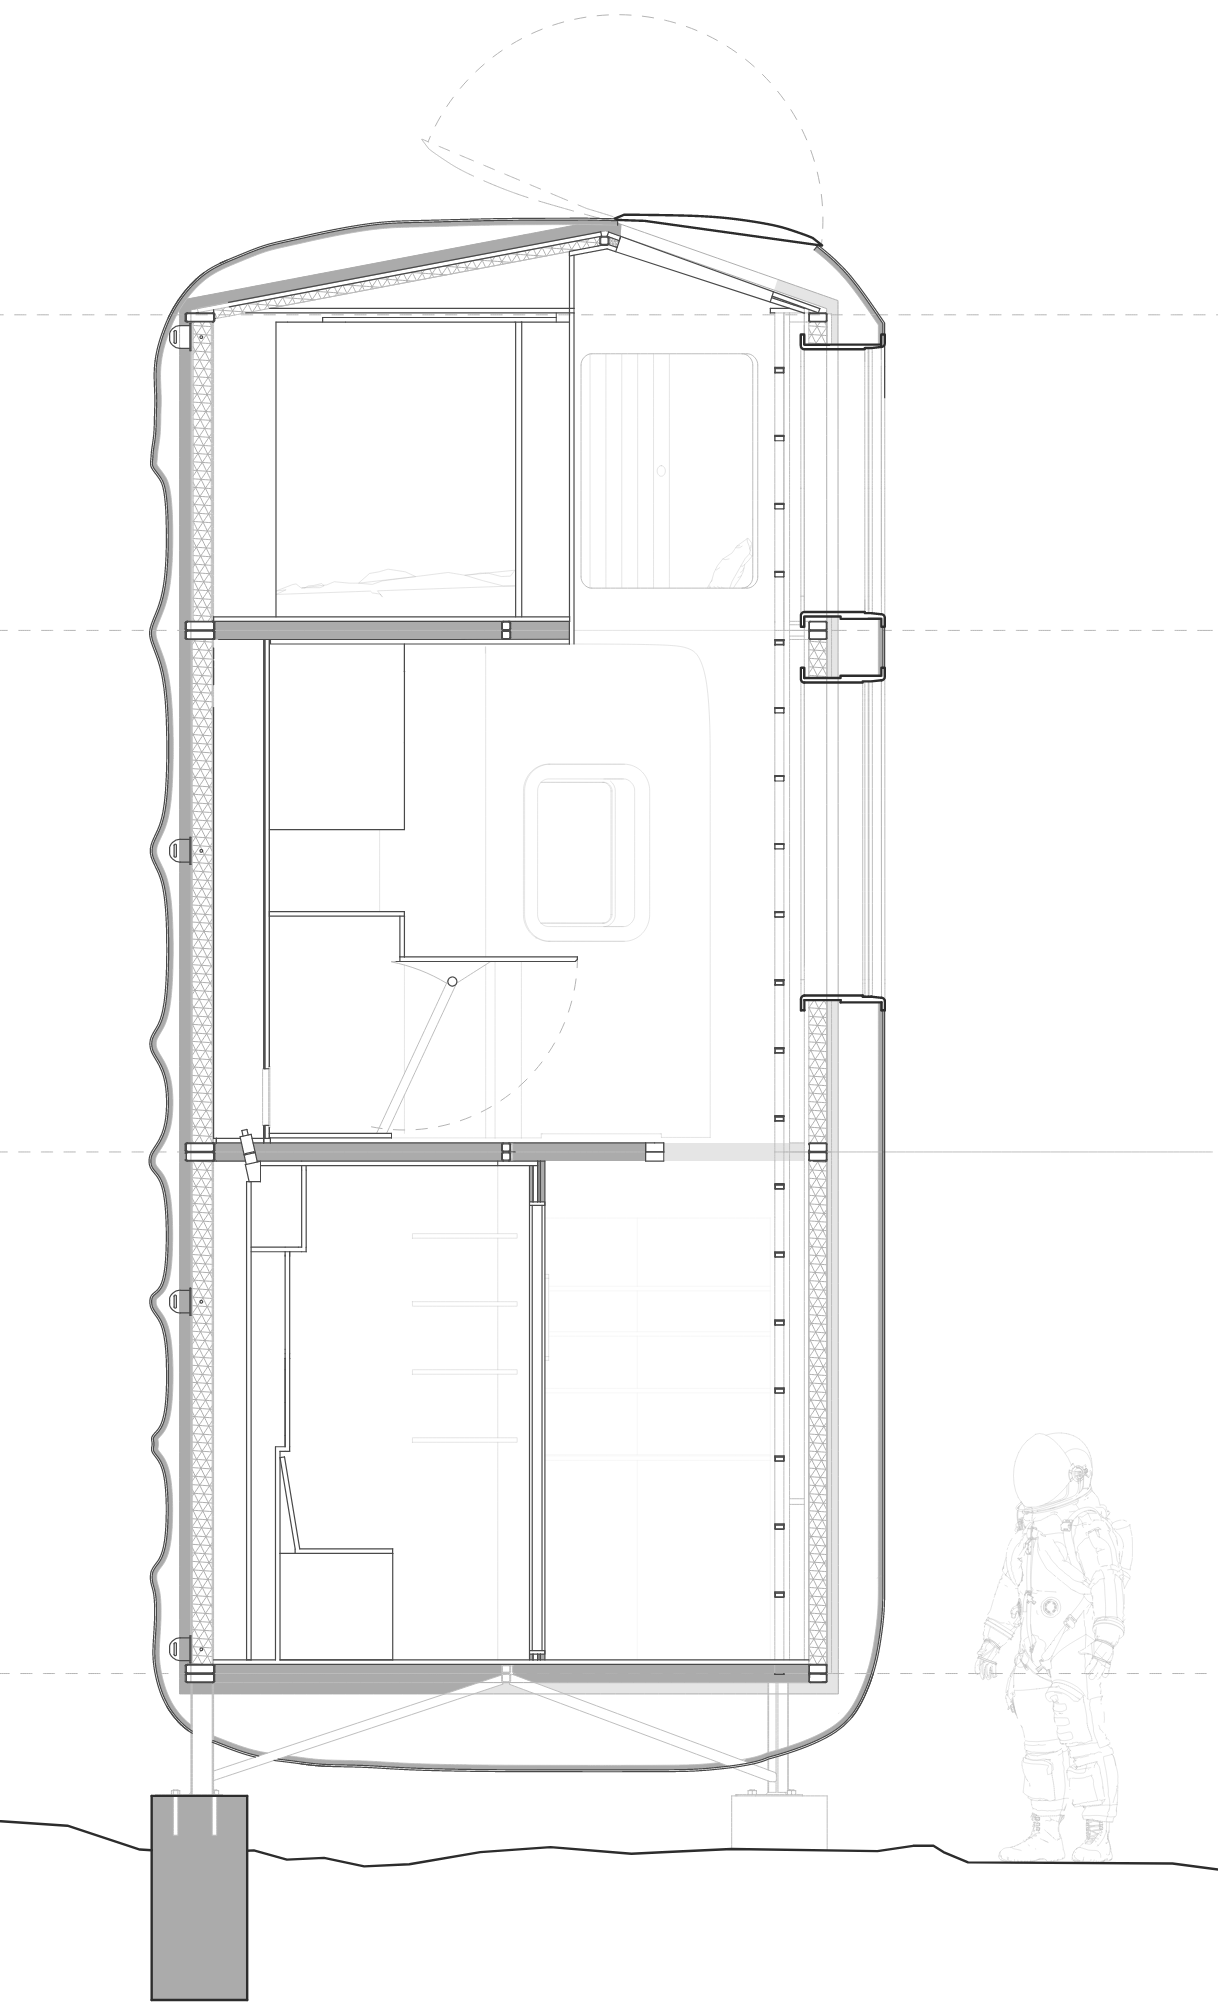
Building on our learnings from LUNARK, it is a space-optimized structure, consisting of 2 and a half floors for a crew of 2 persons.
The floors and furniture is multi-functional, allowing for as many various activities as possible within the limited space. To further improve the comfort, we are installing the most sophisticated version of our circadian lights to date, to help the crew maintain a healthy circadian rhythm.
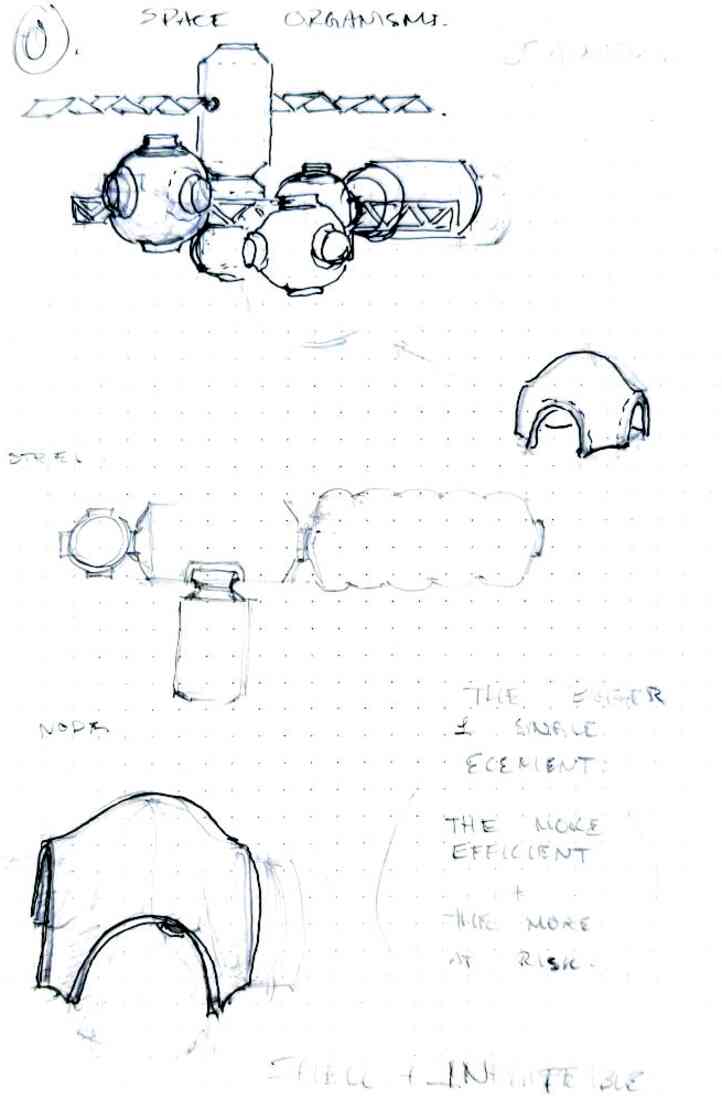
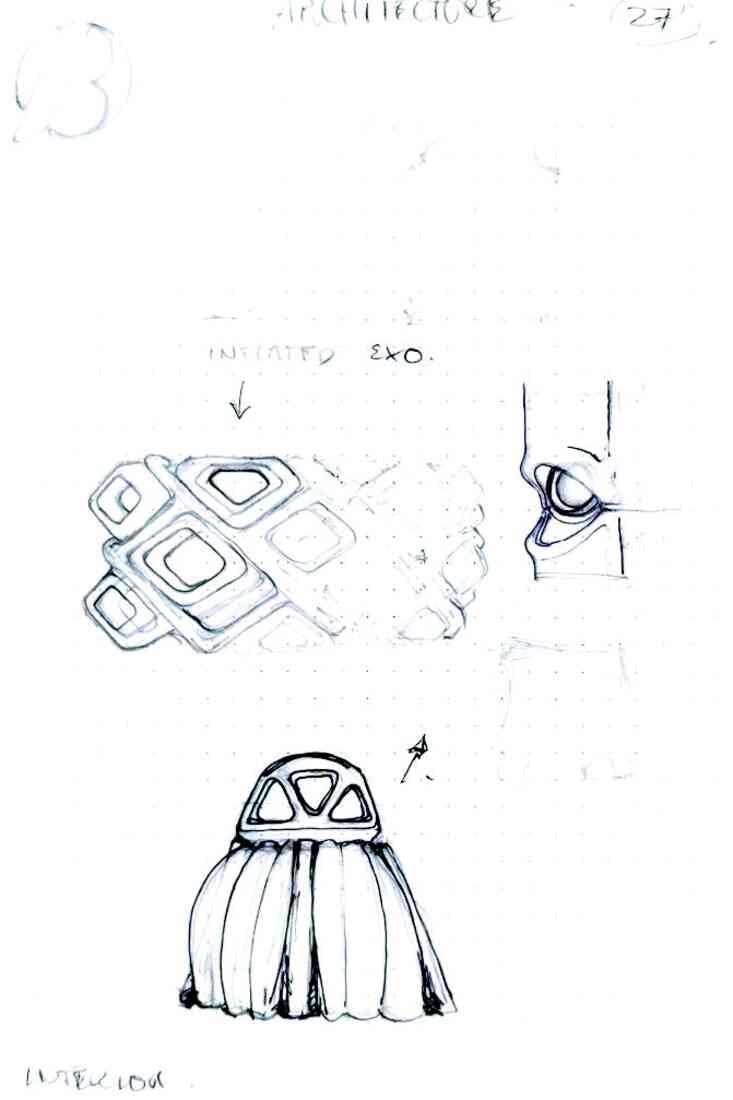
Like all of our projects, we draw inspiration from nature. The greatest designer, evolution, has already answered many questions, and we try to utilize them as best we can.
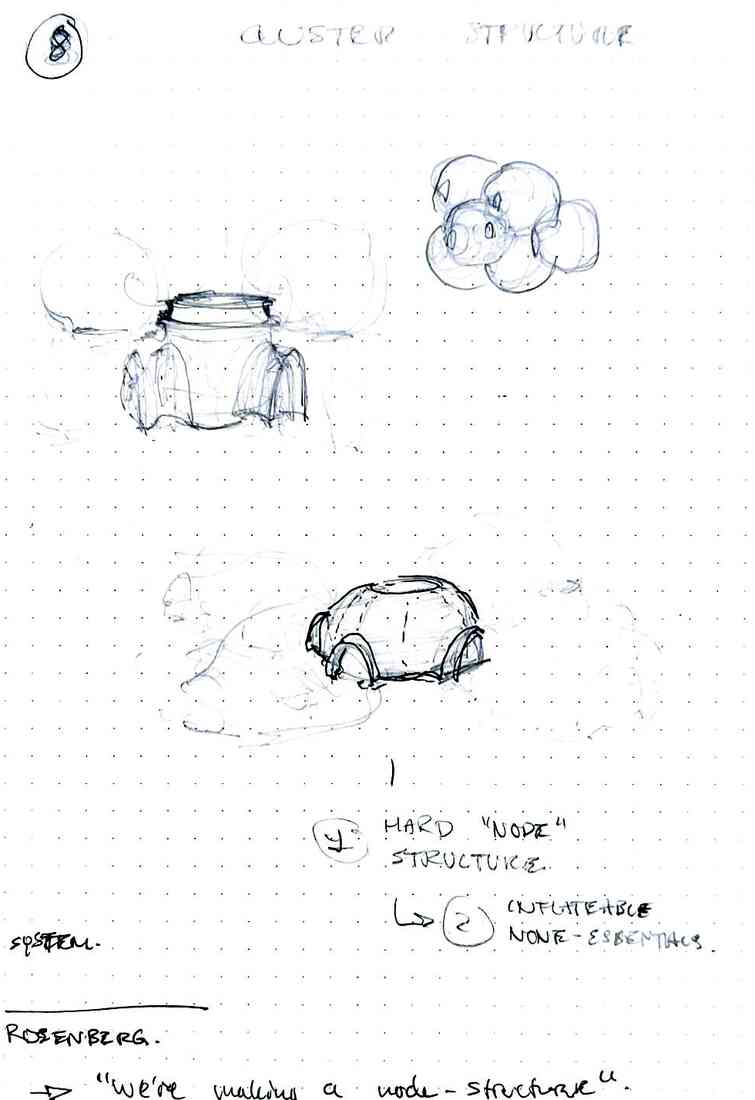
Rosenberg creative collab
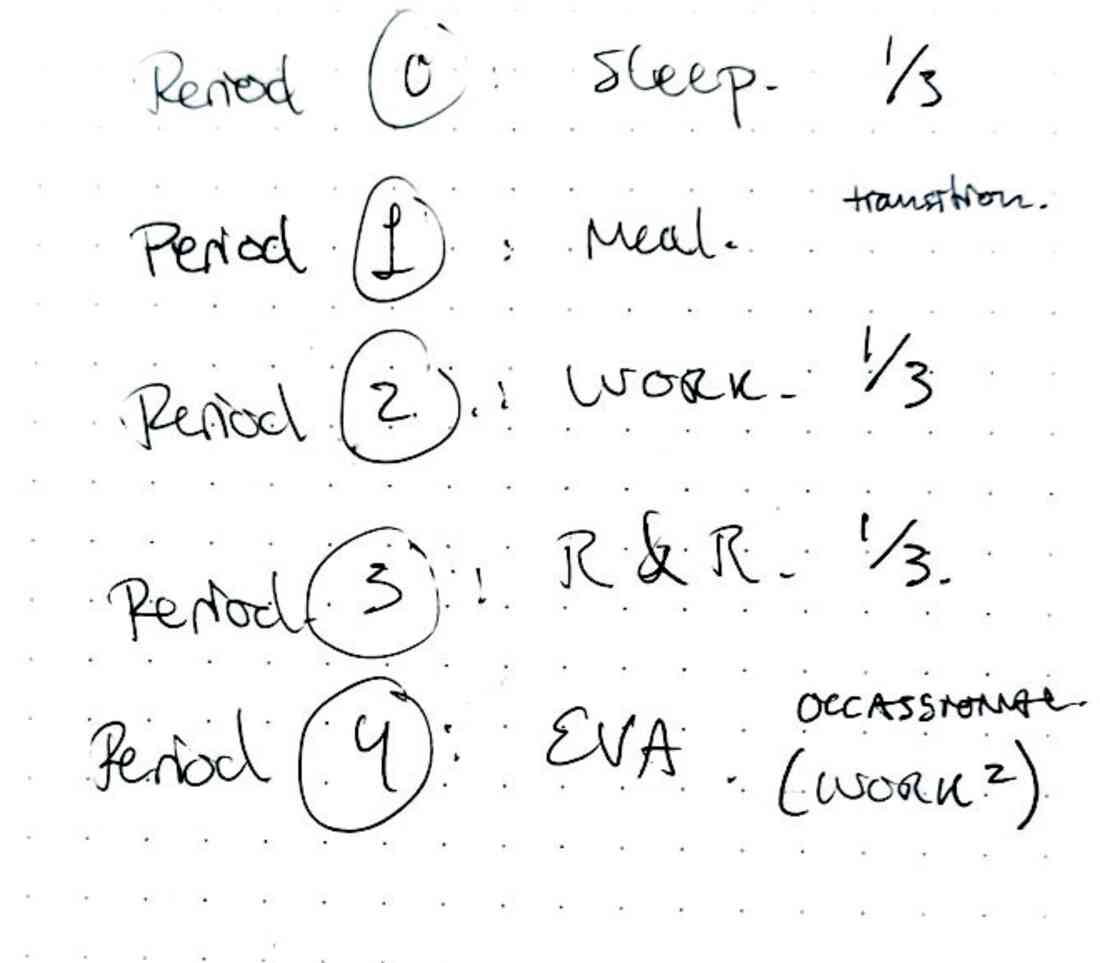
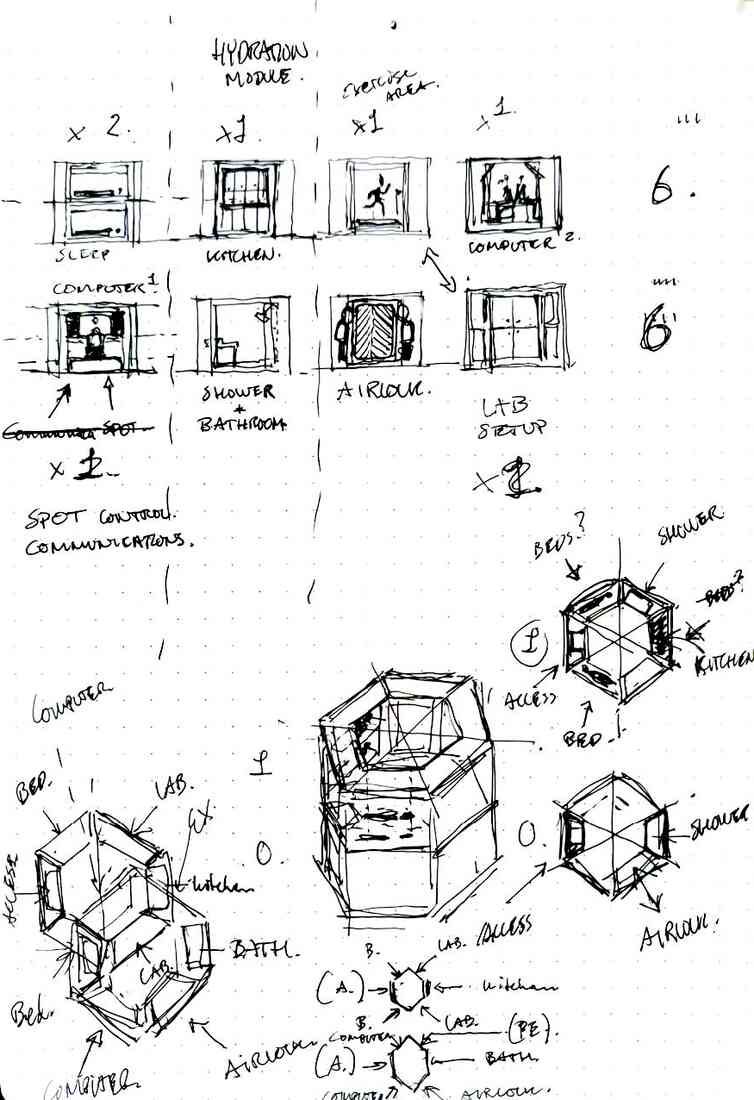
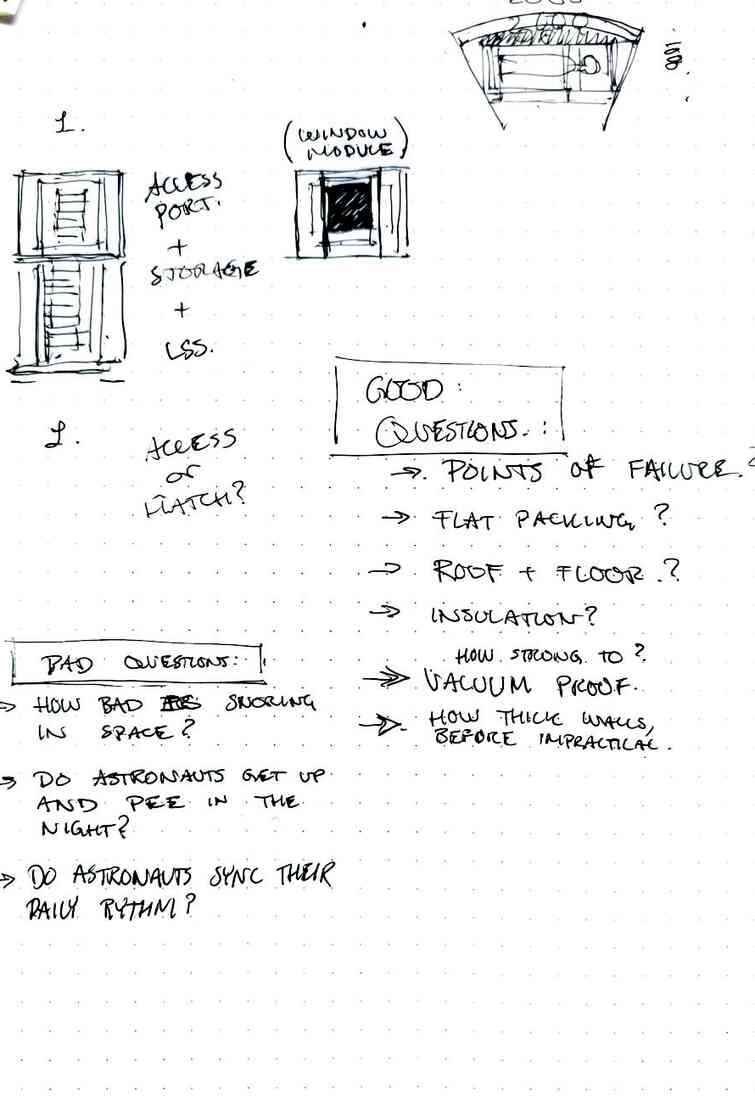
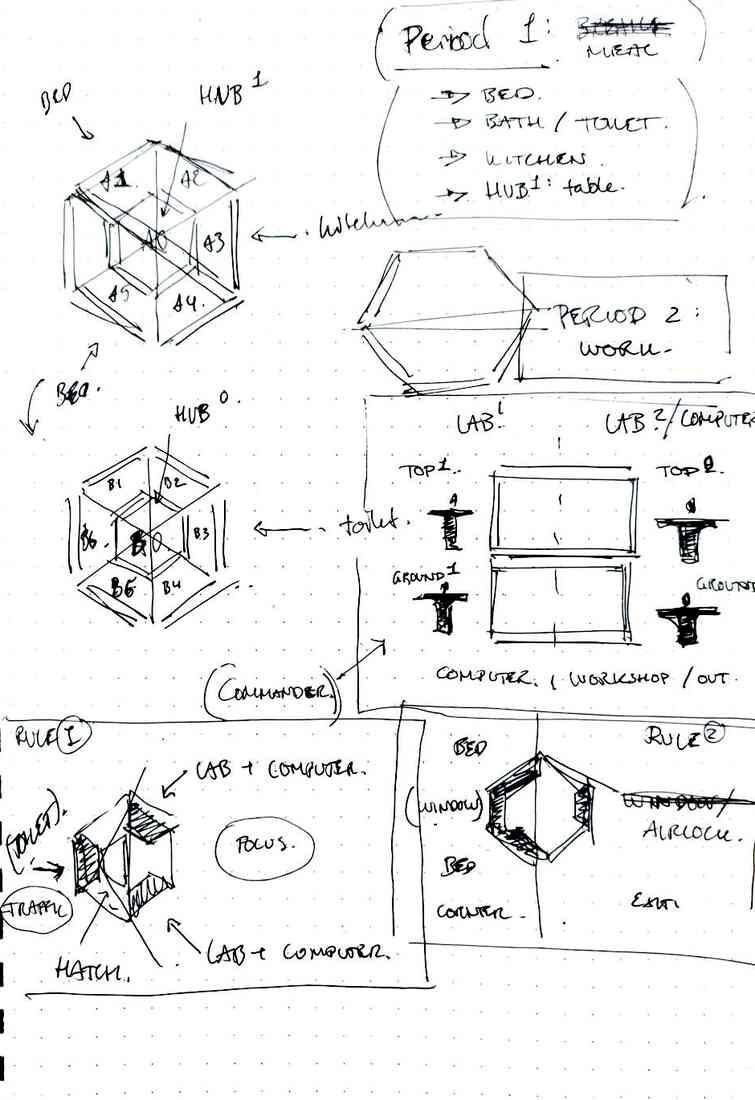
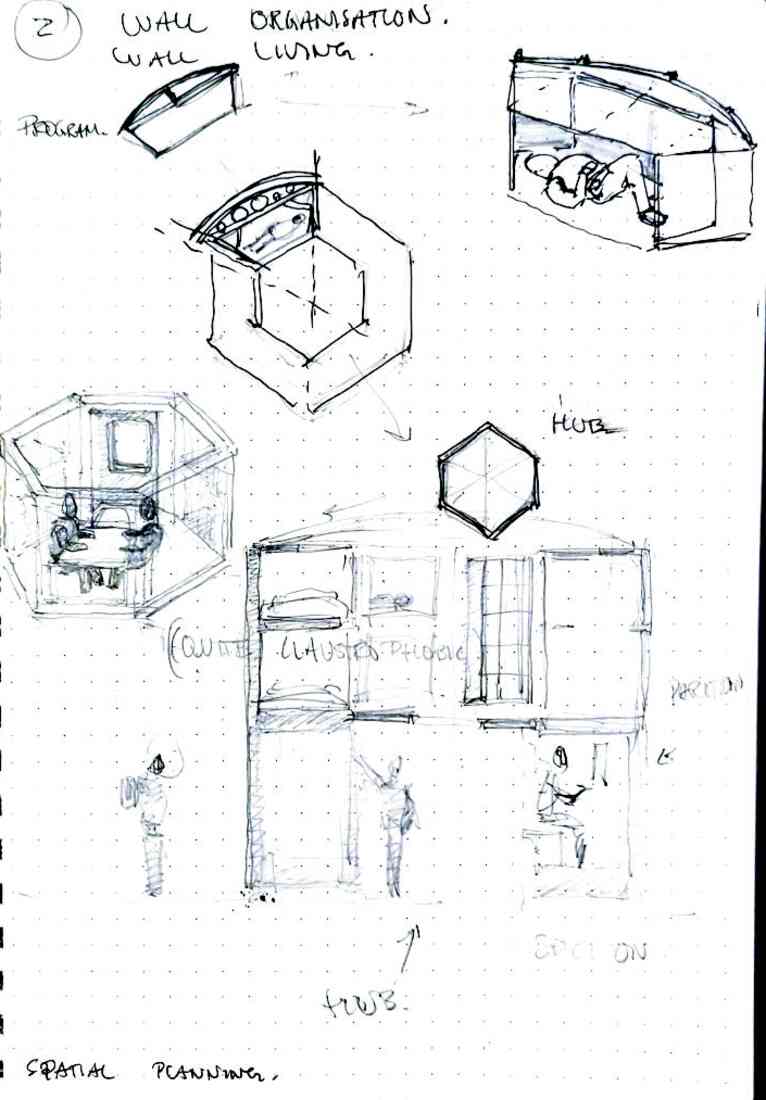
We believe in starting with a clean slate on each project. This enables working from first principles, rather than preconceived notions. The project was done in co-creation with our partner, Institut auf dem Rosenberg. The students applied their inquisitiveness and unspoiled creativity at the inception phase of the project, setting the primary constraints for the functional features of the habitat.


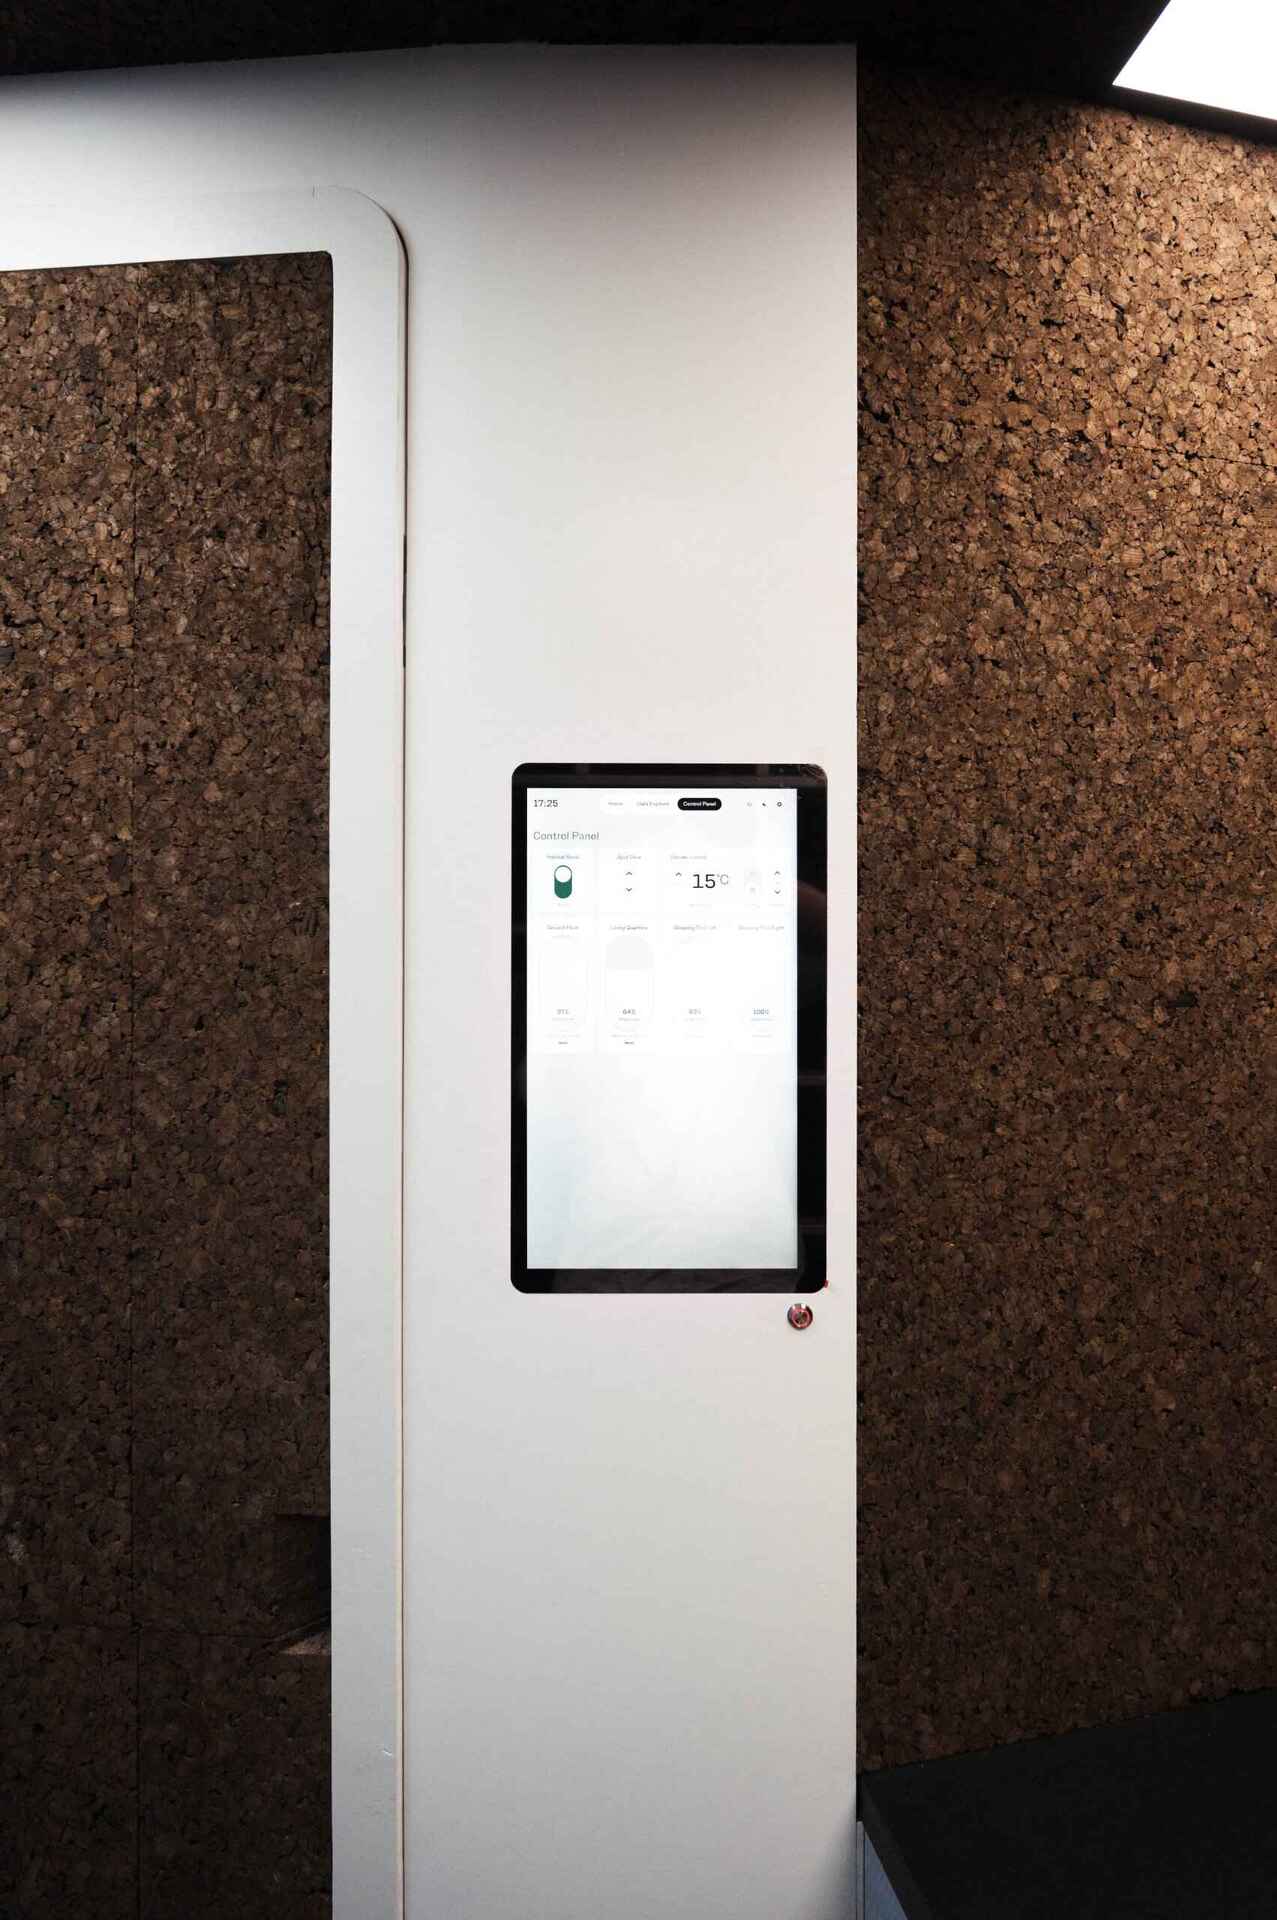
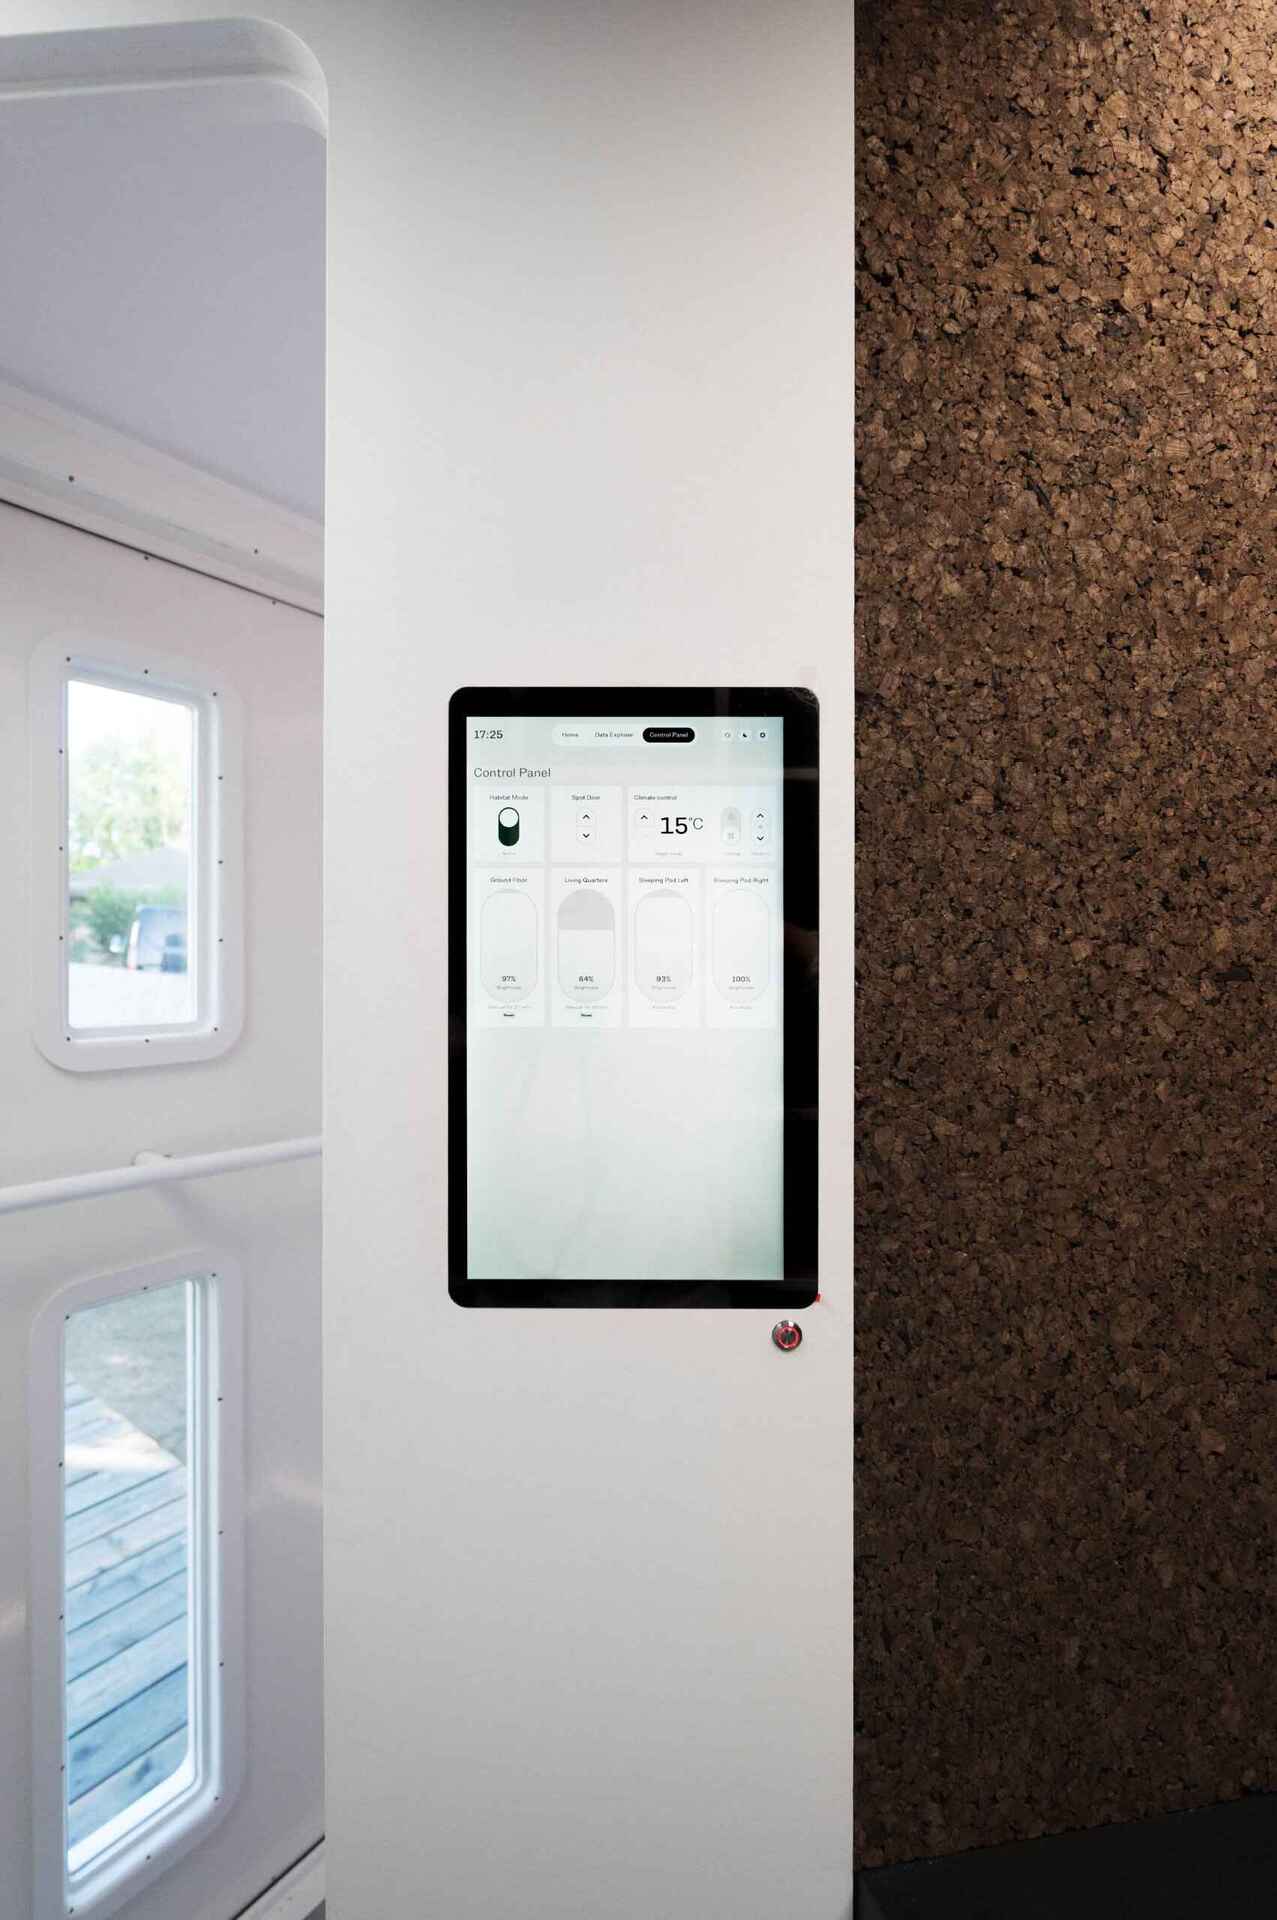
Interactive habitat

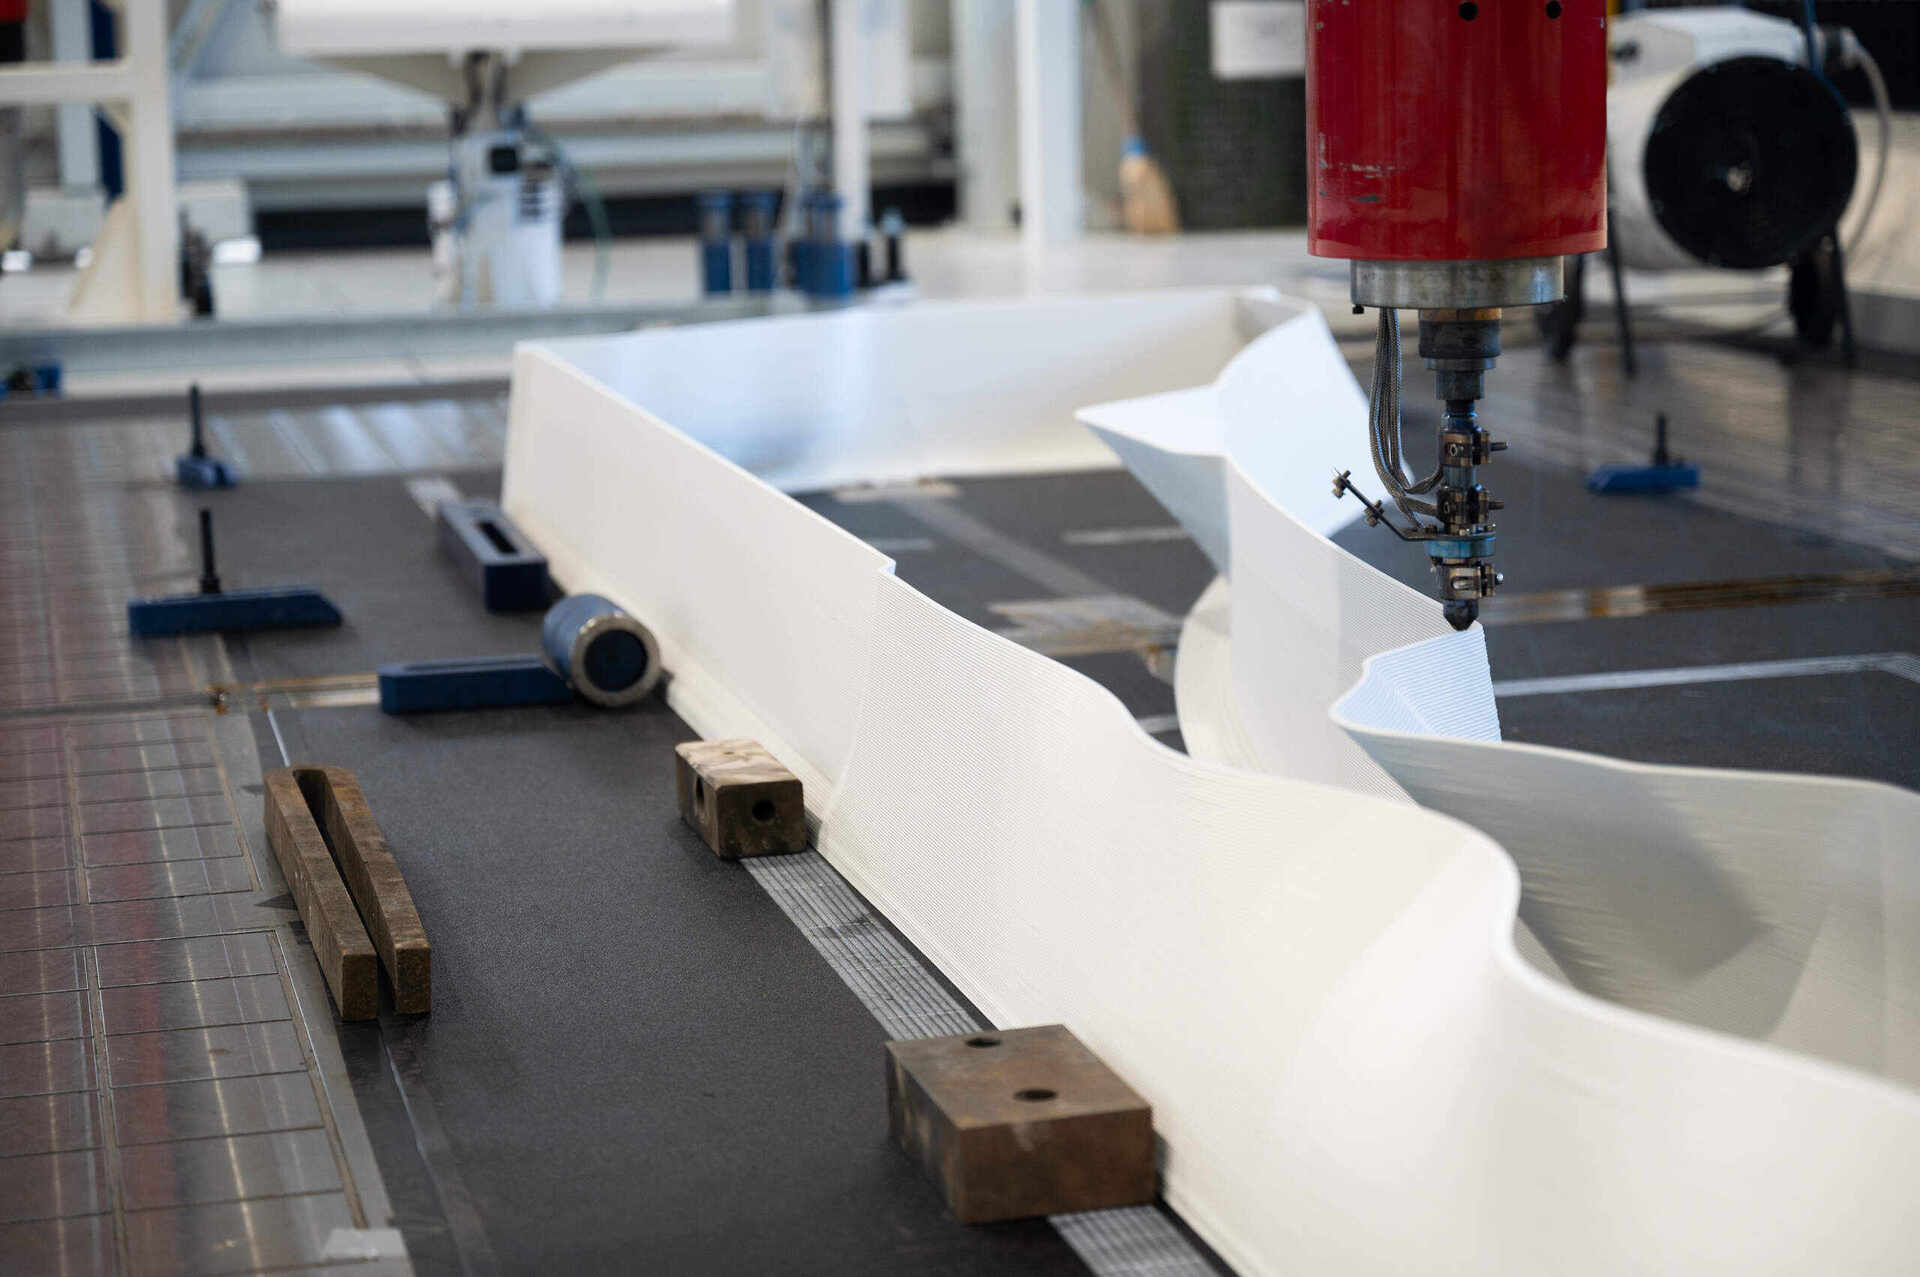
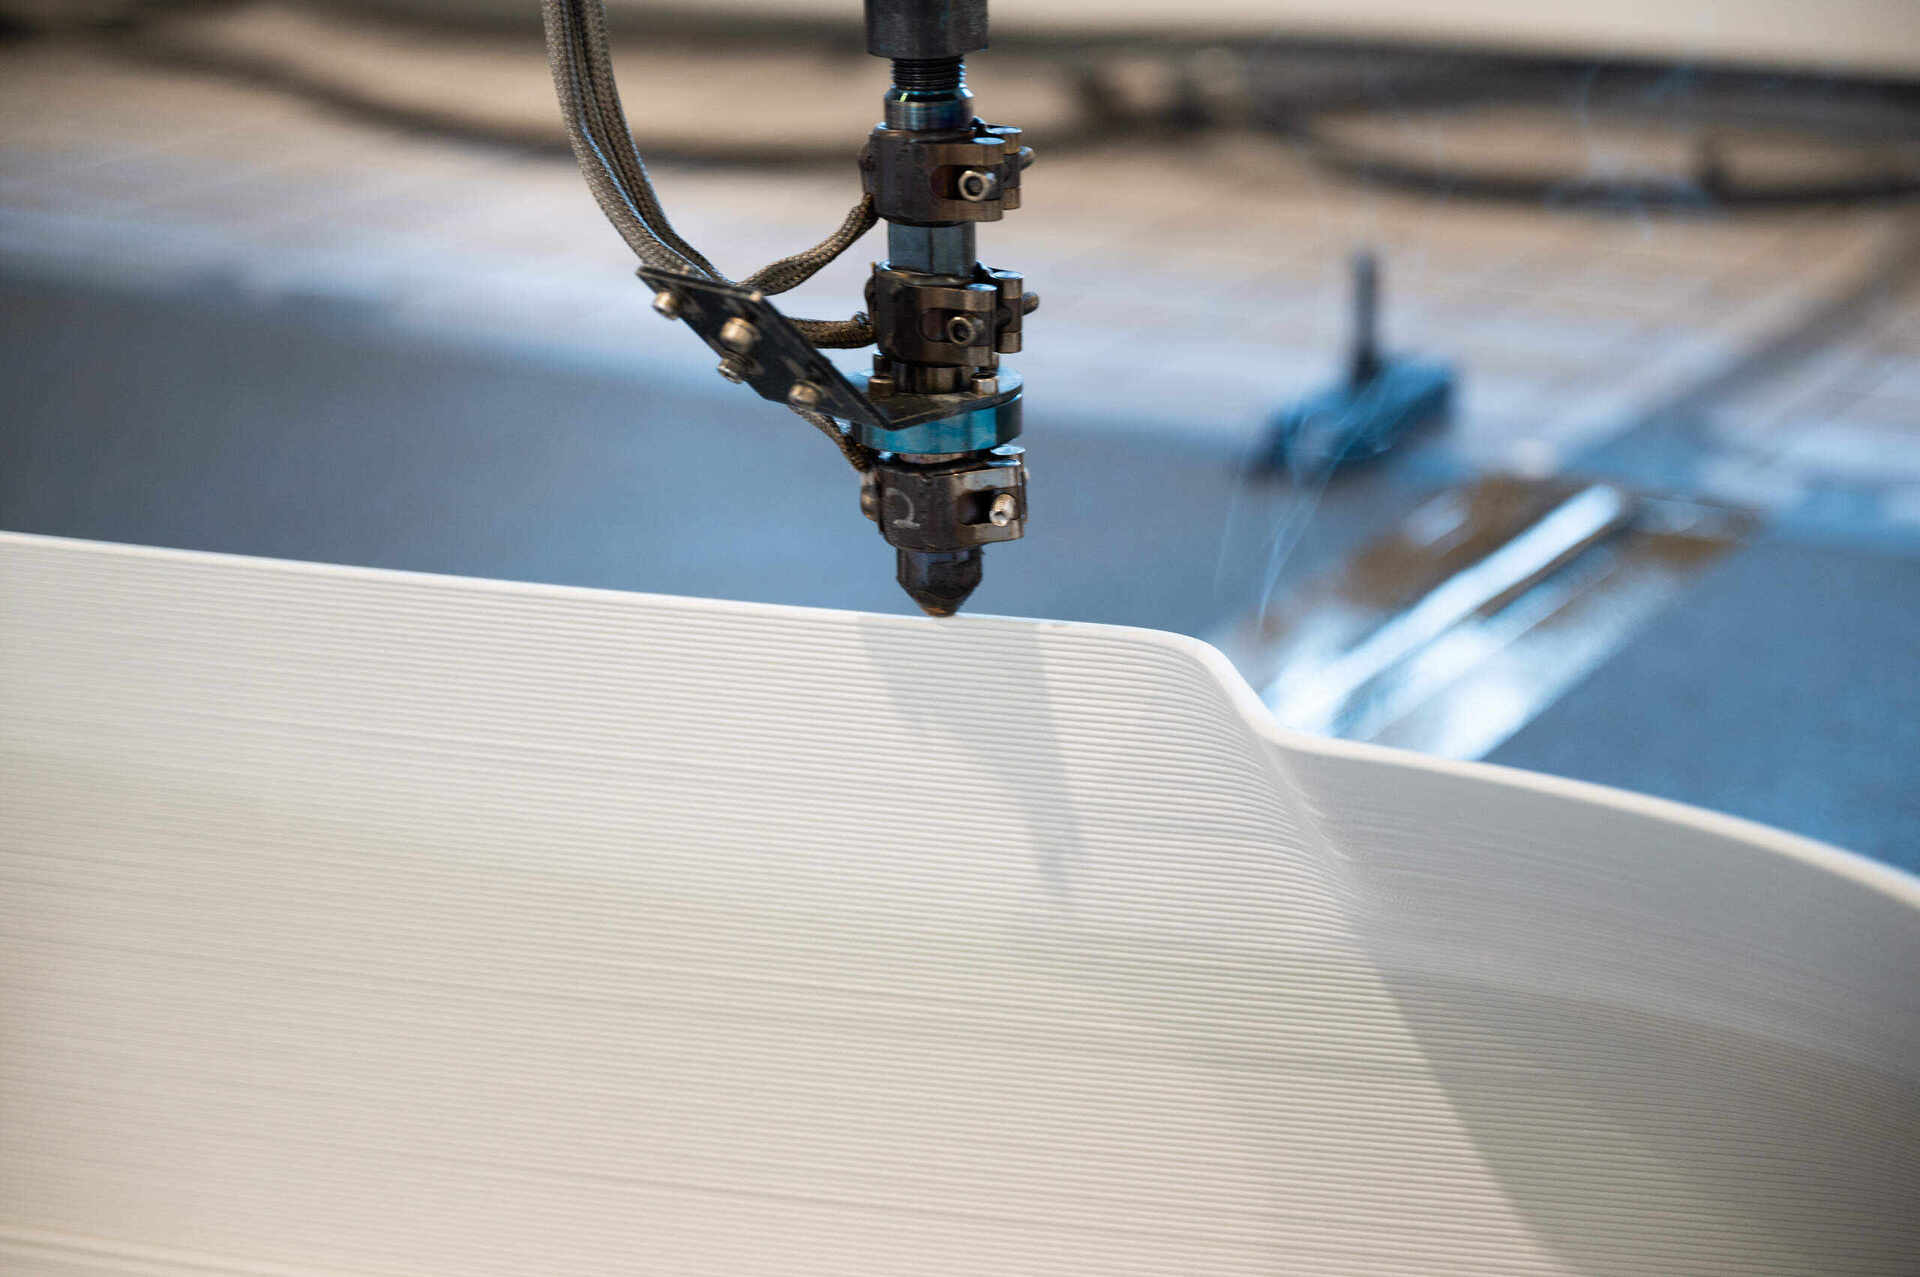
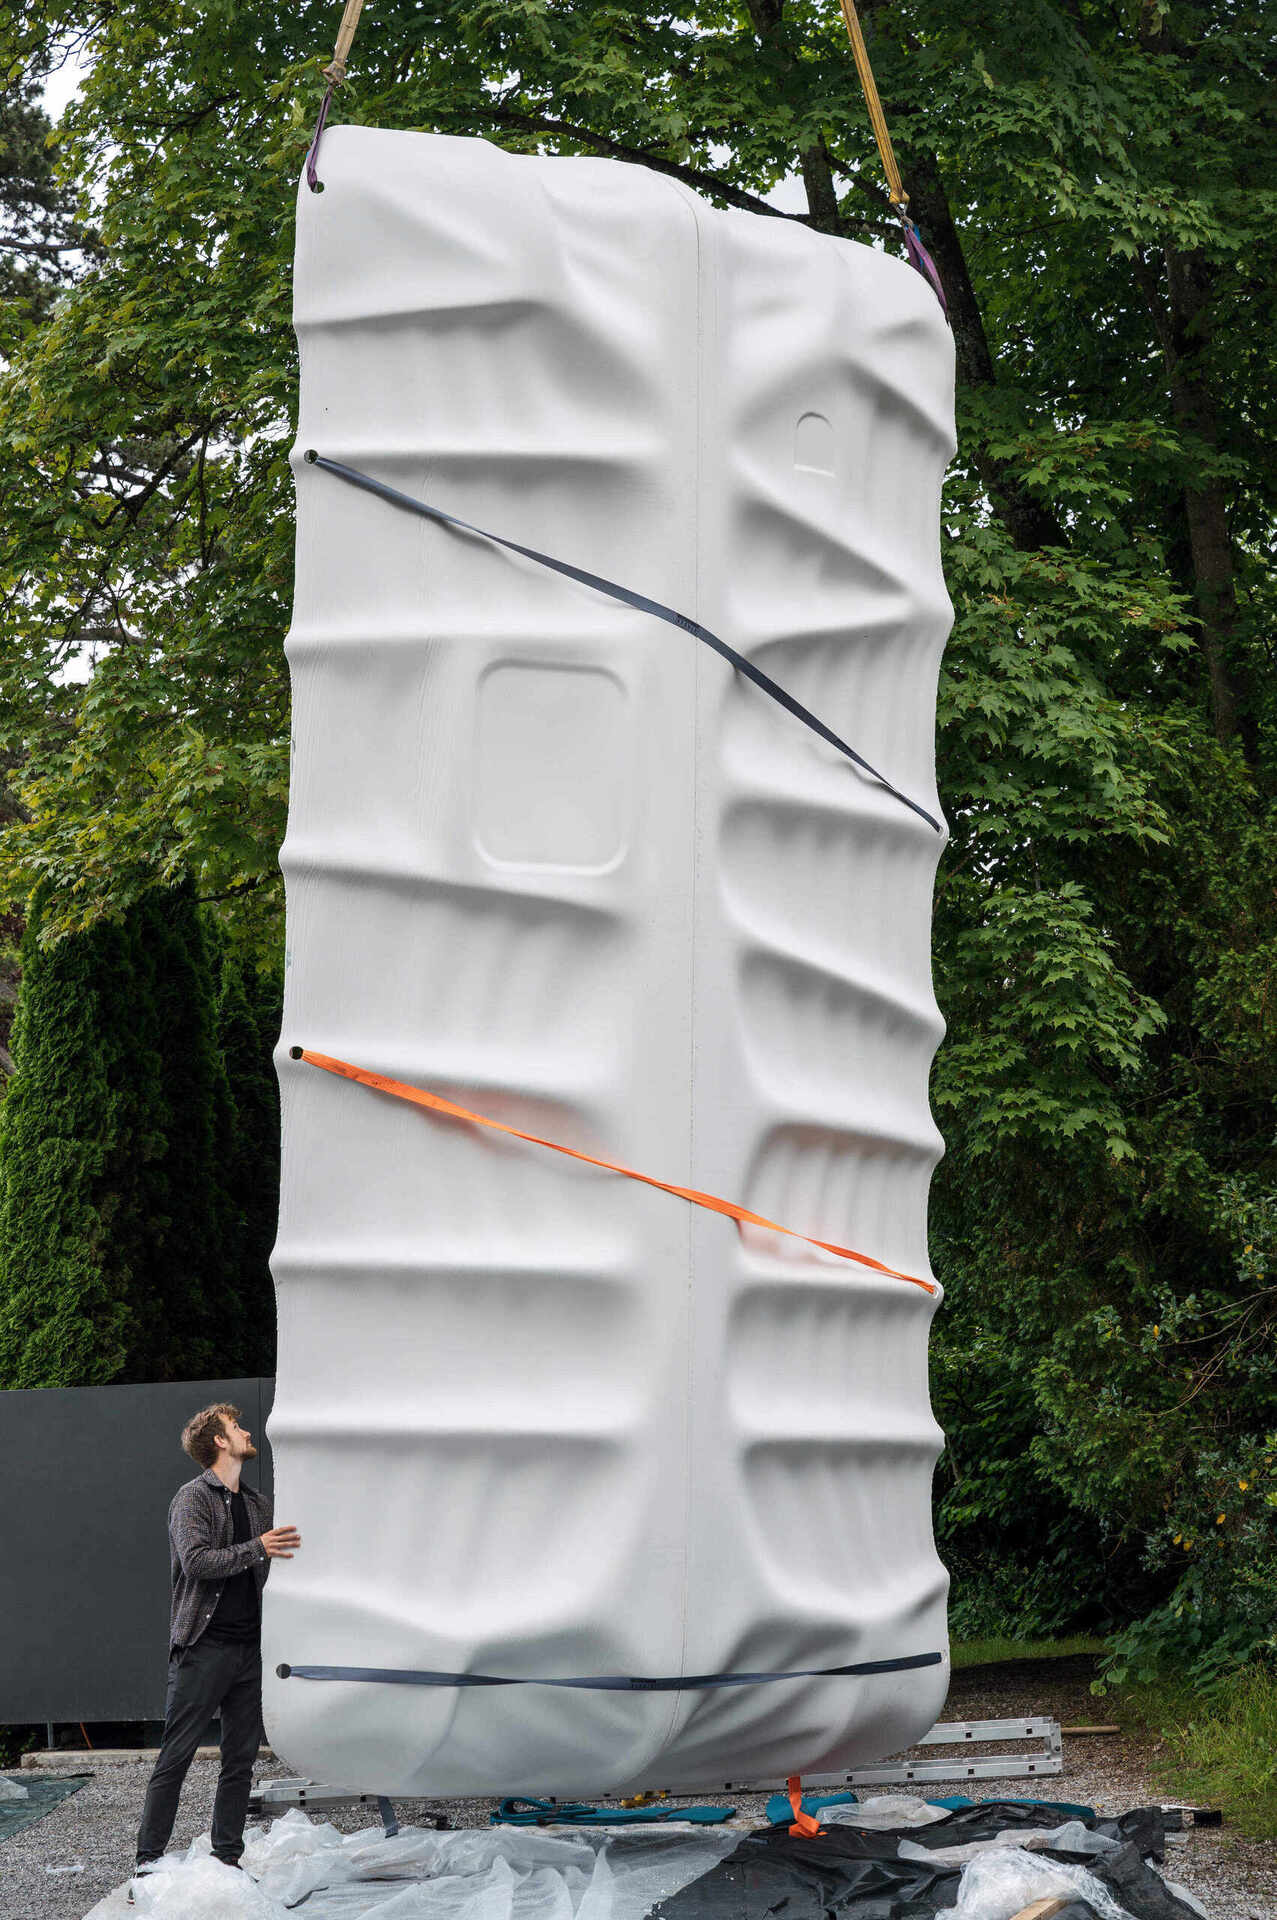
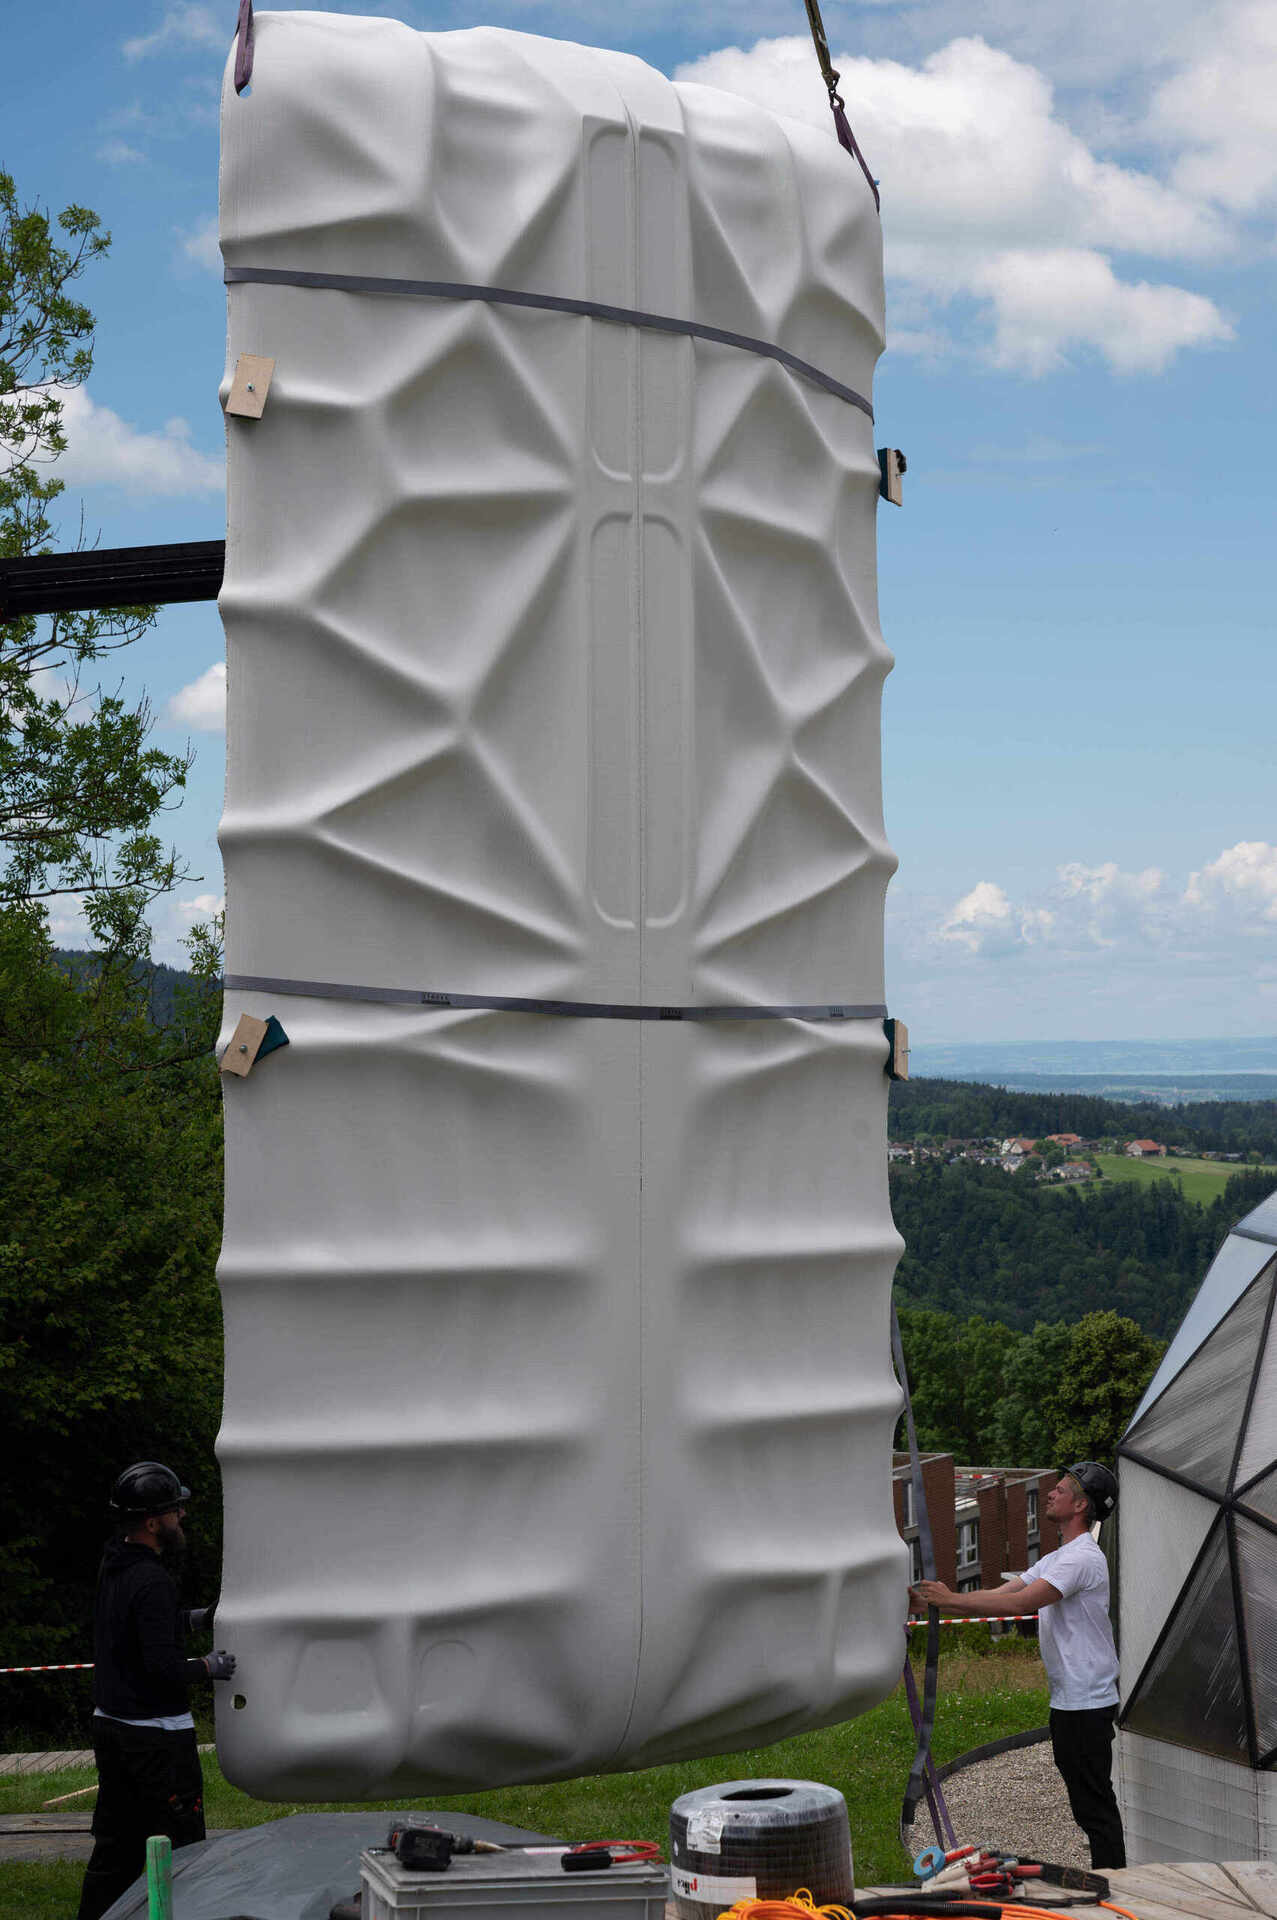
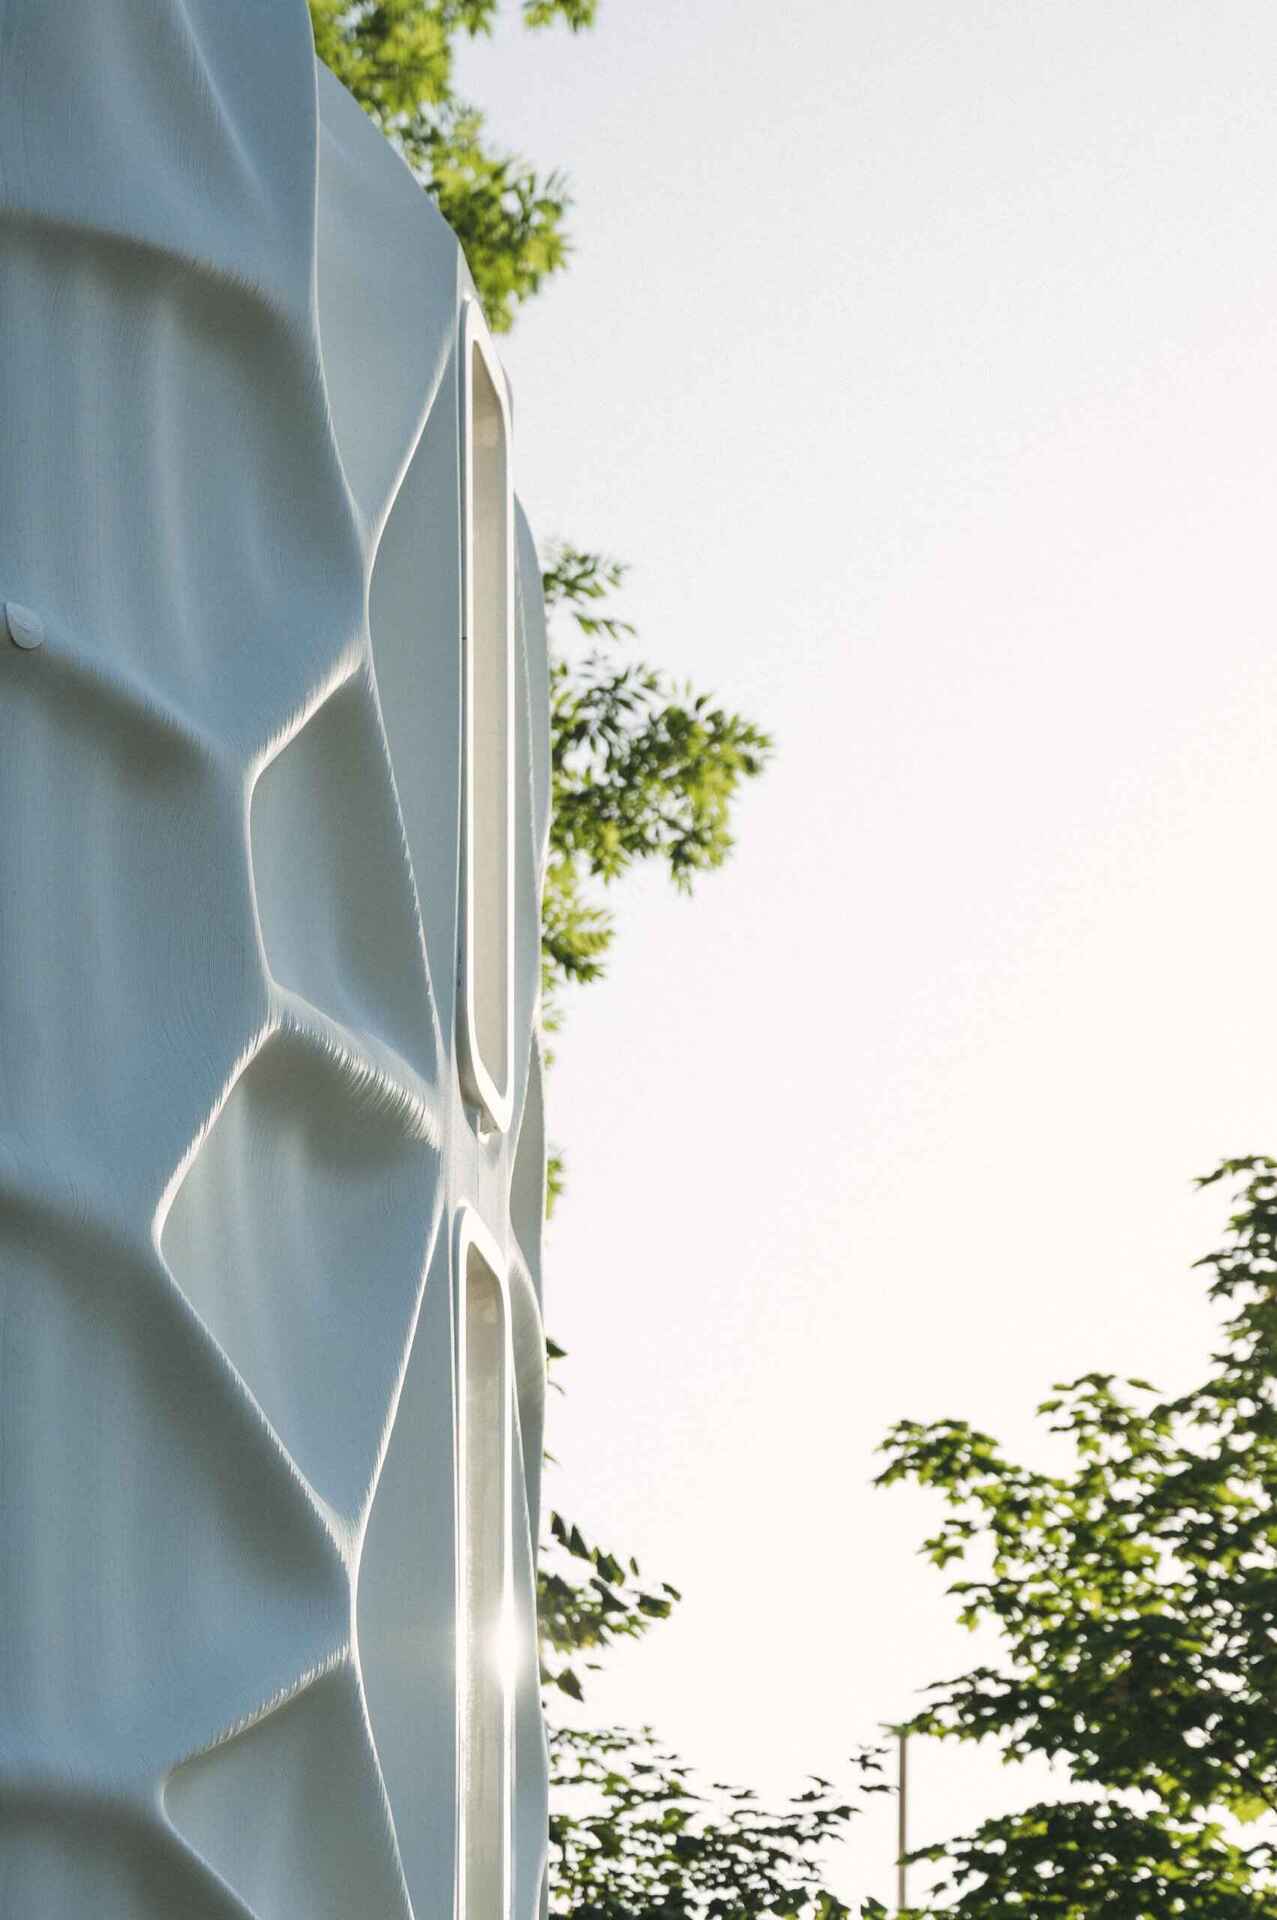
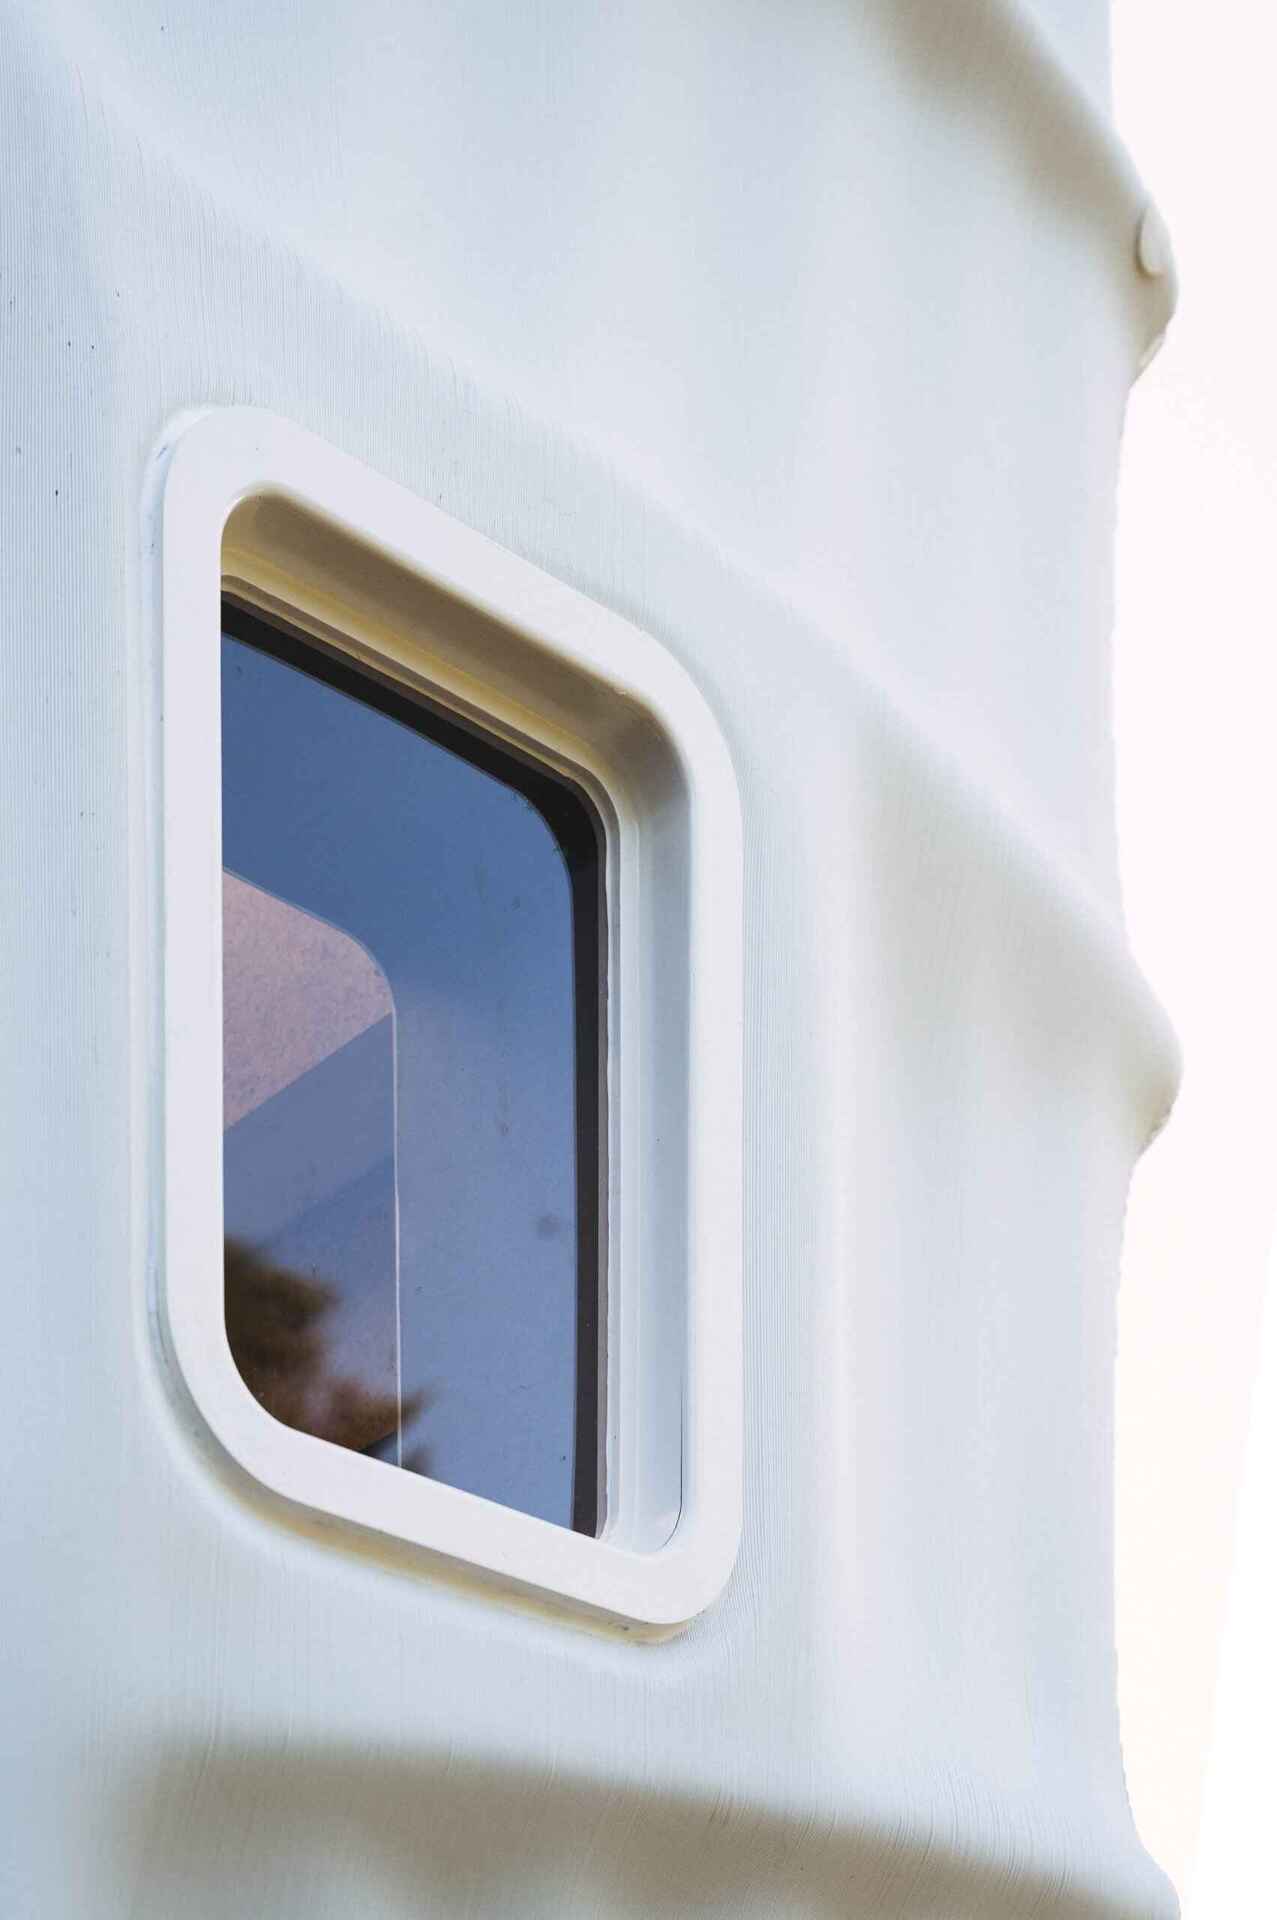
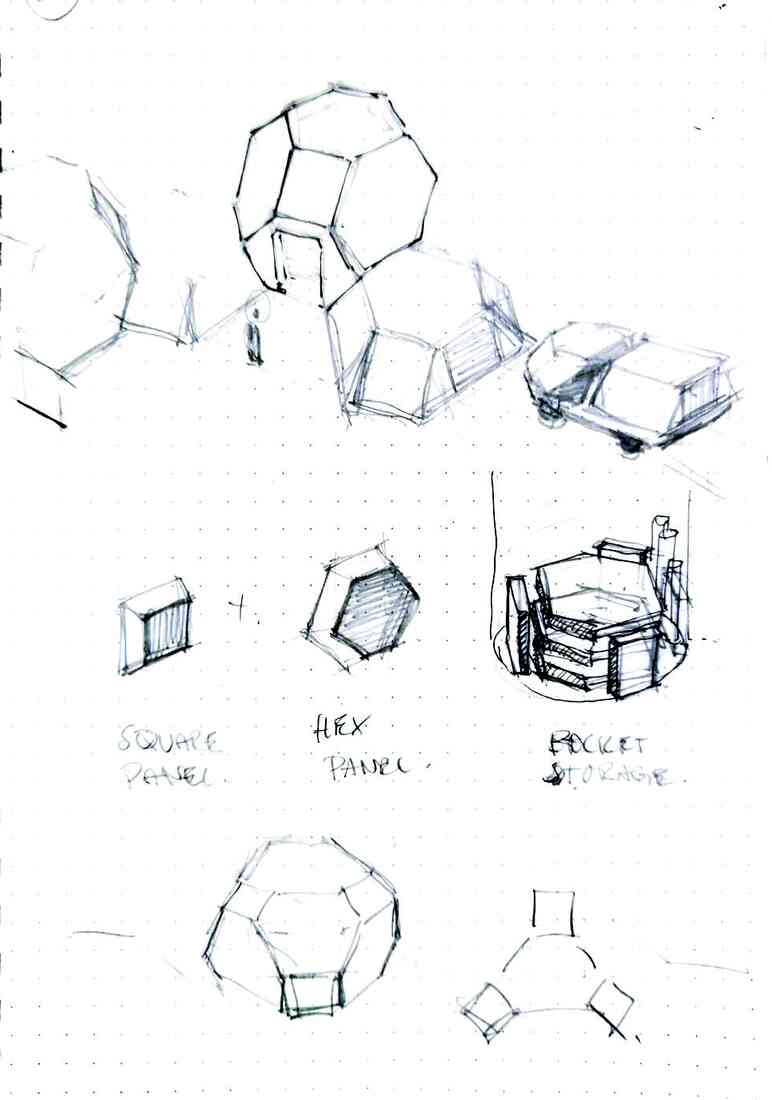
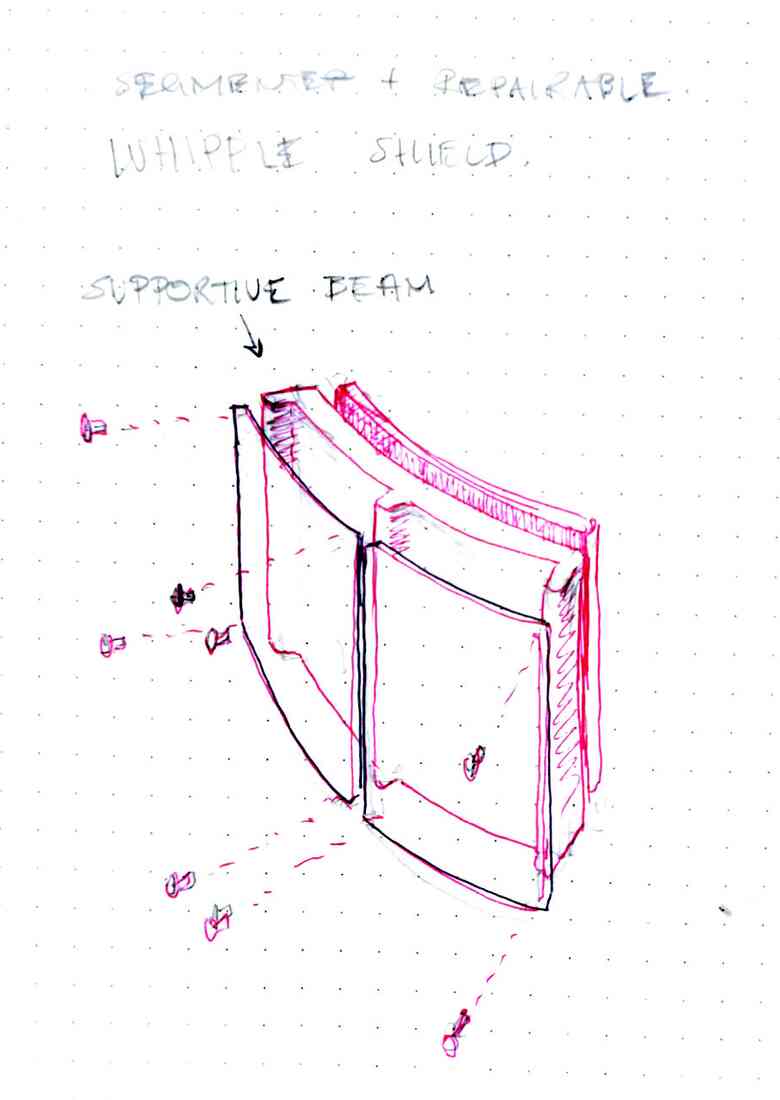
3D Printed Shell
The shell is 3D-printed as 6 panels that fit snuggly around the entire structure. The shell is made of a custom ABS polymer which is glass fiber reinforced and UV stabilized to keep it's color in the sunlight.
- Guzman Polymers designed and manufactured the composite material we printed with
- Ingersoll 3D-printed the large shell
- Armacell provided the very effective insulation Armaflex ultima and ArmaPET
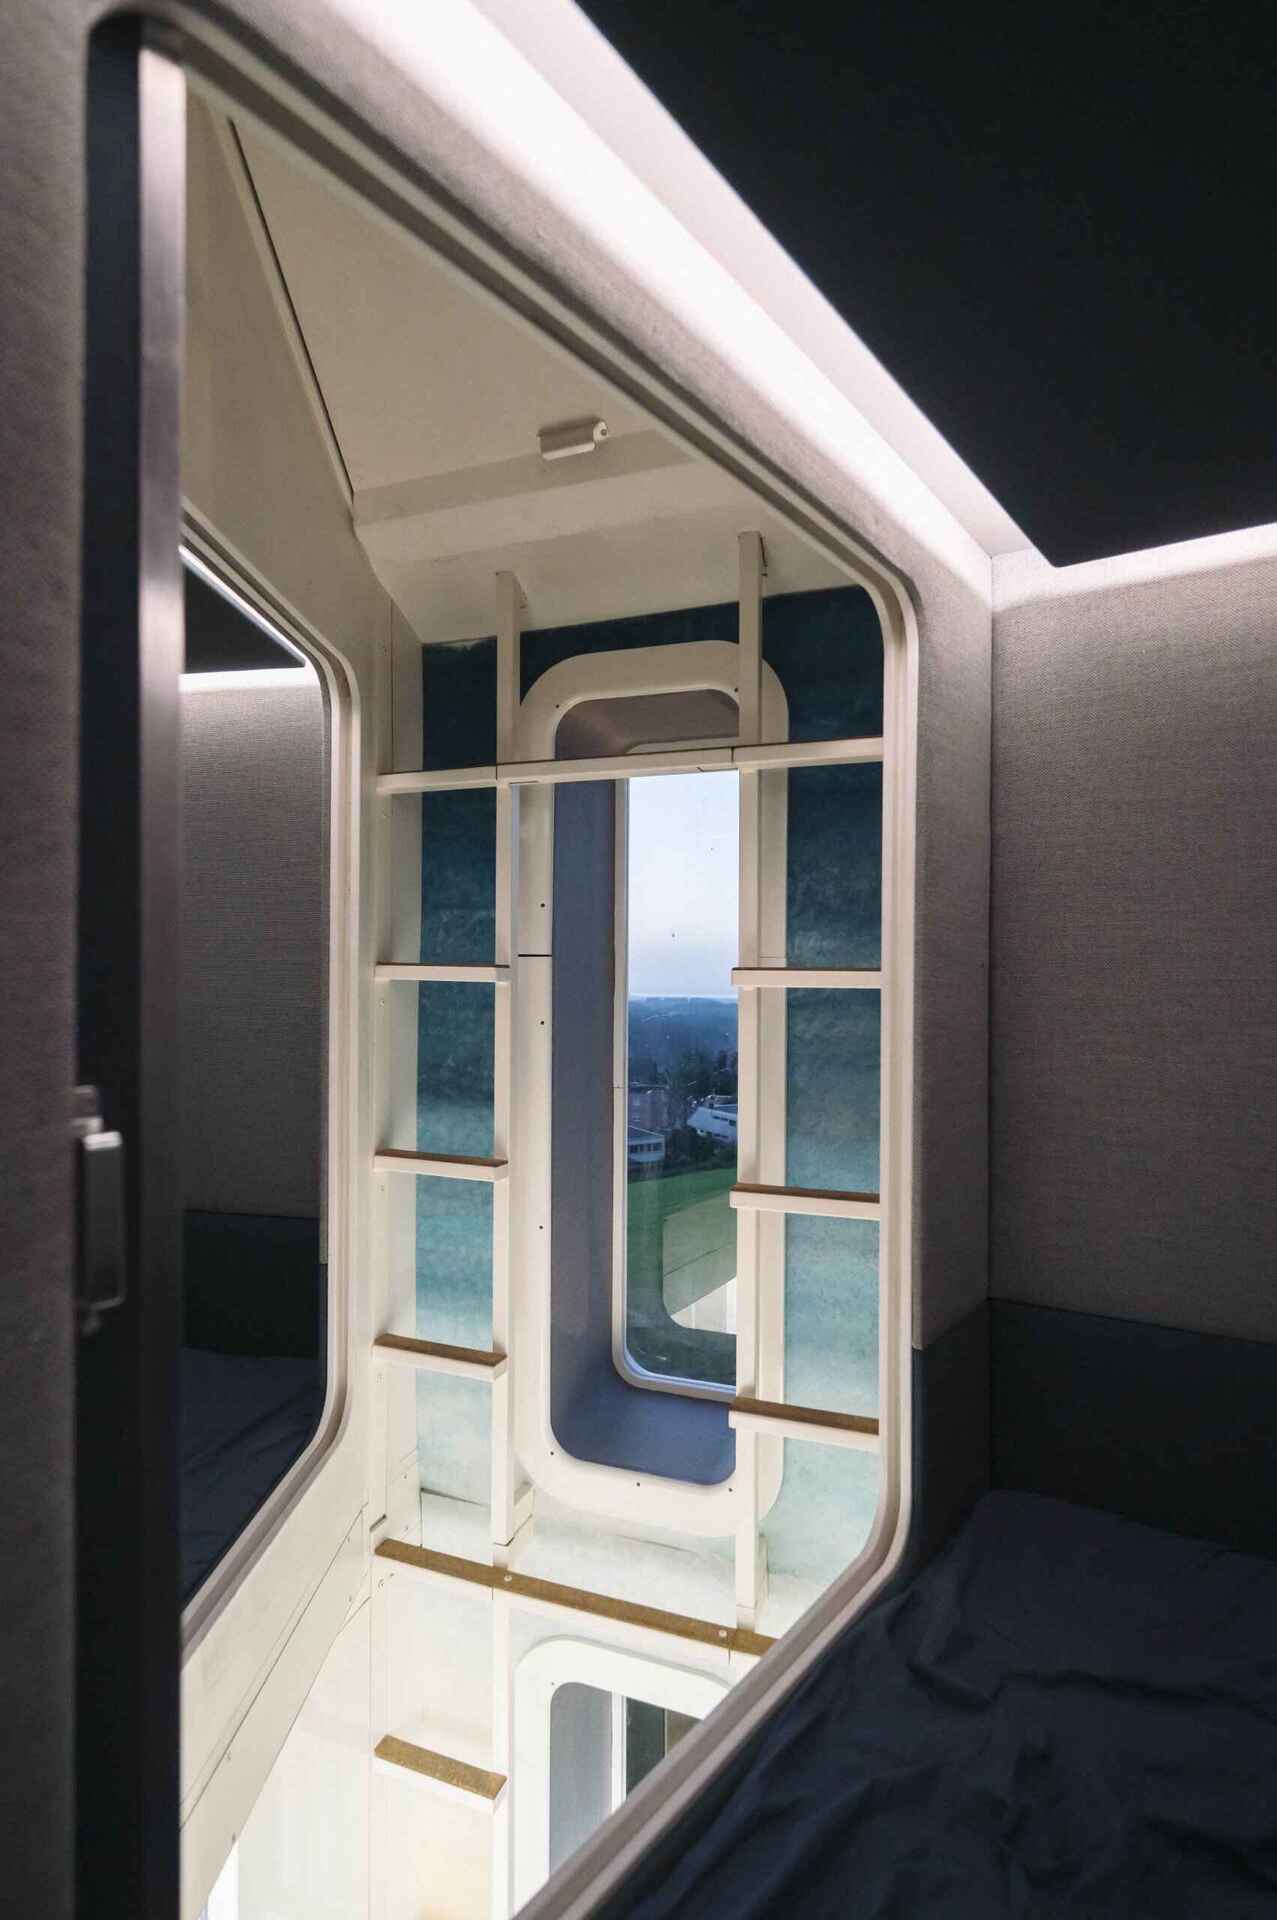
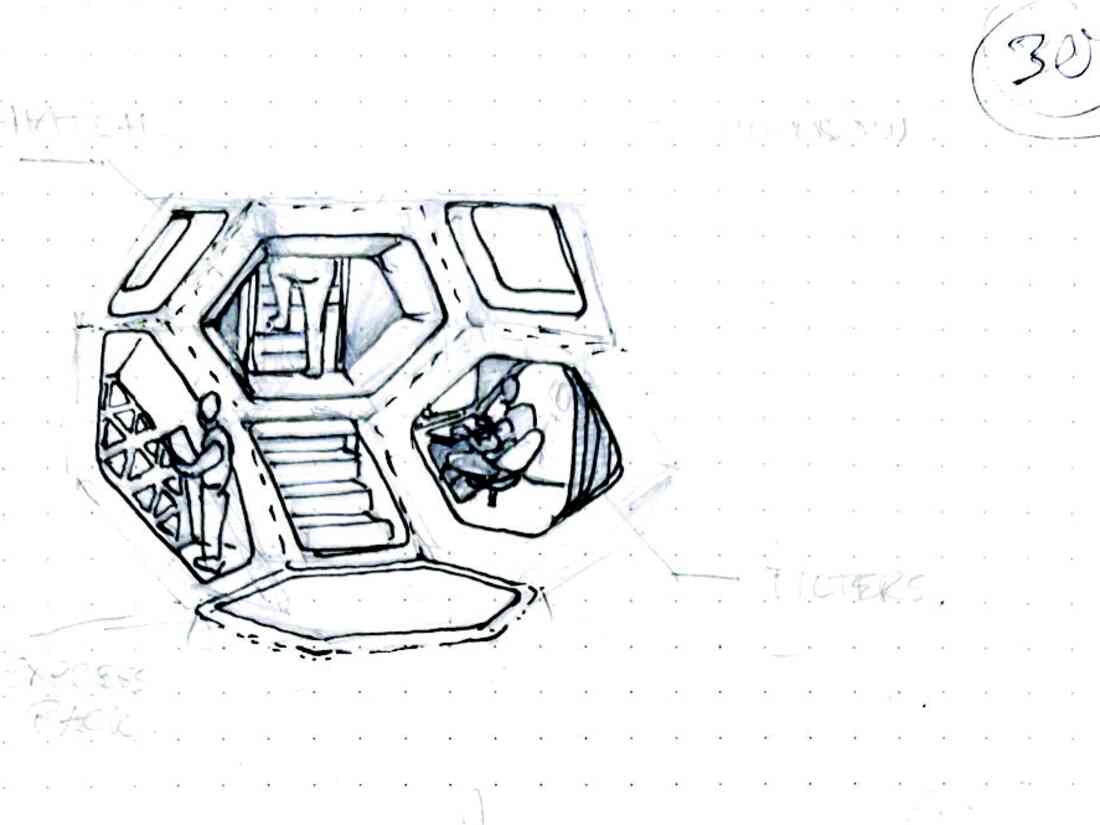
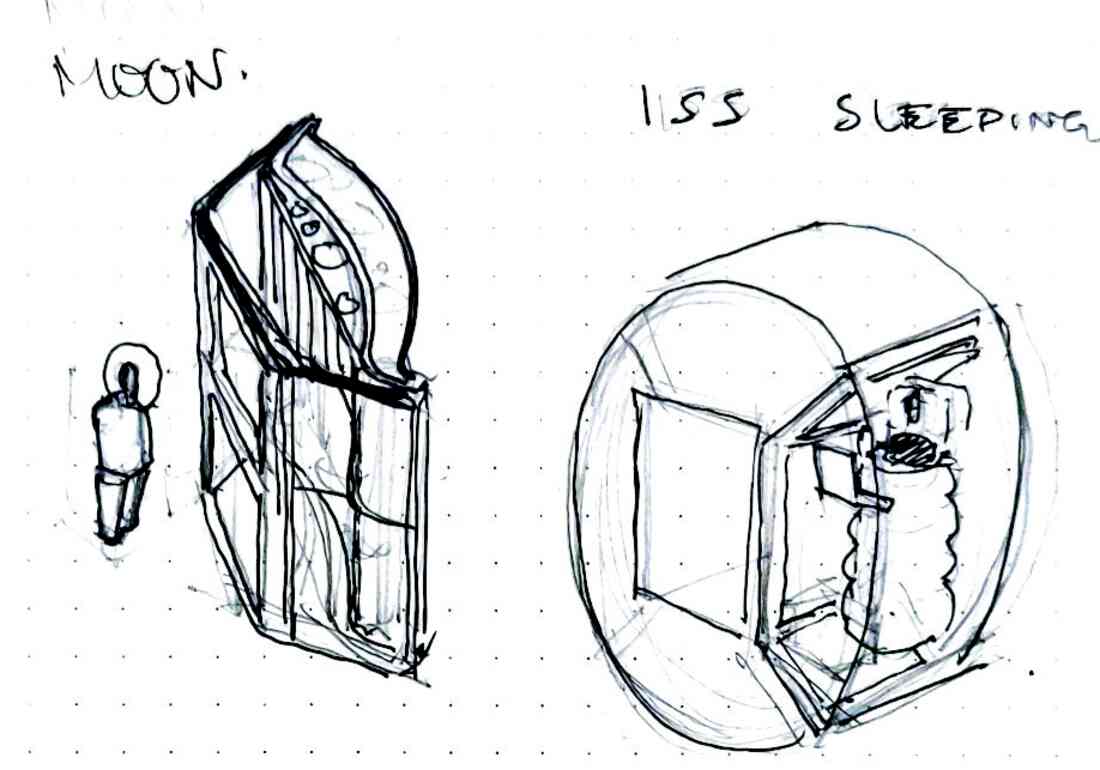
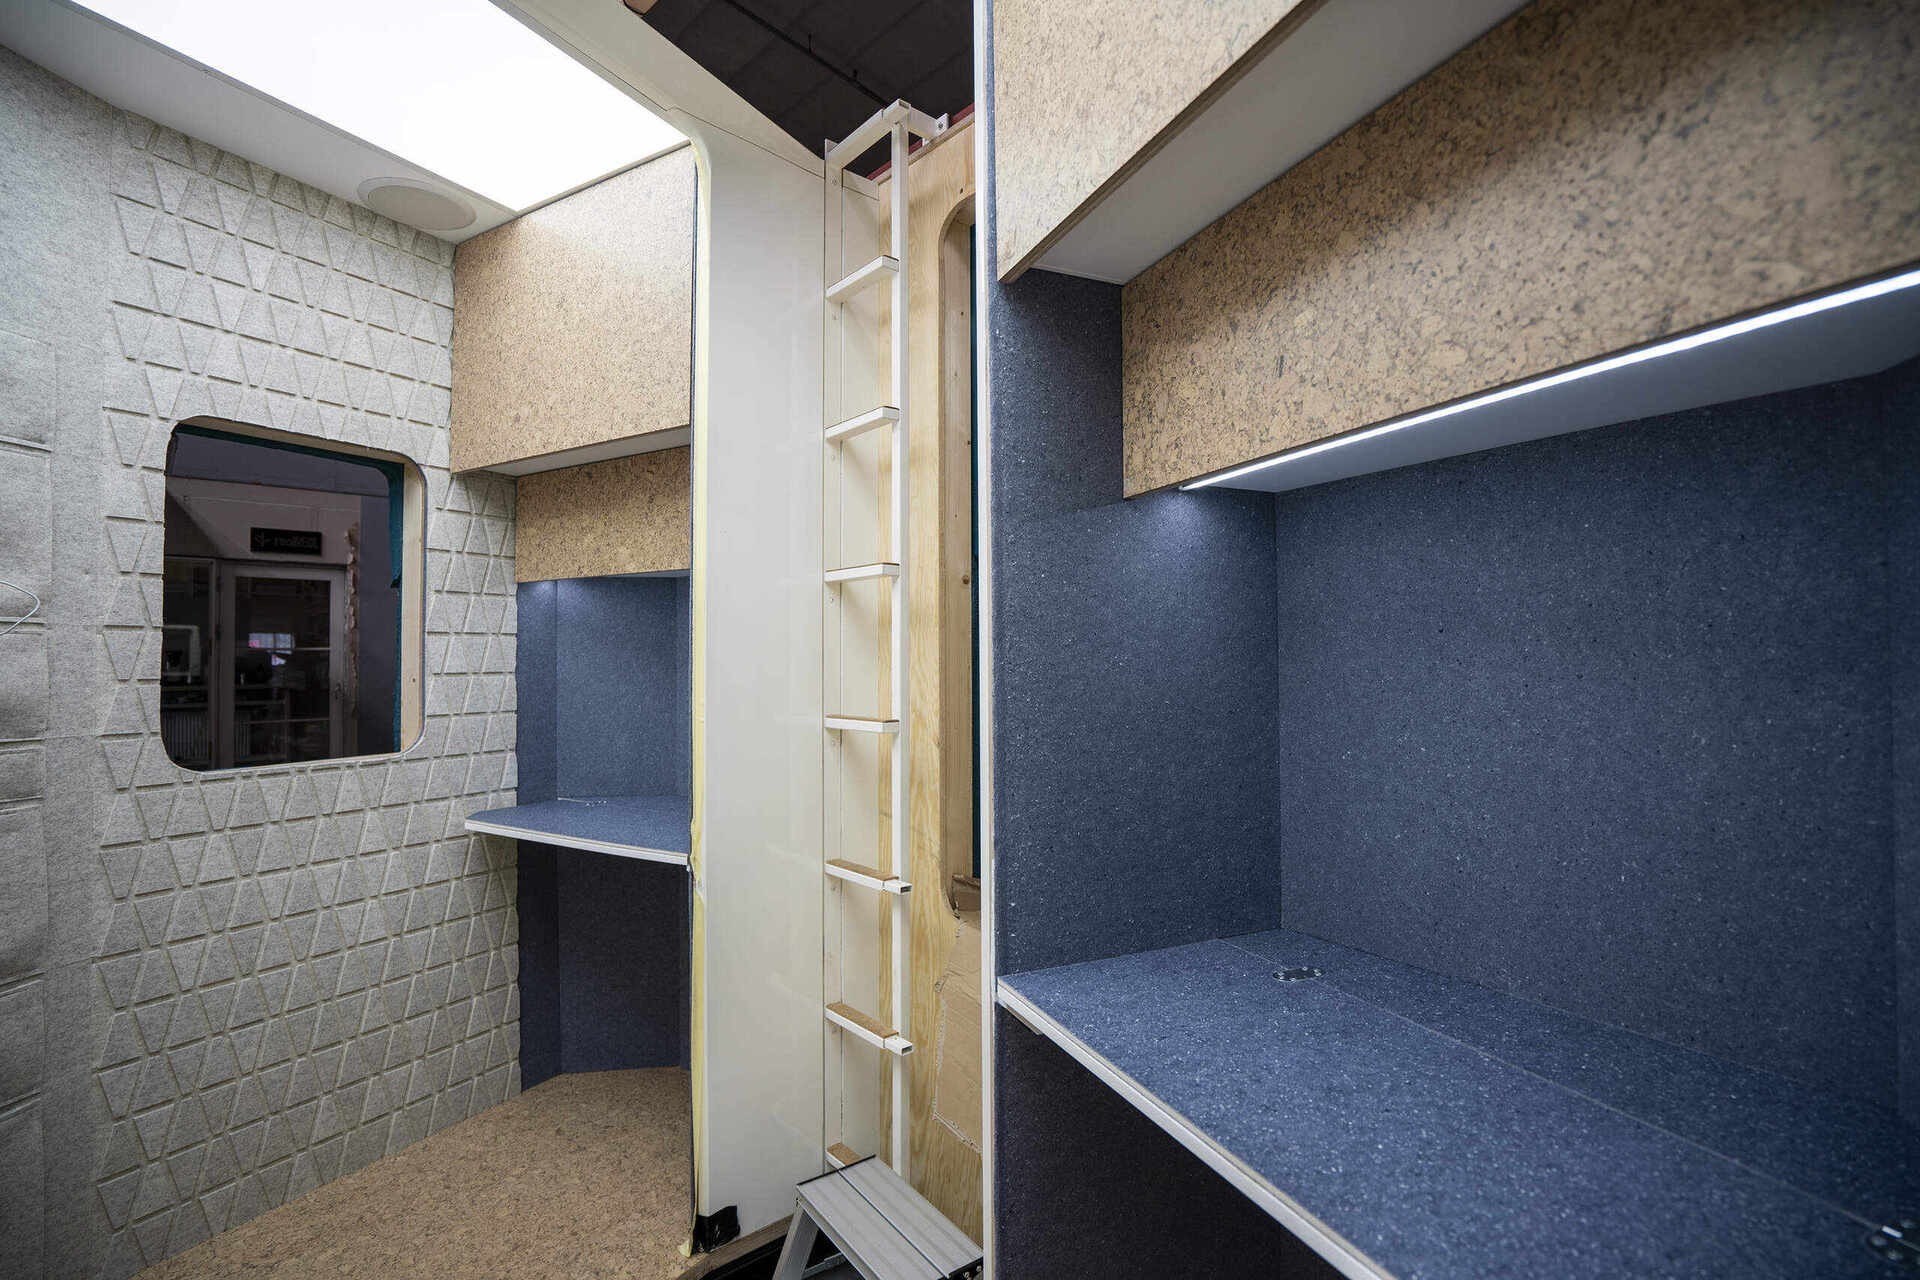
Sleeping Pods
The habitat has two sleeping cabins on the top floor. They have a comfy and soothing textile covering the walls and ceiling, making it a relaxing cocoon where one can get some privacy when needed. It also has personal storage and the light is indirect, giving the illusion of natural daylight coming in from above.
- Kvadrat provided the high-quality poly-fiber textiles
- Really provided the recycled felt panels which we hand dyed
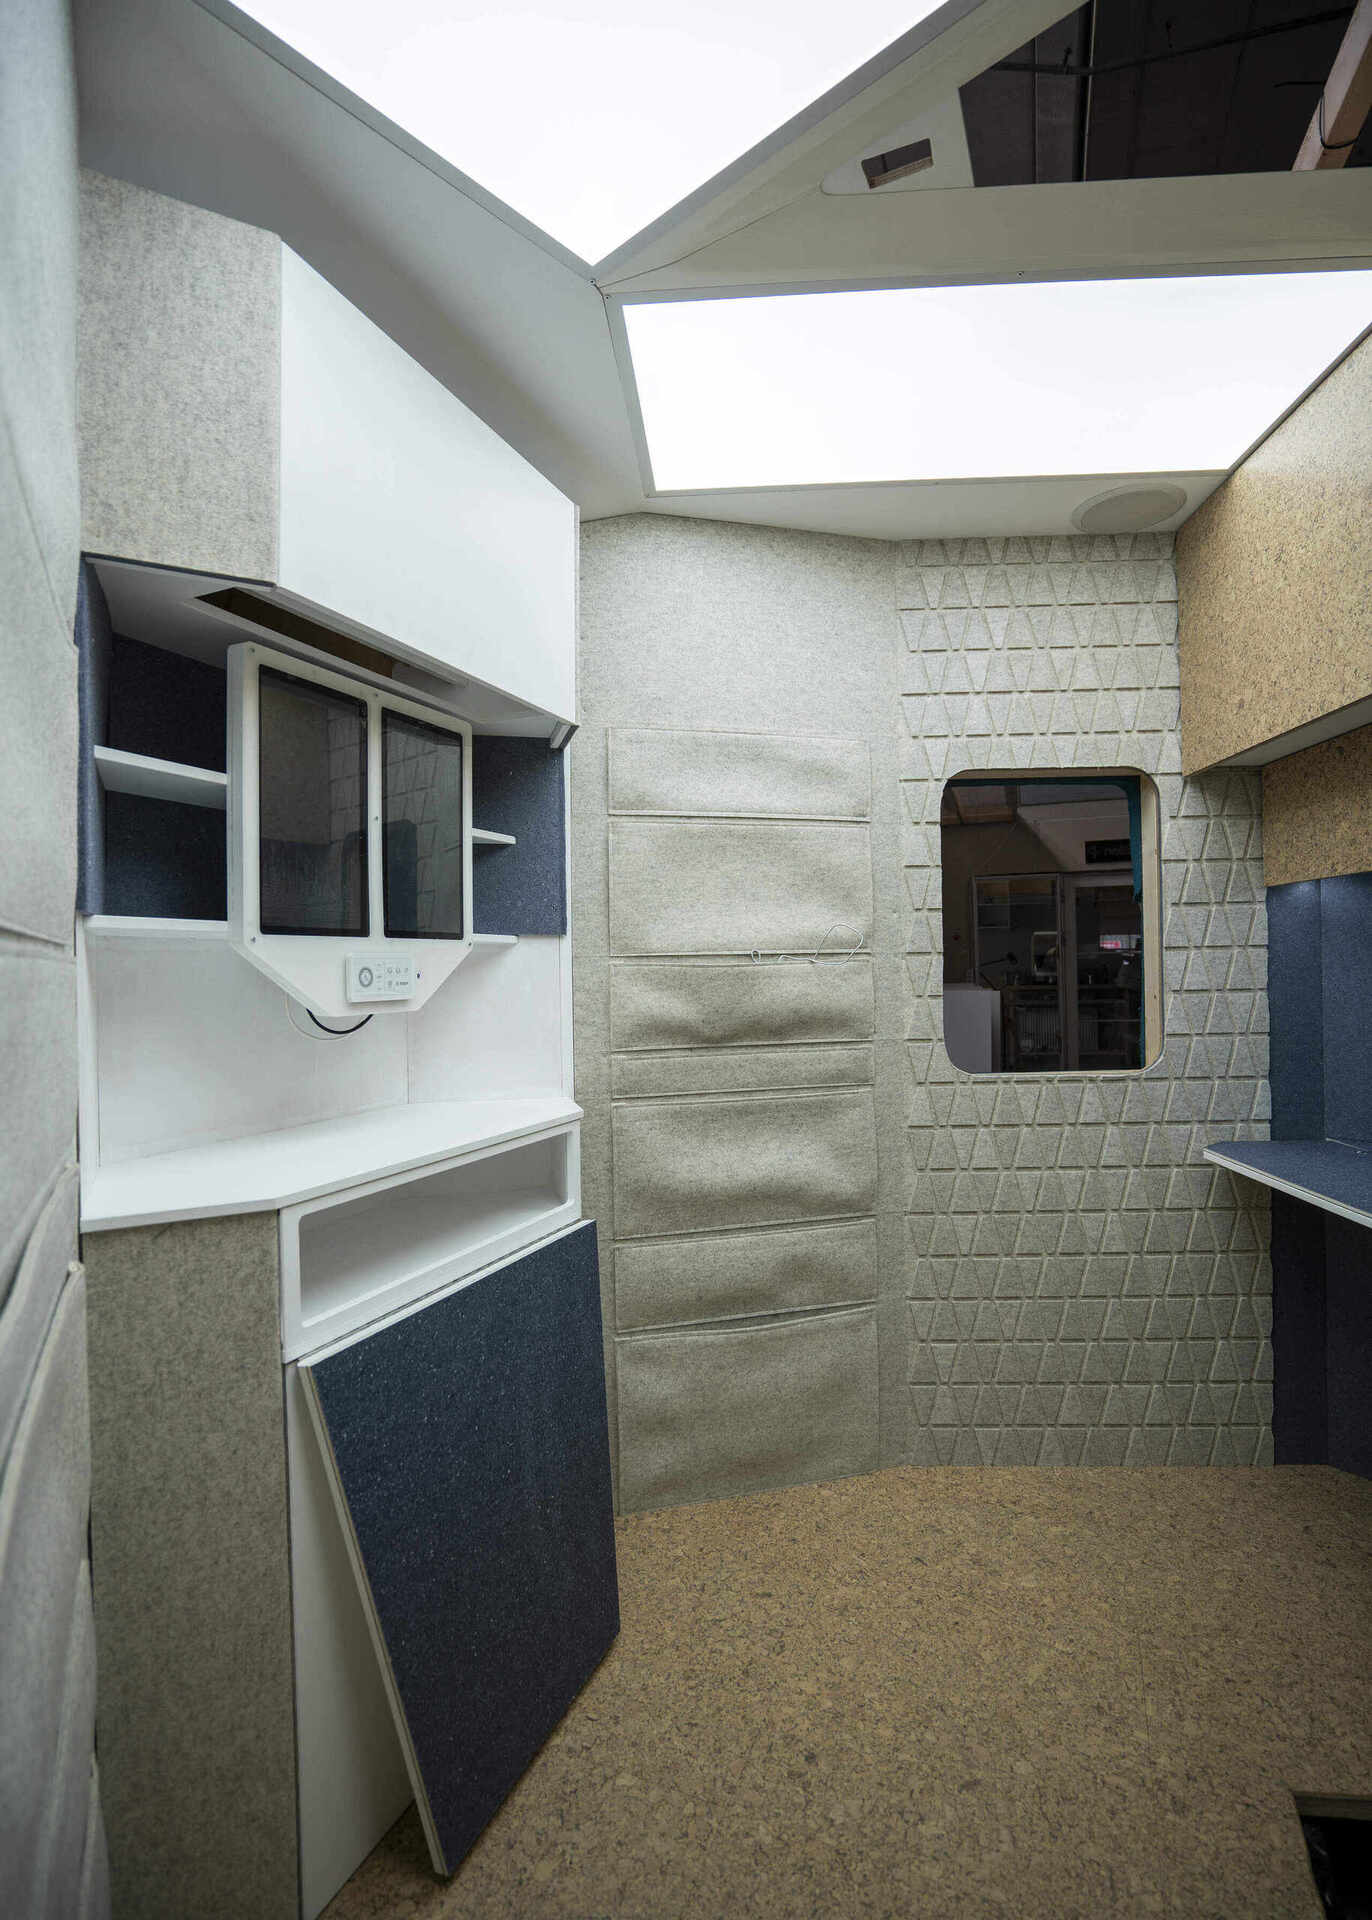
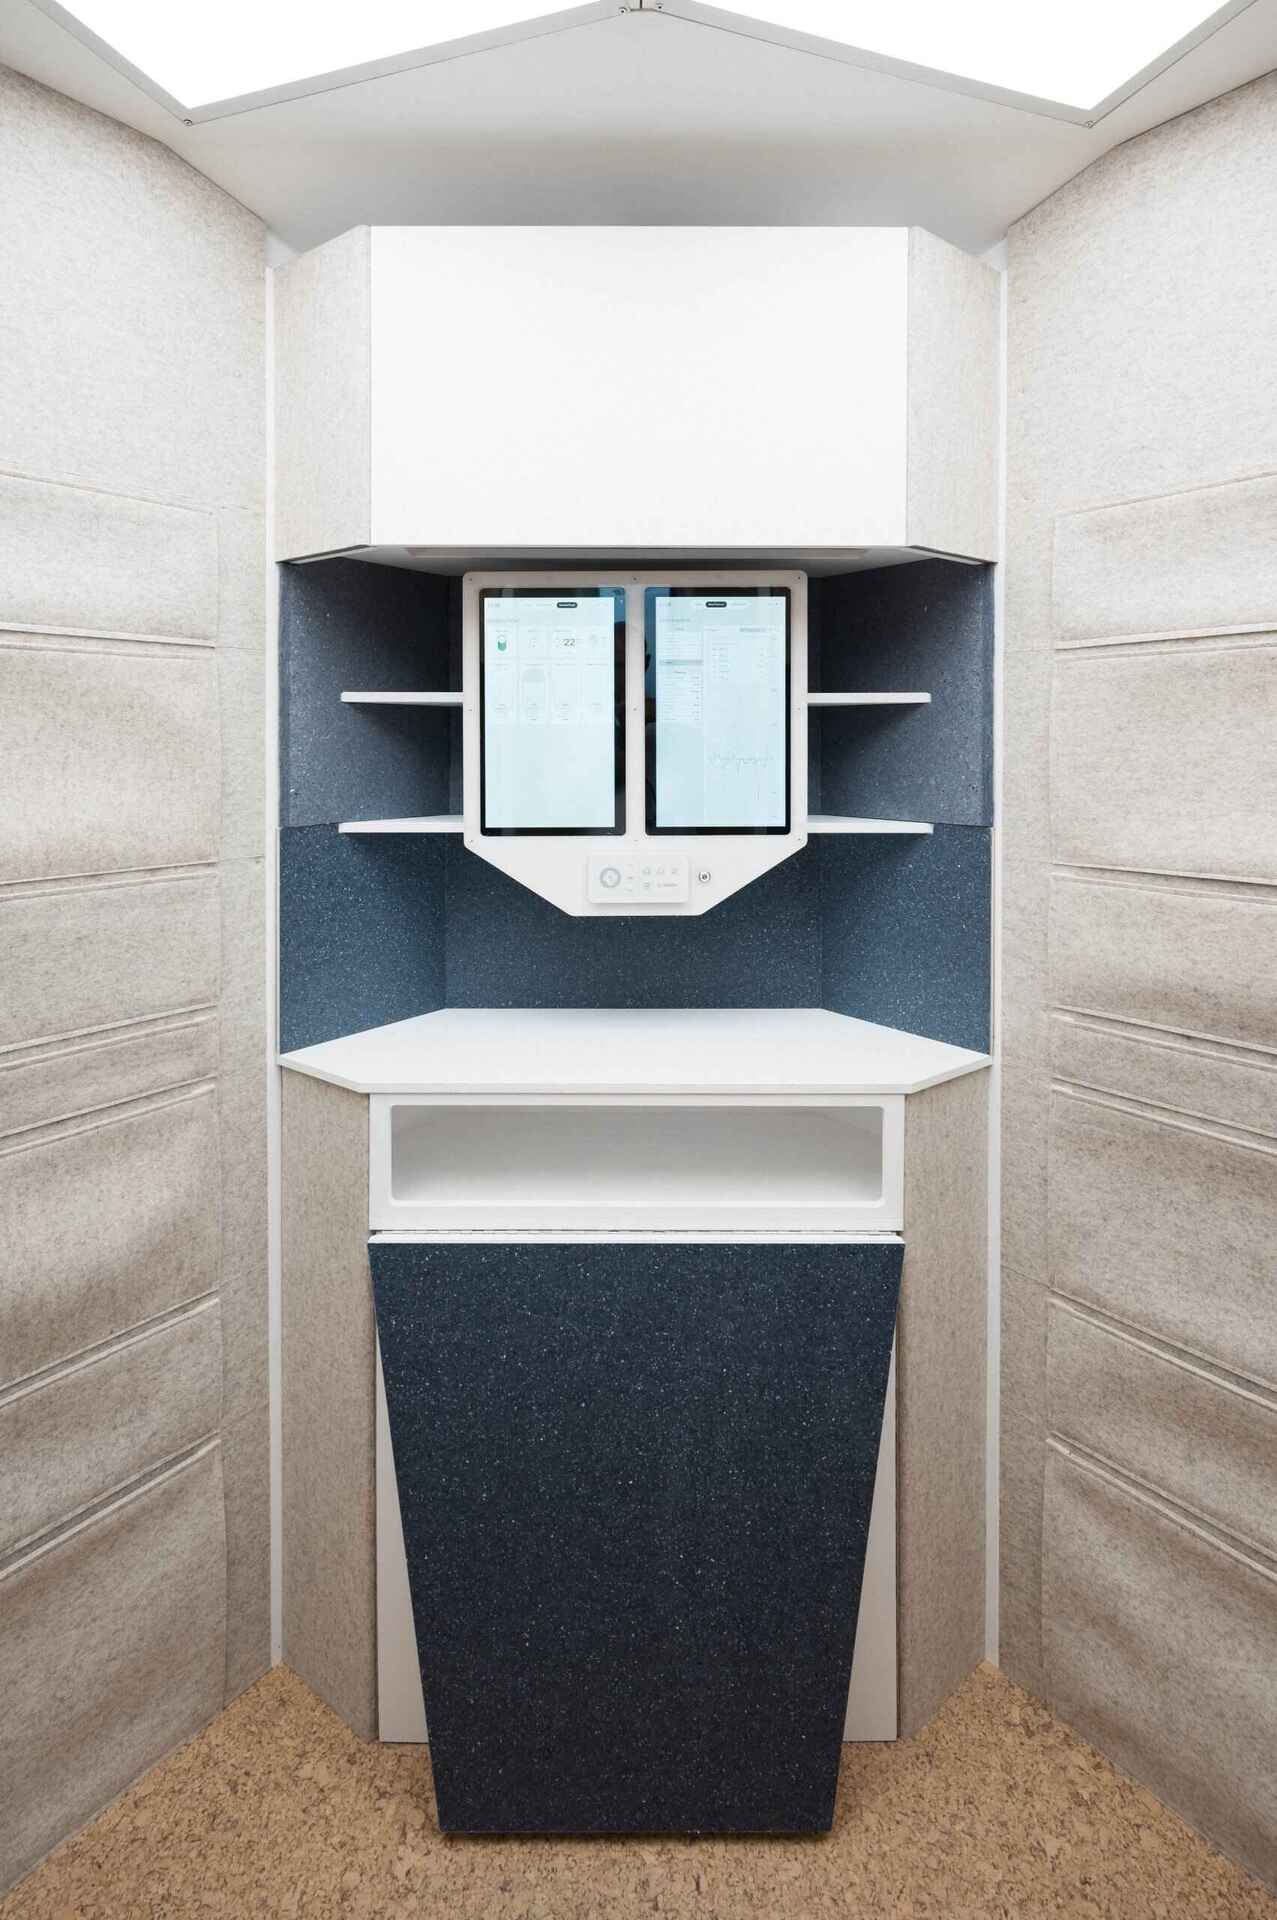
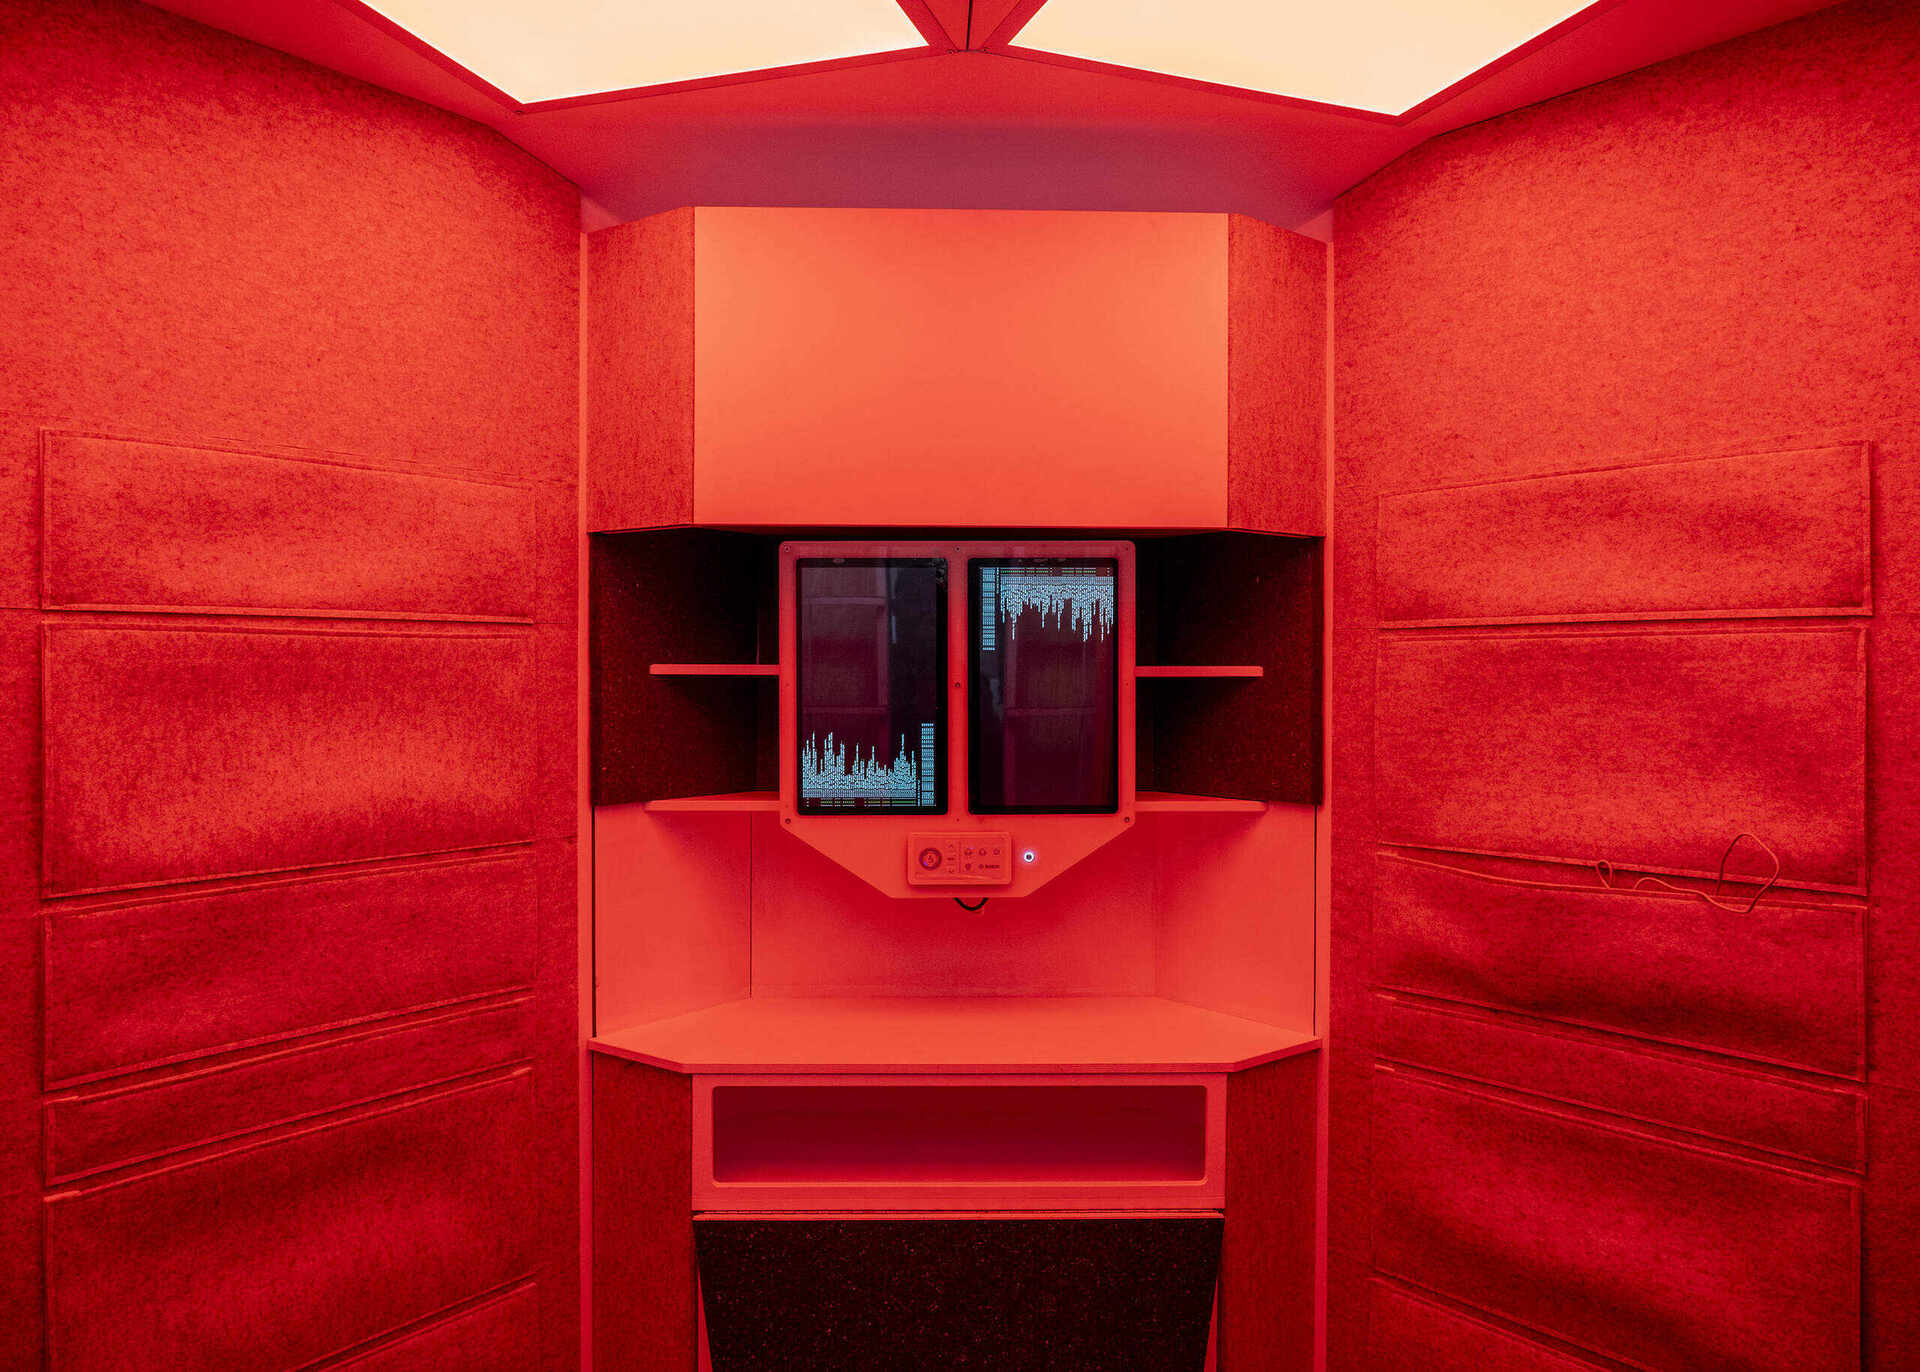
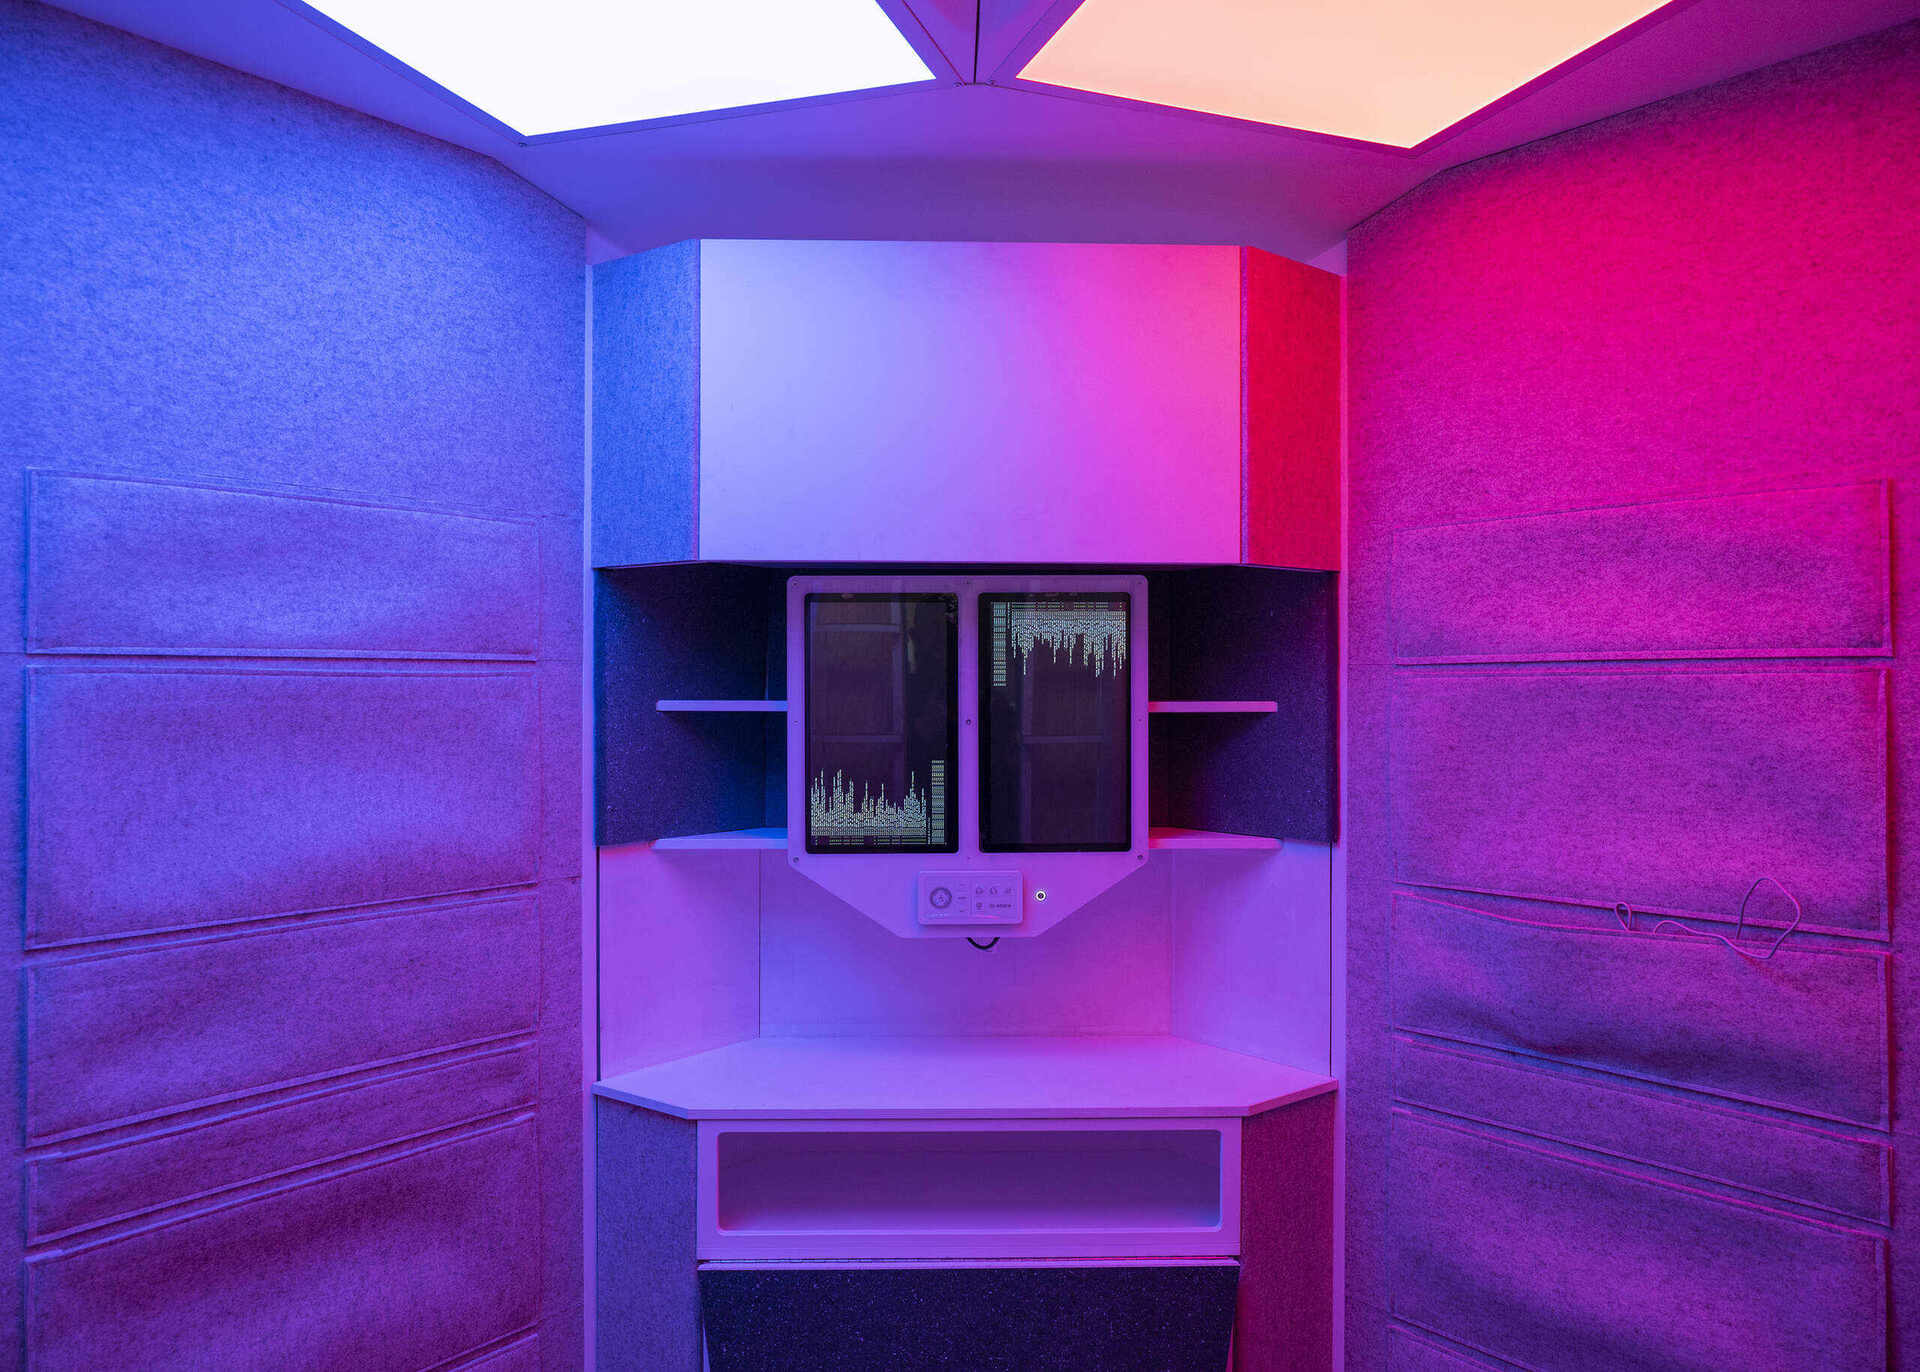
Dashboard & Table
The Living Quarters are on the middle floor. Here the crew can access two touch dashboards to control all functions of the habitat. They can also monitor sensor data. In this section, there is also a table which can be folded down to maximize space usage.
- Submaterial co-designed and manufactured the felt panels and vertical wall storage. It's made with 100% natural wool
- Really provided the recycled felt panels which we hand dyed
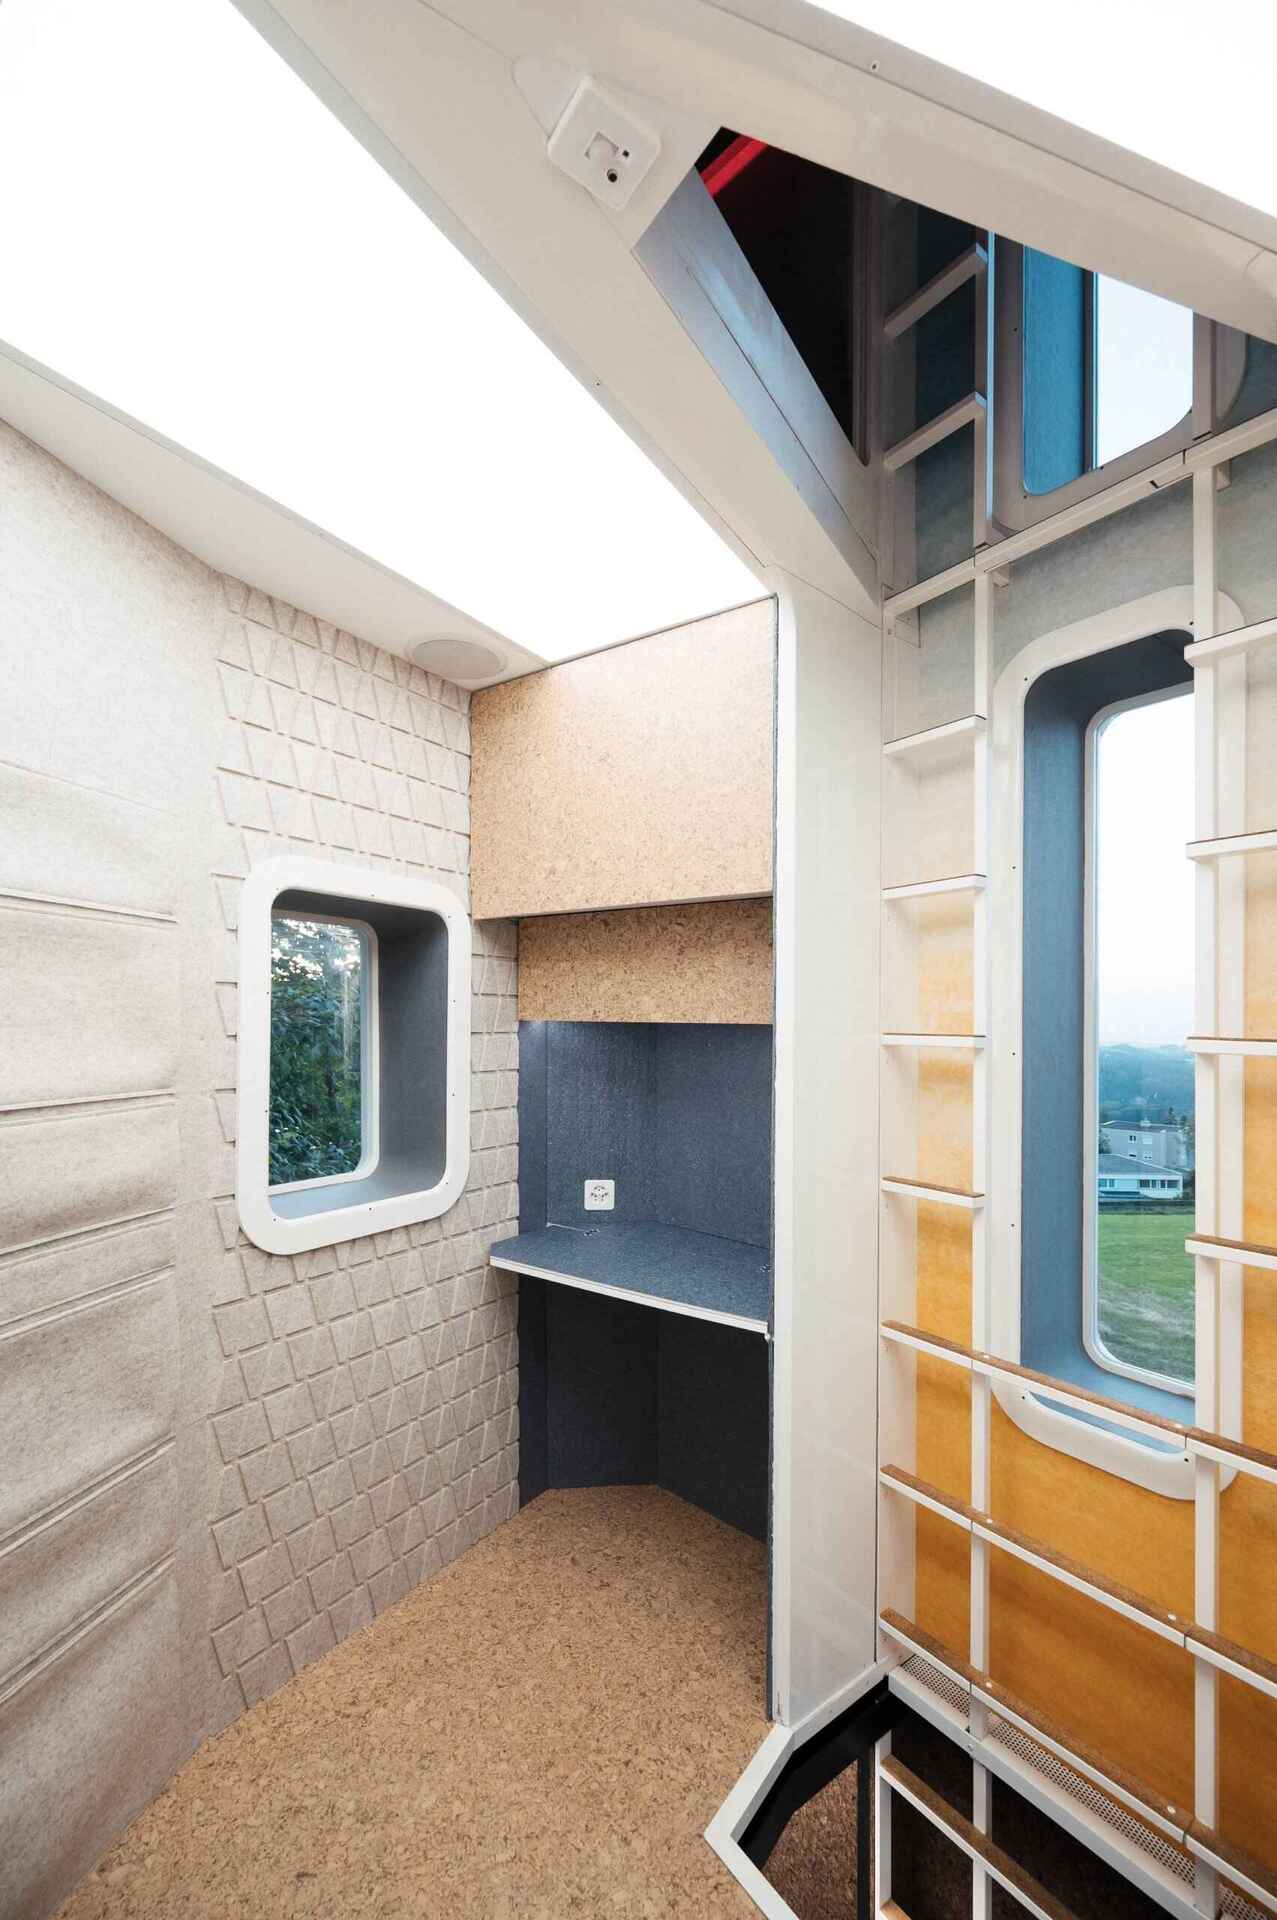
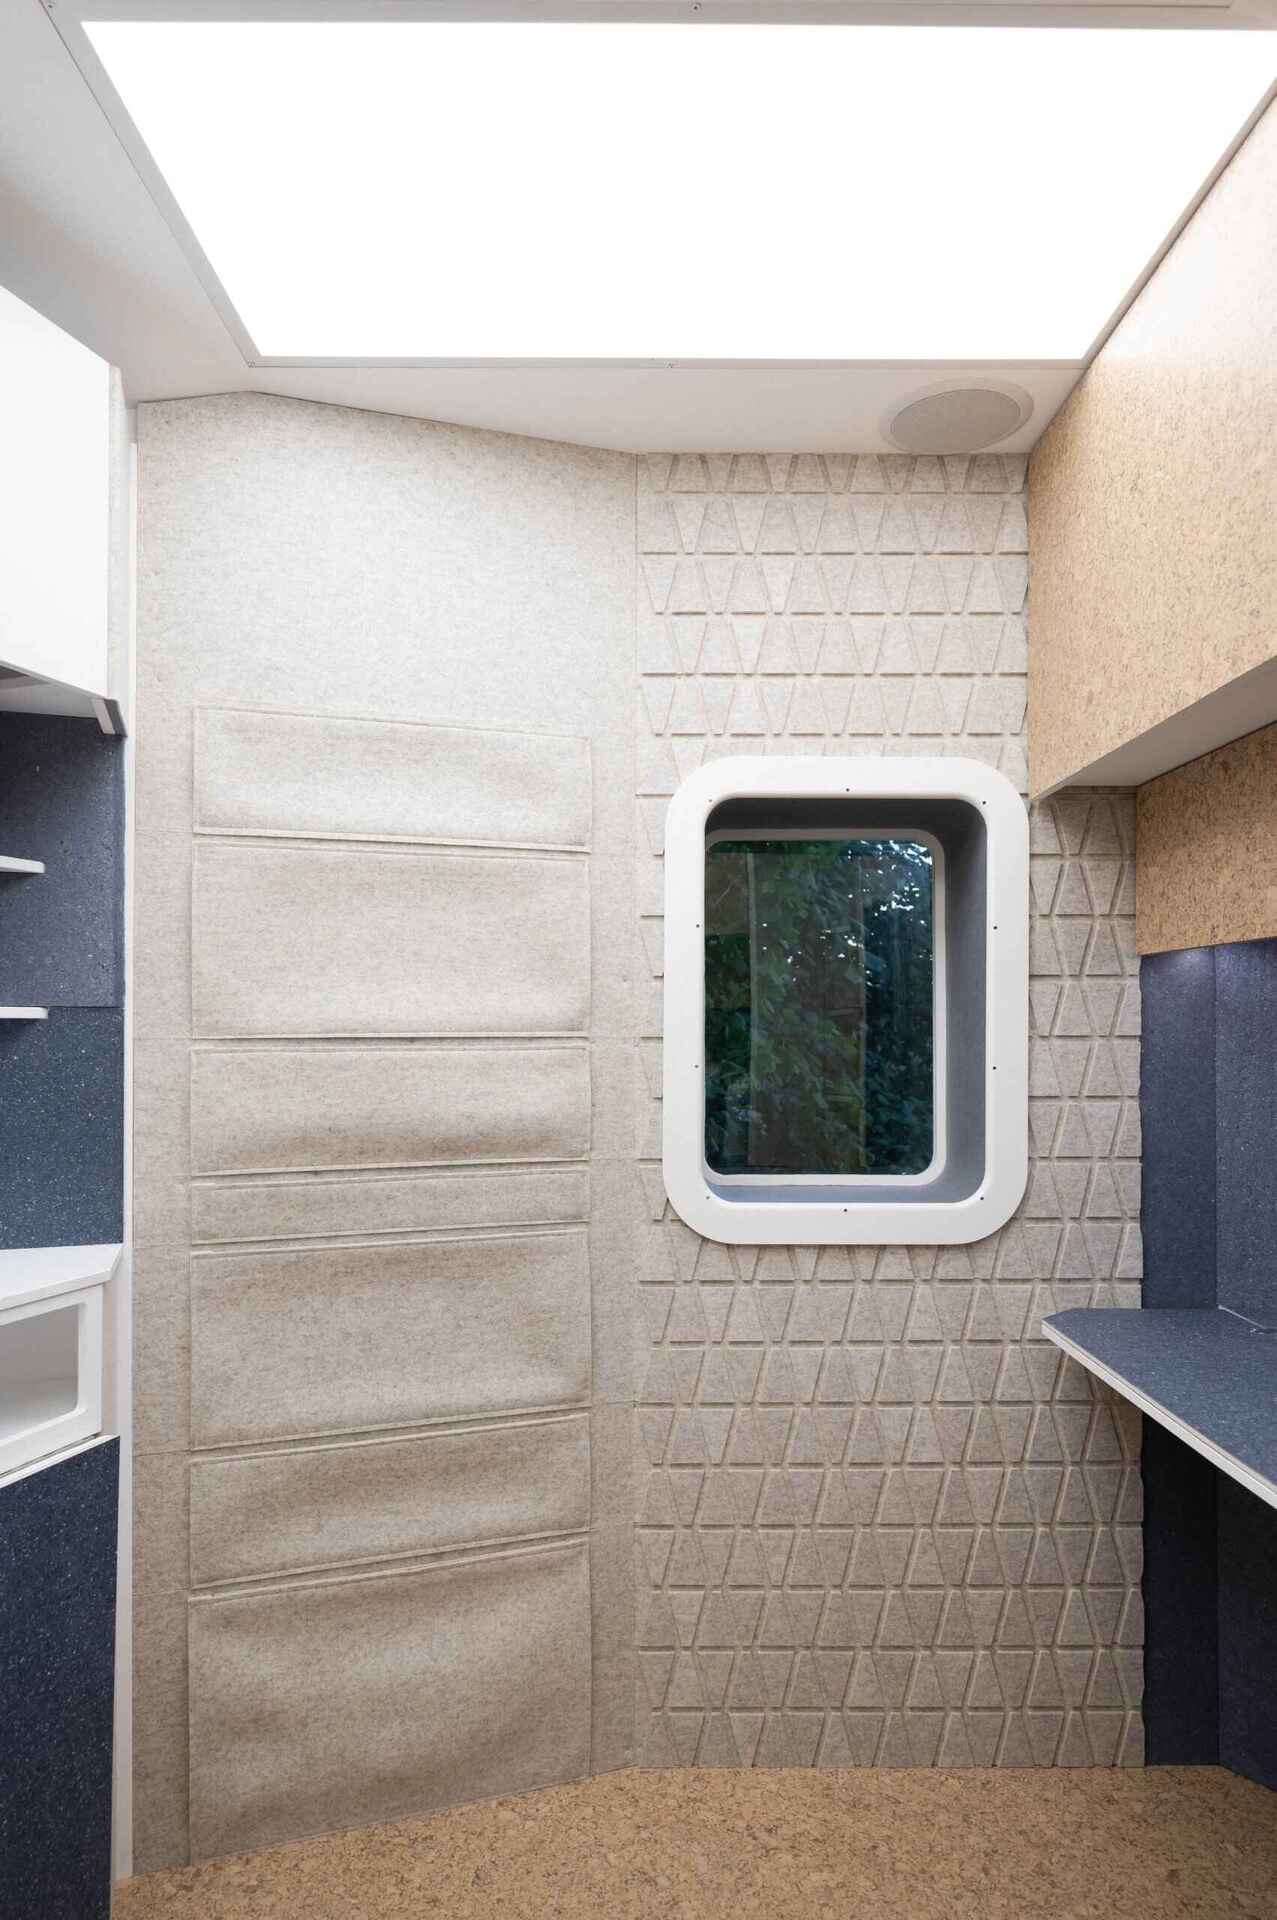
Desks
The Living Quarters has two desks, one for each crew member. The work surface is evenly lit and there are two big storage cabinets overhead for personal storage. The desks fold, so the crew can use the space when not using each desk. There is also a window next to each desk, so the crew member doesn't feel too encapsulated.
- Amorim provided the natural cork which covers the floor and head storage
- Submaterial co-designed and manufactured the felt panels and vertical wall storage. It's made with 100% natural wool
- Really provided the recycled felt panels which we hand dyed
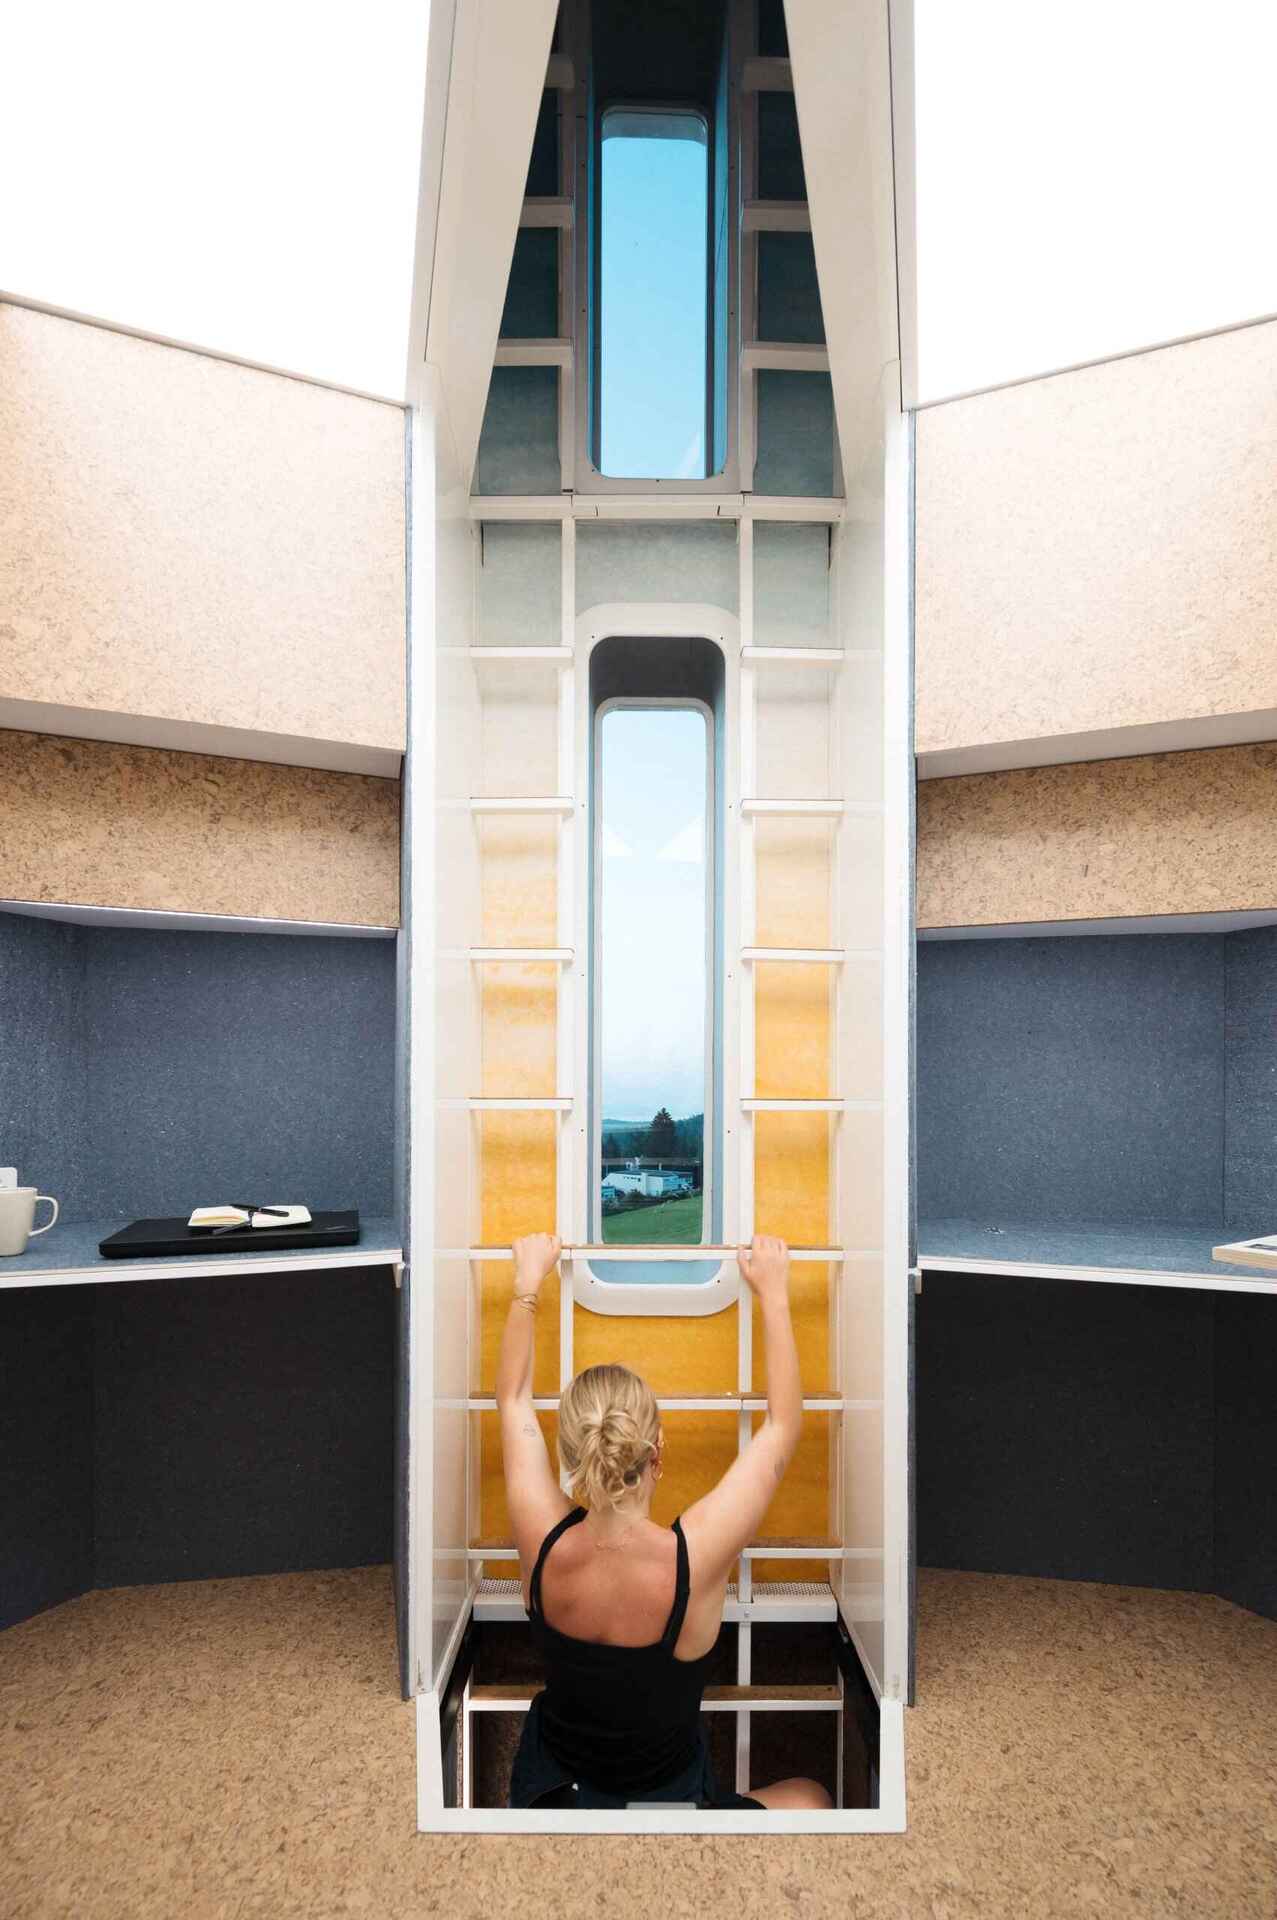
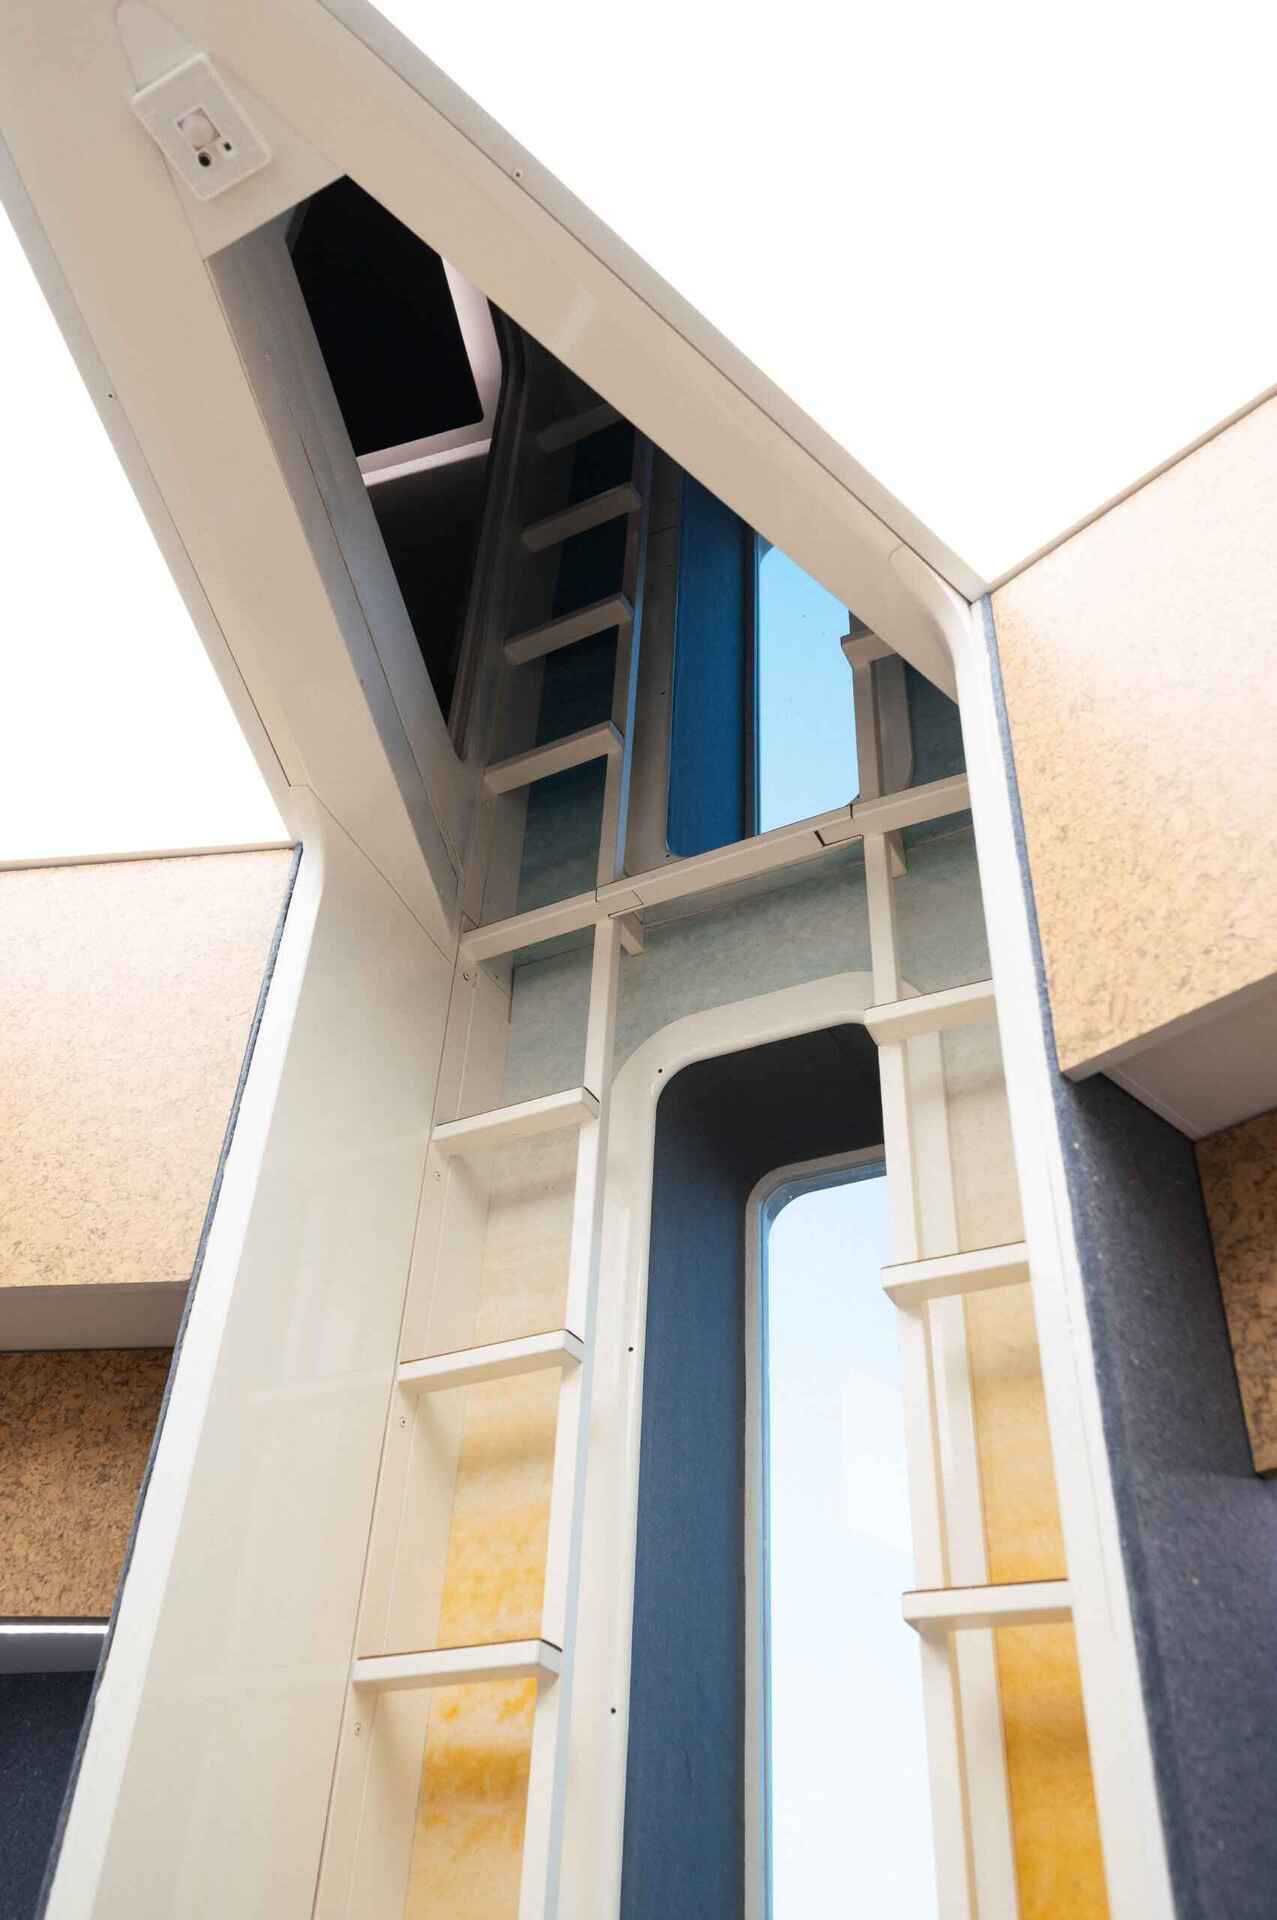
Ladder
A custom manufactured ladder is the primary means of traversing the habitat. With cork pads on each step, you have a good grip that is also not too harsh on the feet.
- Amorim provided the natural cork which covers the floor and head storage
- Really provided the recycled felt panels which we hand dyed
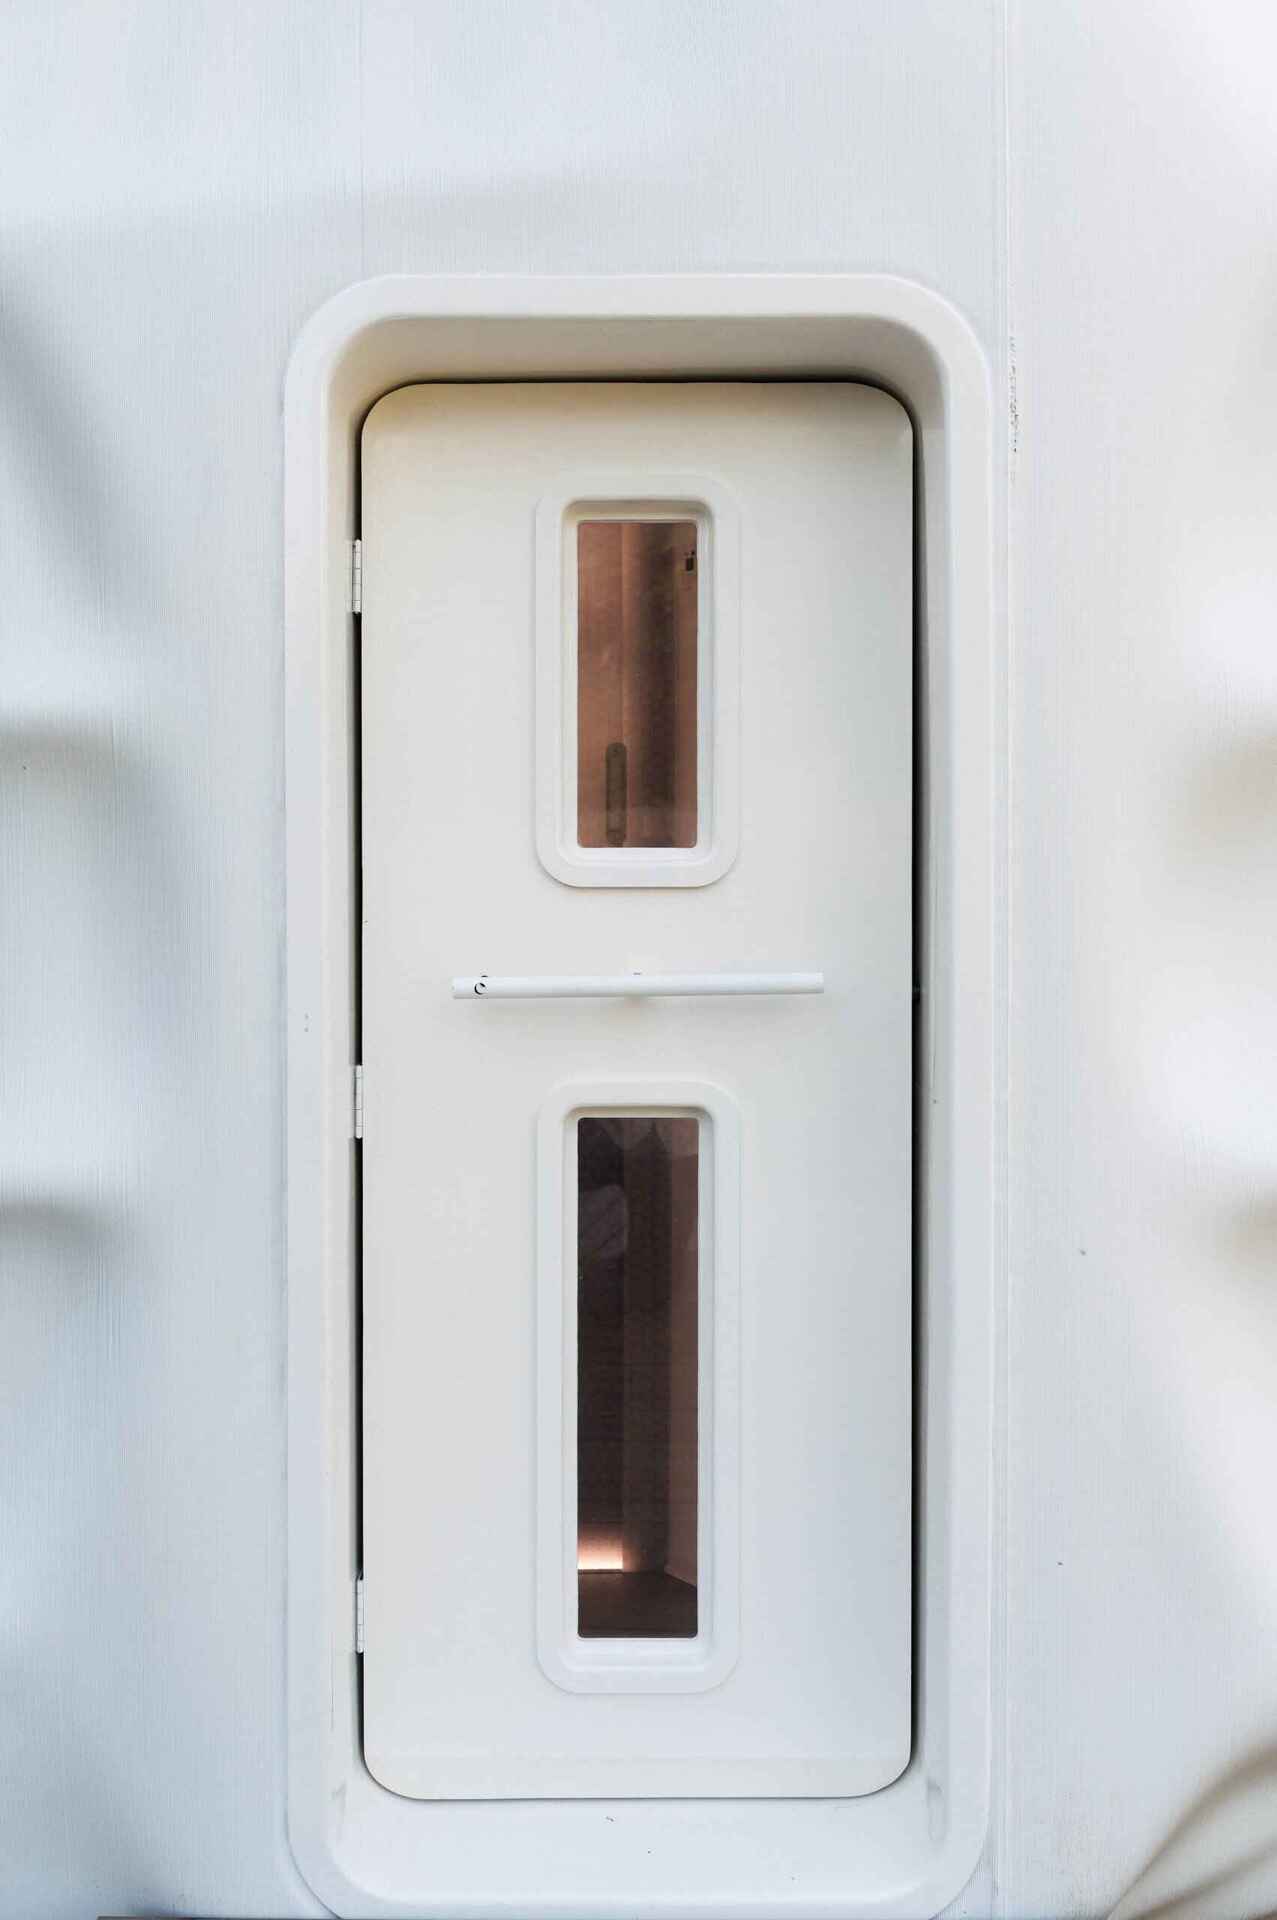
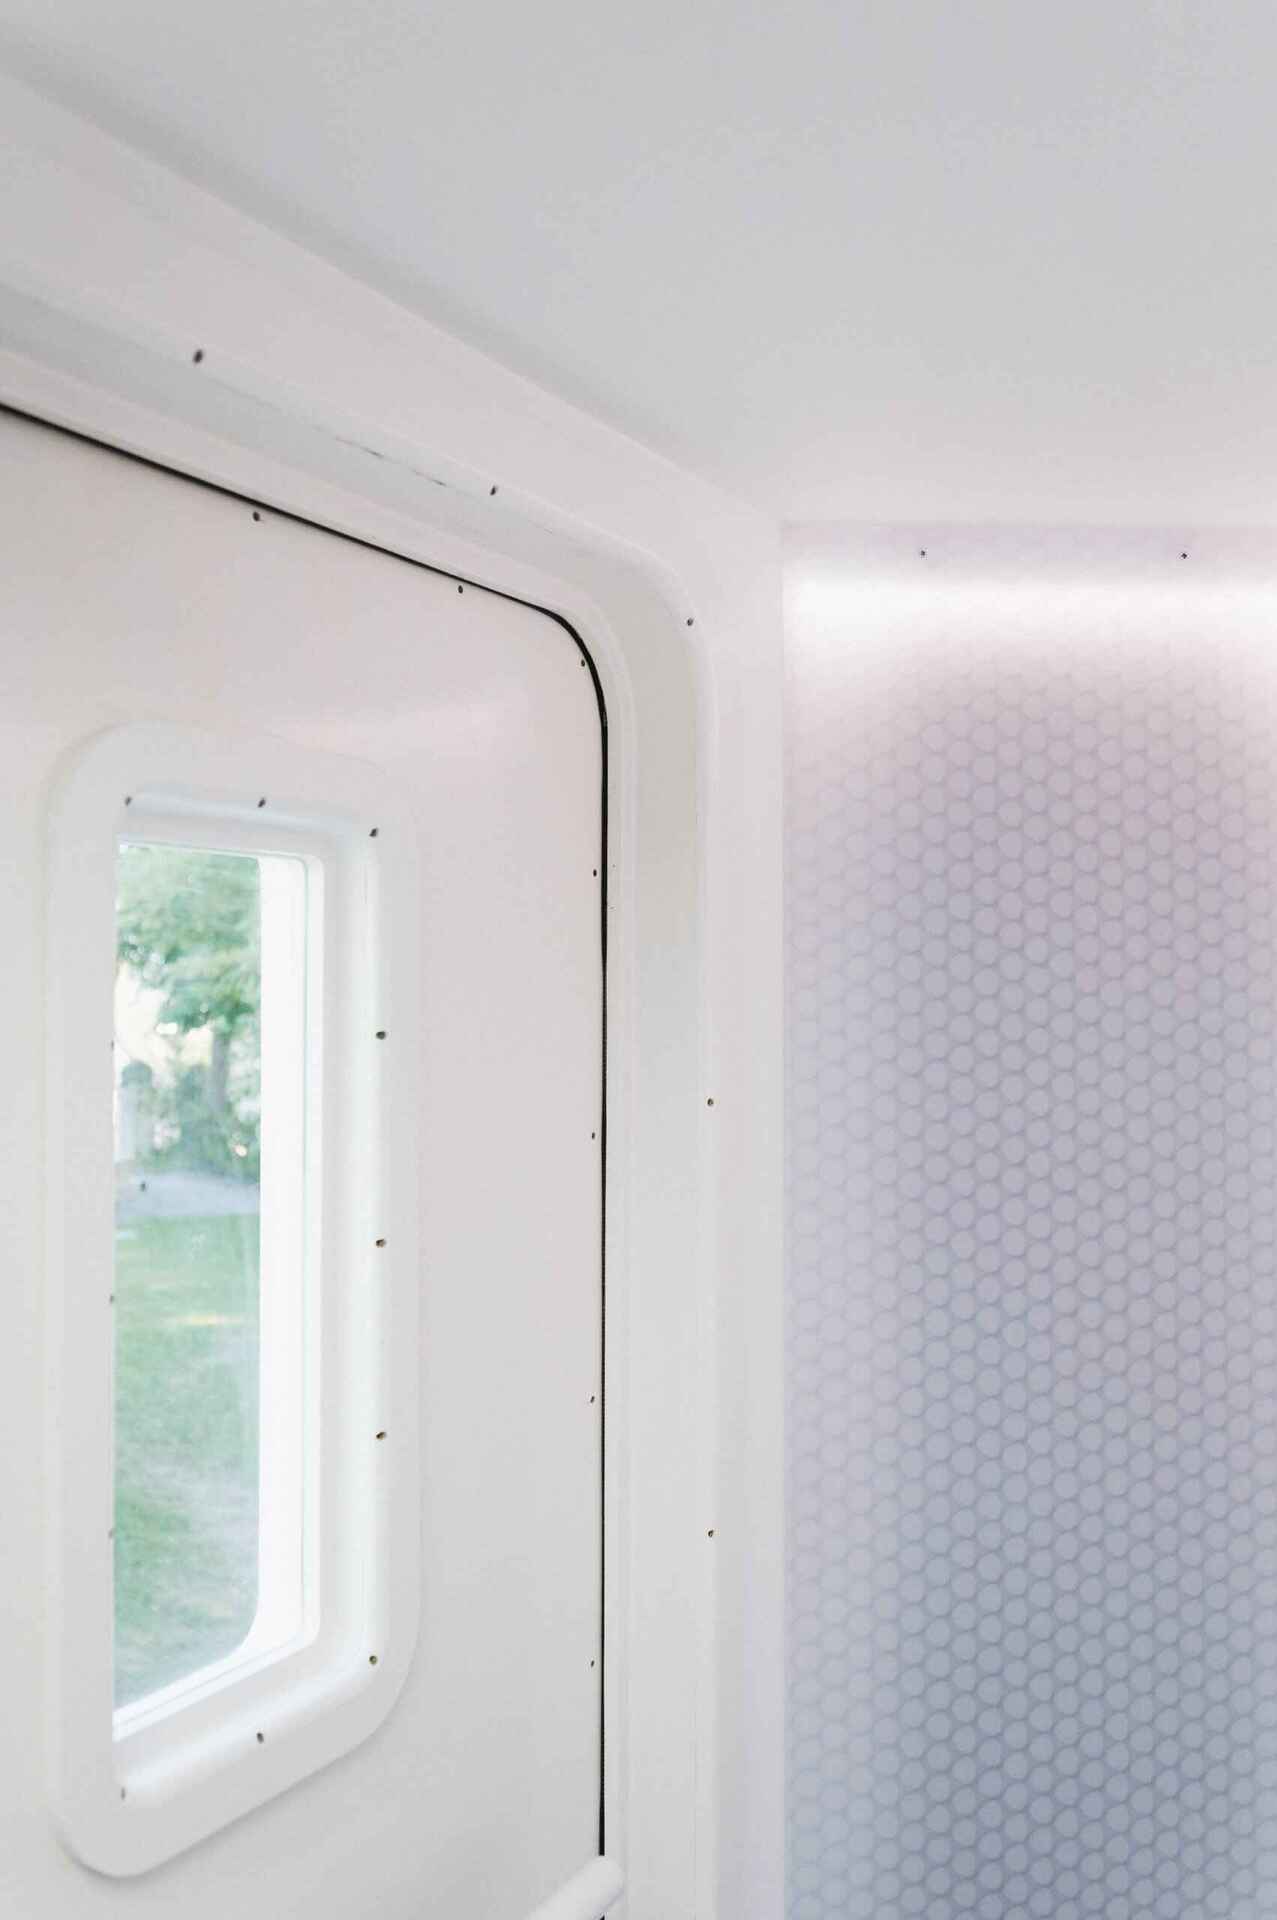
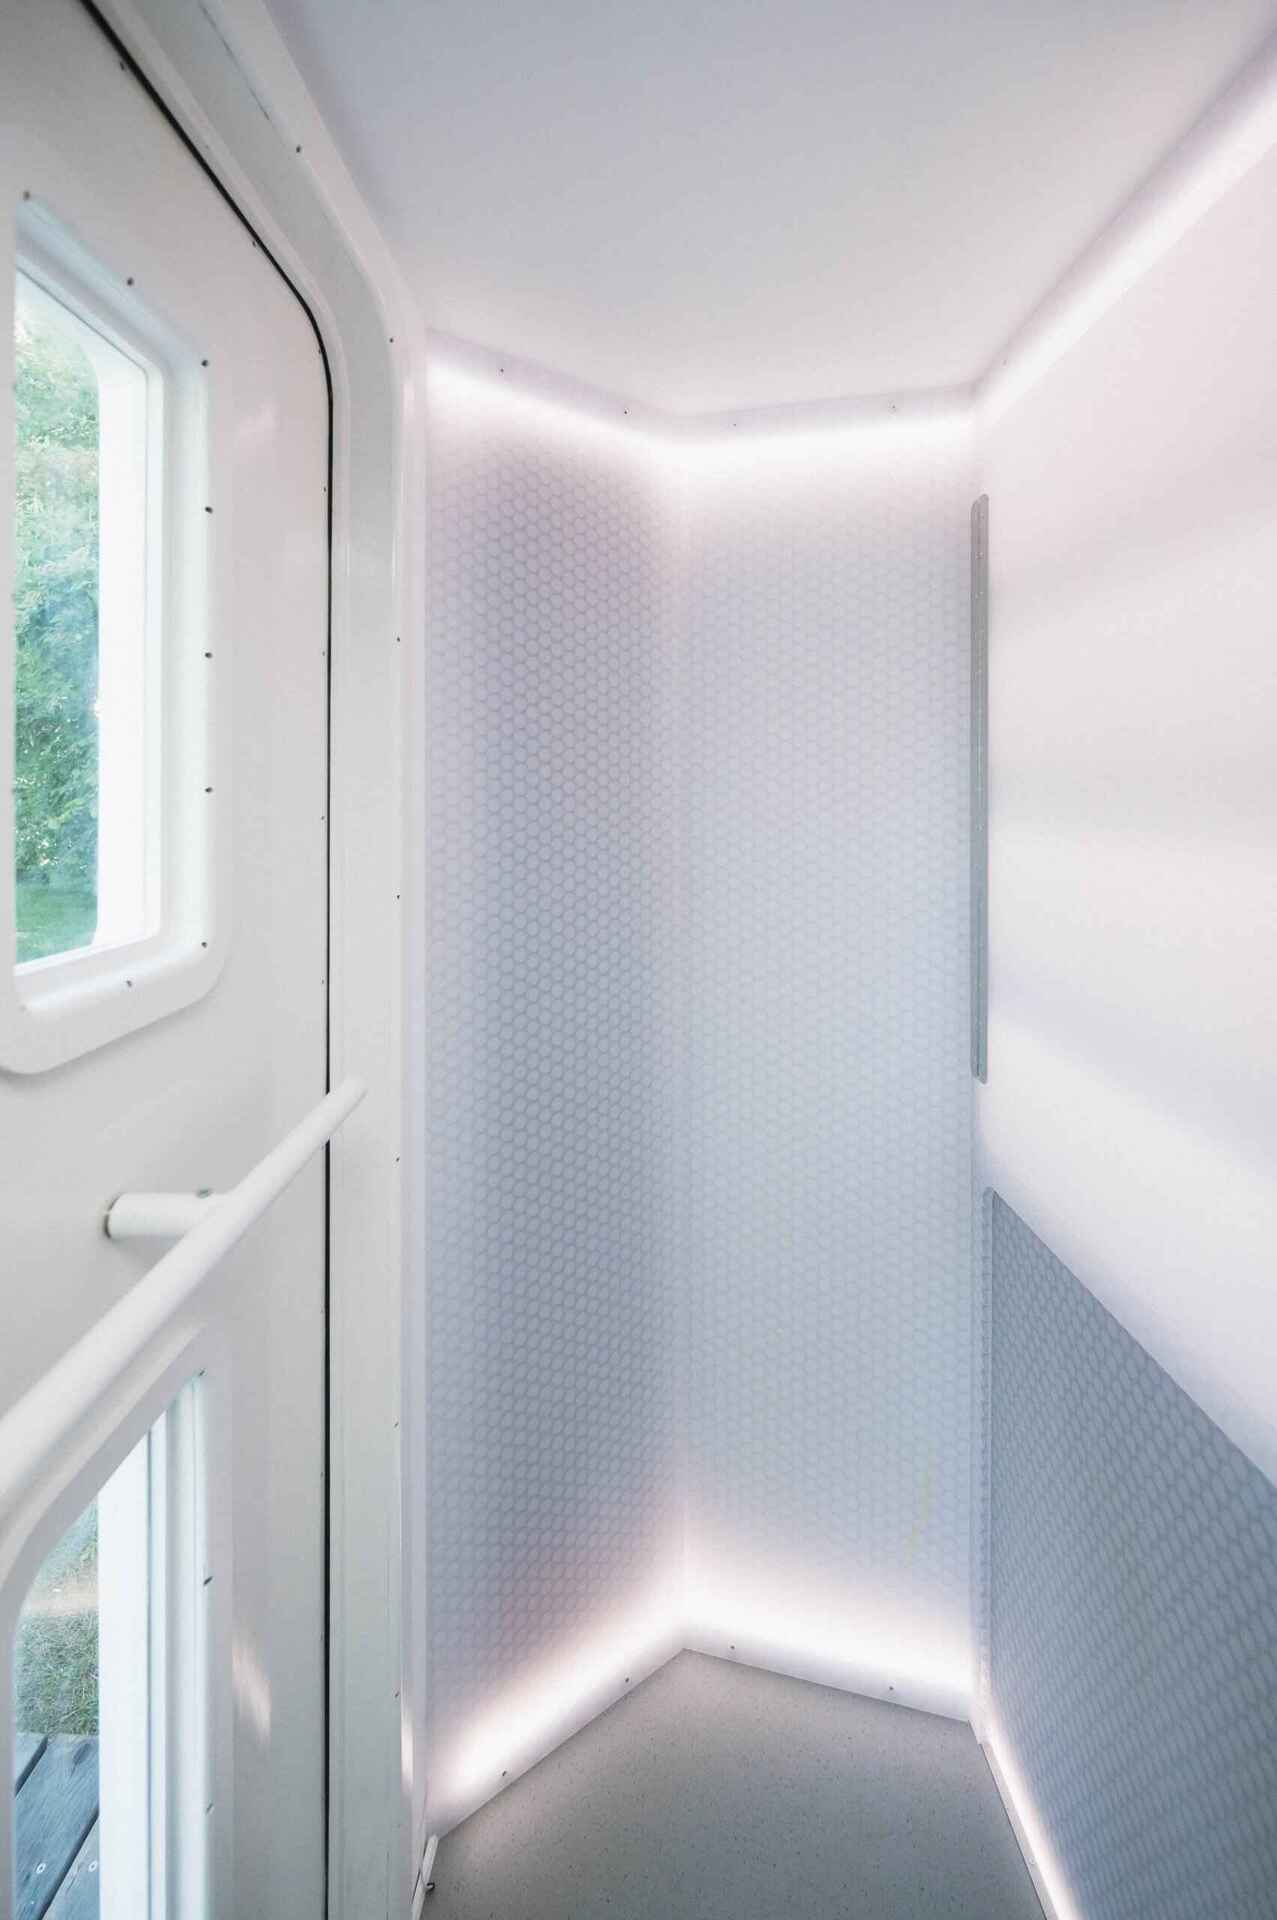
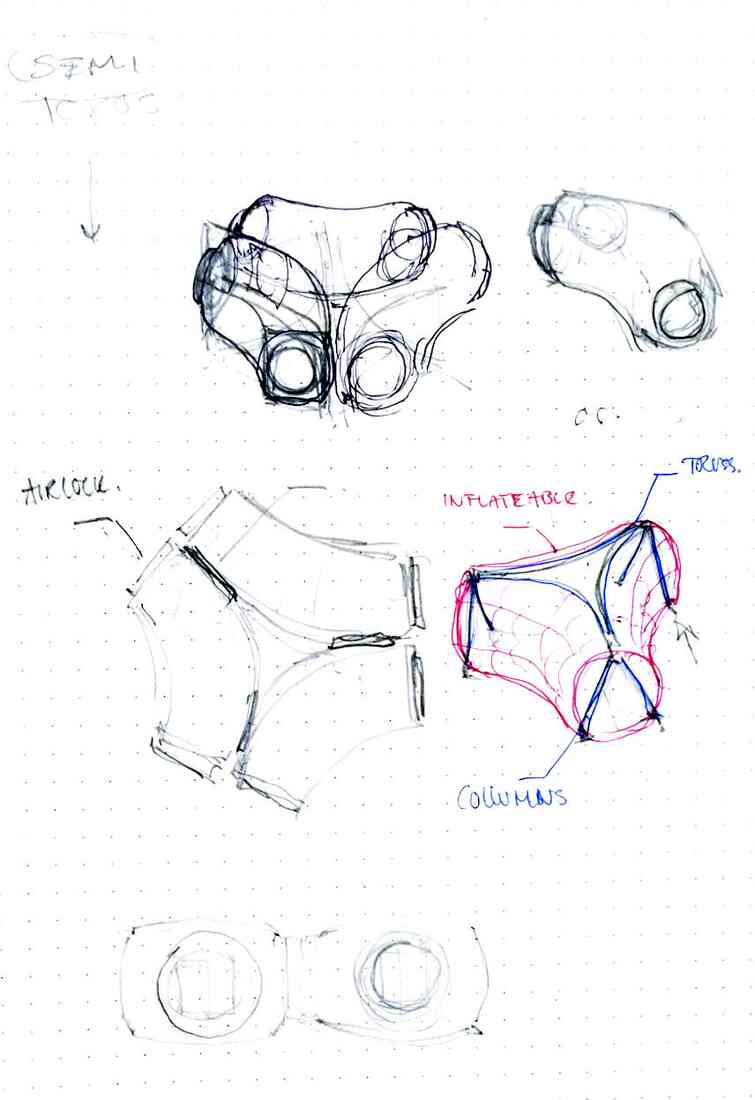
Airlock
All capsules that go to space need an airlock, to allow a buffered zone for pressurizing/depressurizing. Our habitat has a clean, futuristic airlock, with sleek panels that make it easier to wipe down dirt before moving further into the habitat. The airlock also has a automatic hatch that can be opened from the dashboard to allow the Spot robot dog access.
- Design Composite provided the beautiful PEP boards which line the interior of the airlock
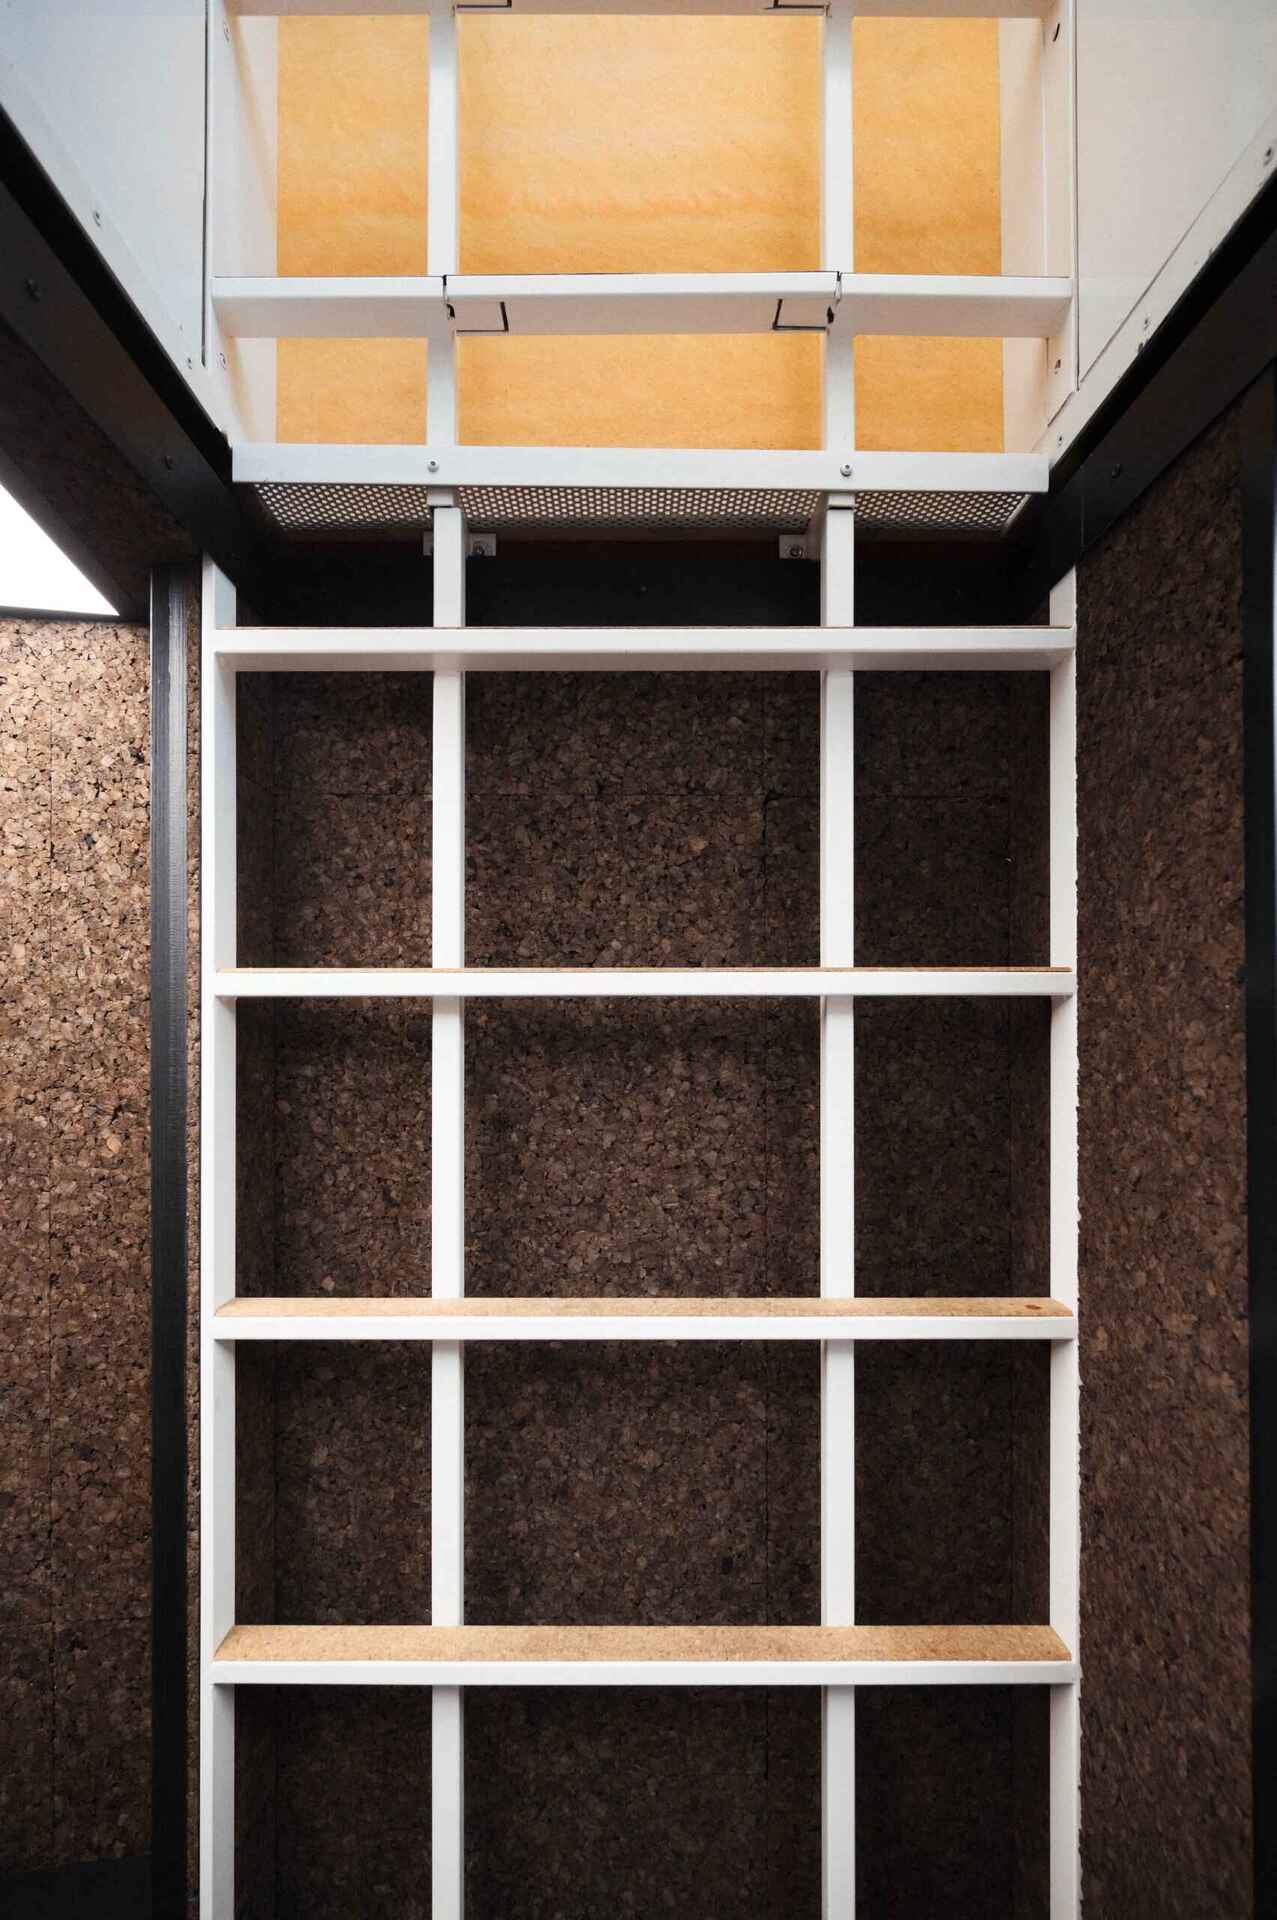
Workshop
The workshop consists of a large worktable, with several shelves for storage above. Under the worktable is a charging station for the Spot robot dog. The workshop also has a cabinet for experiments and storage, as well as a dashboard to control the habitat.
- Amorim provided the natural cork which covers the floor and head storage
![]() Press hotspots to see photos
Press hotspots to see photos
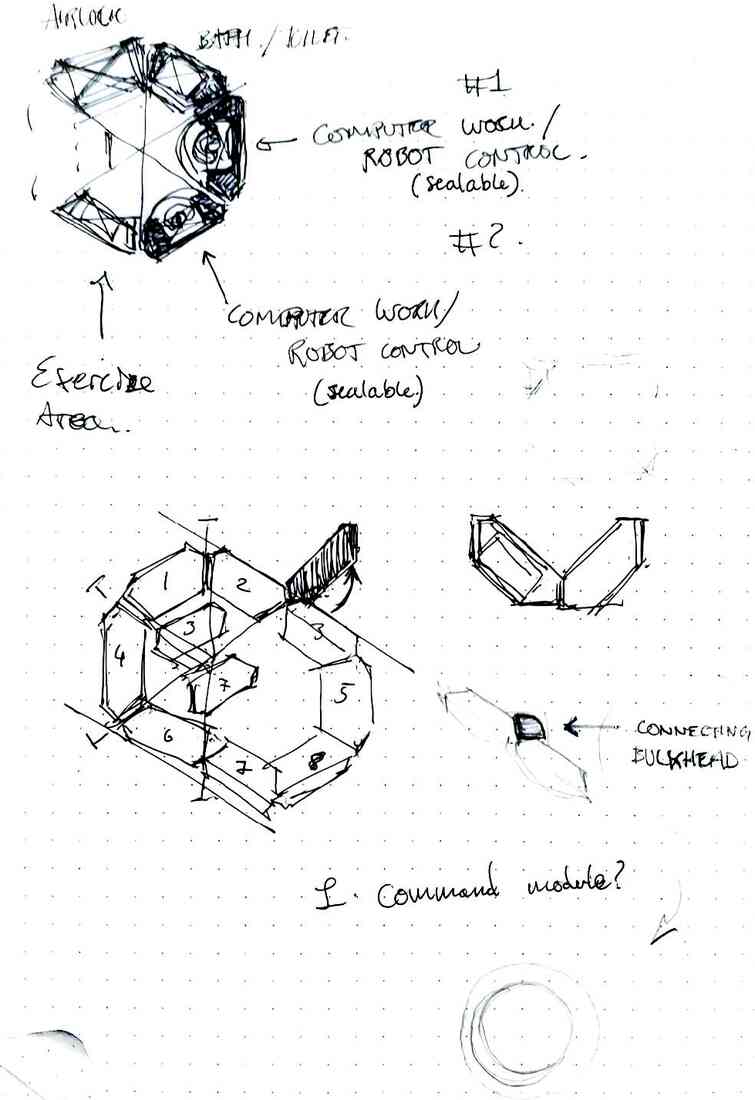
Plan drawing
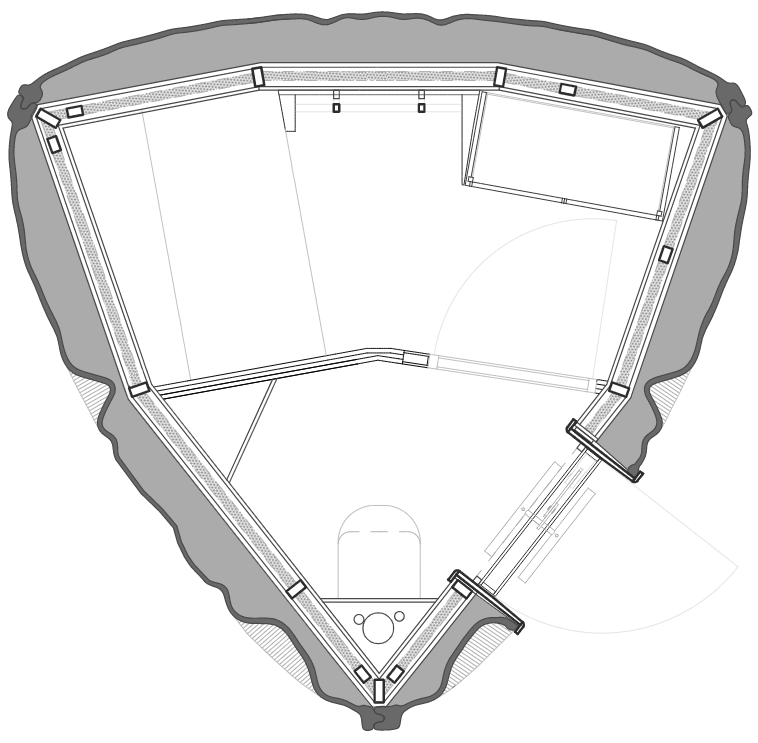
Airlock & Workshop (1st)
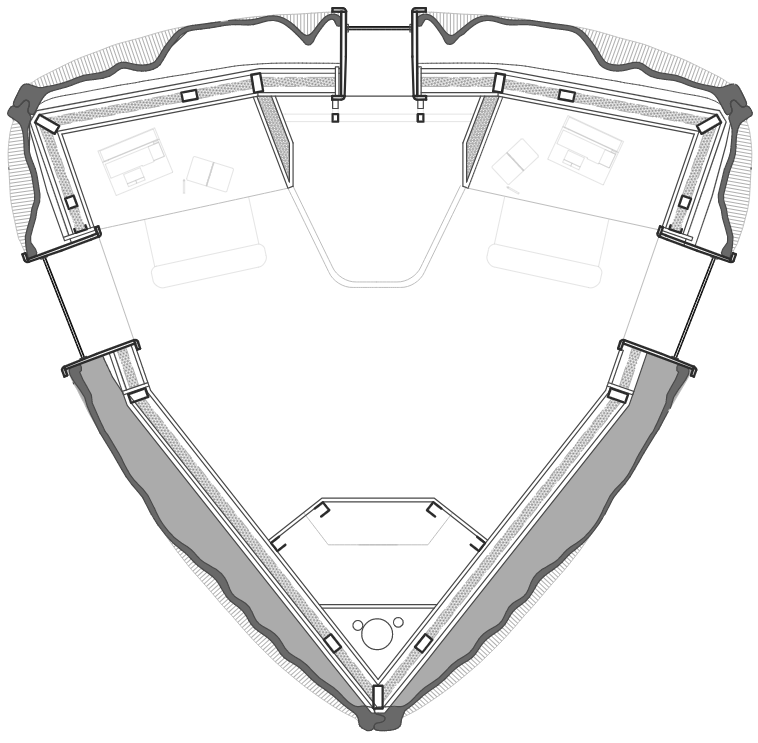
Living Quarters (2nd)
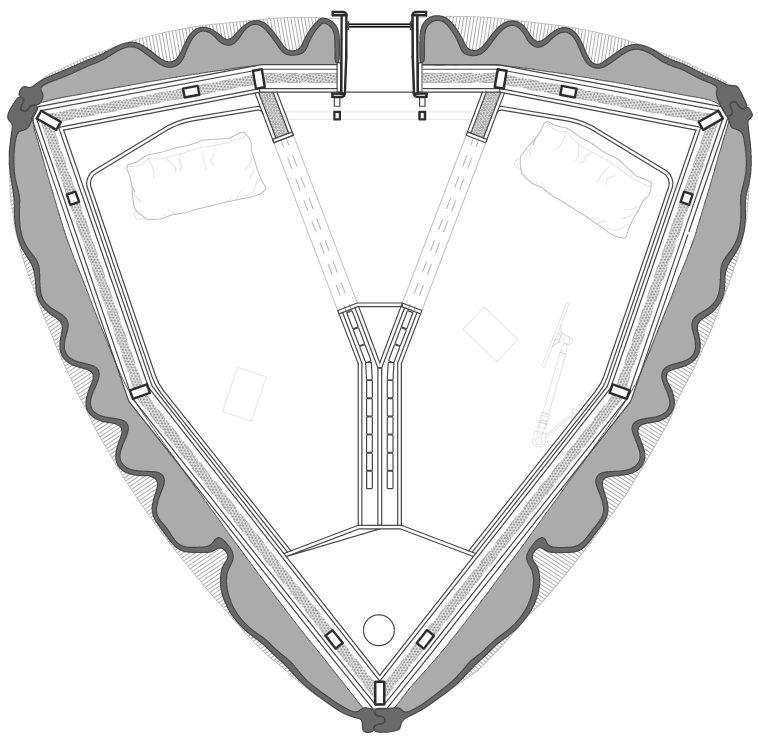
Sleeping Pods (3rd)
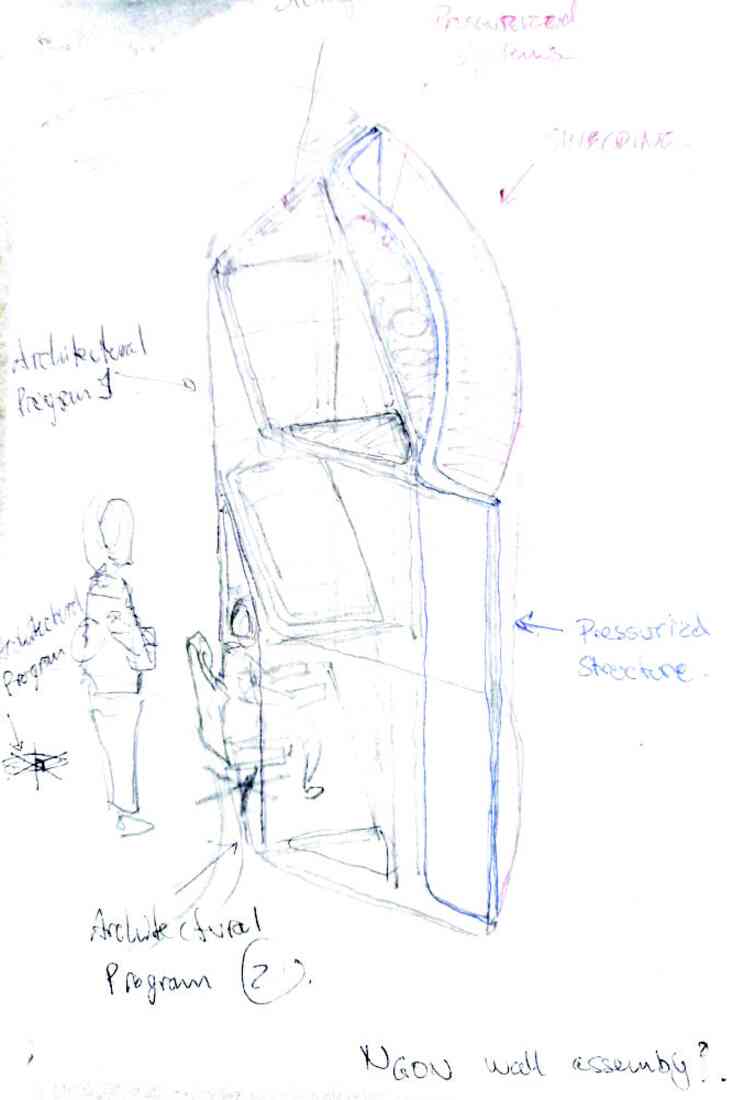
Section drawing
Design process
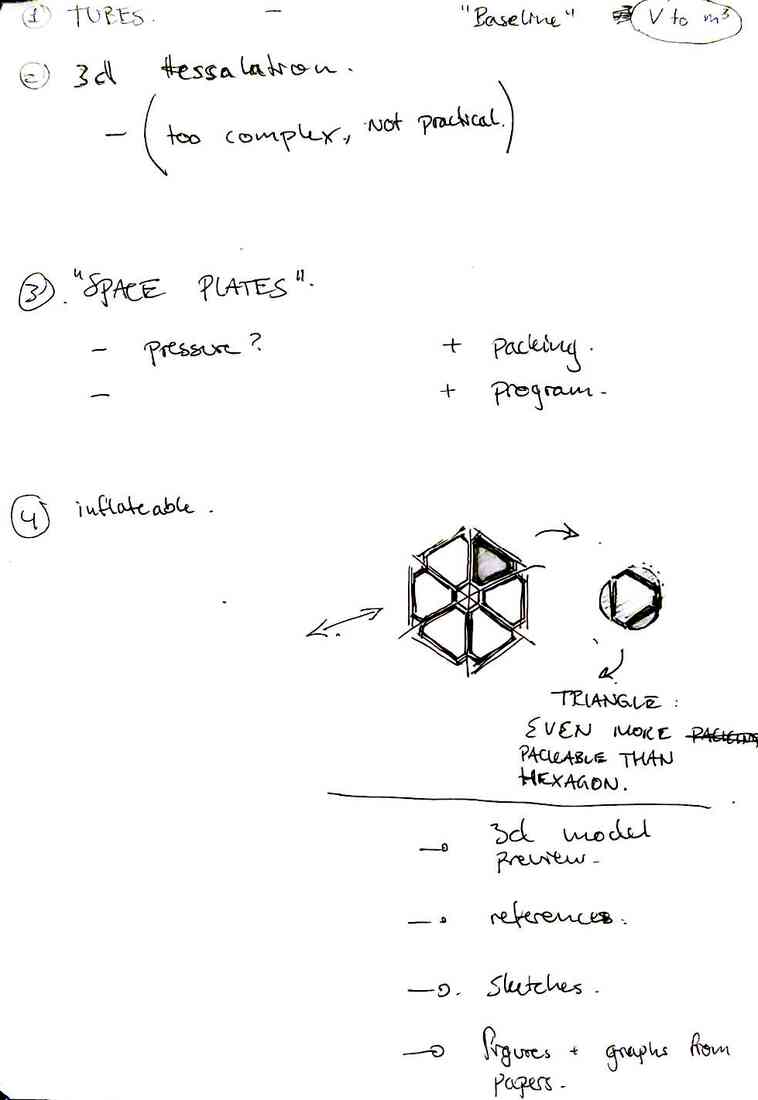
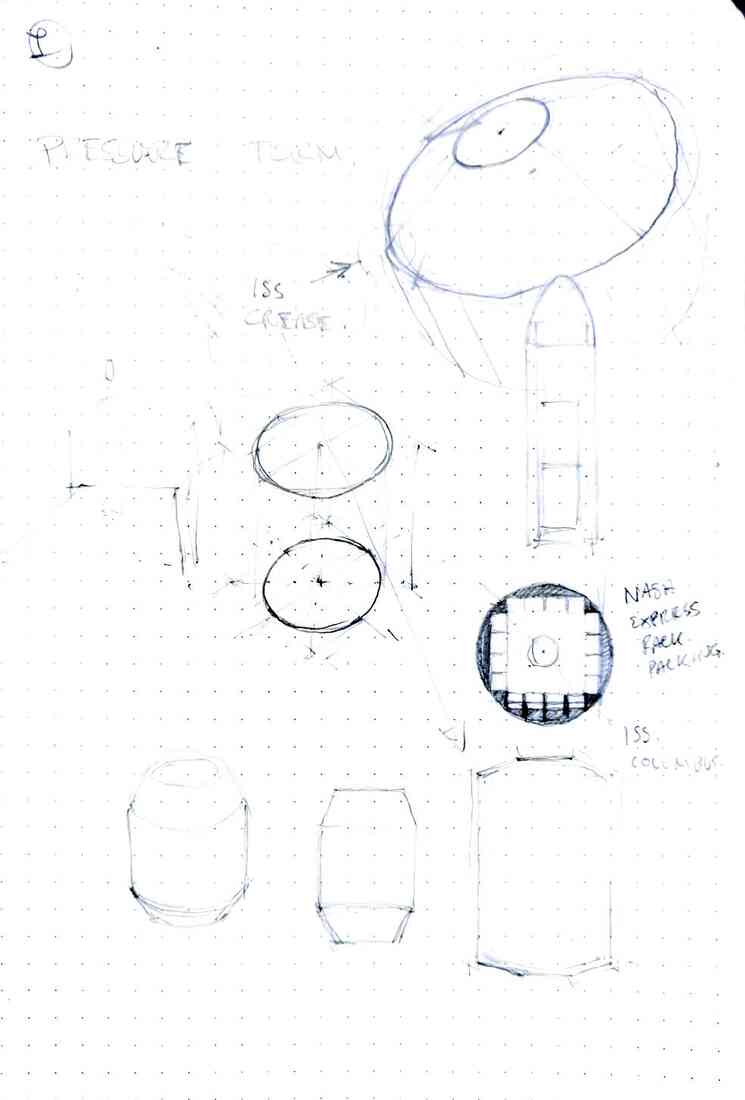
We decided that given Starship's promise as a future means of transportation in space, that this would be an opportunity to design around it as the primary transportation platform.
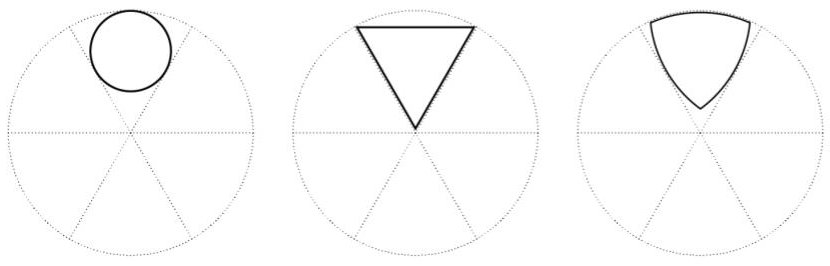
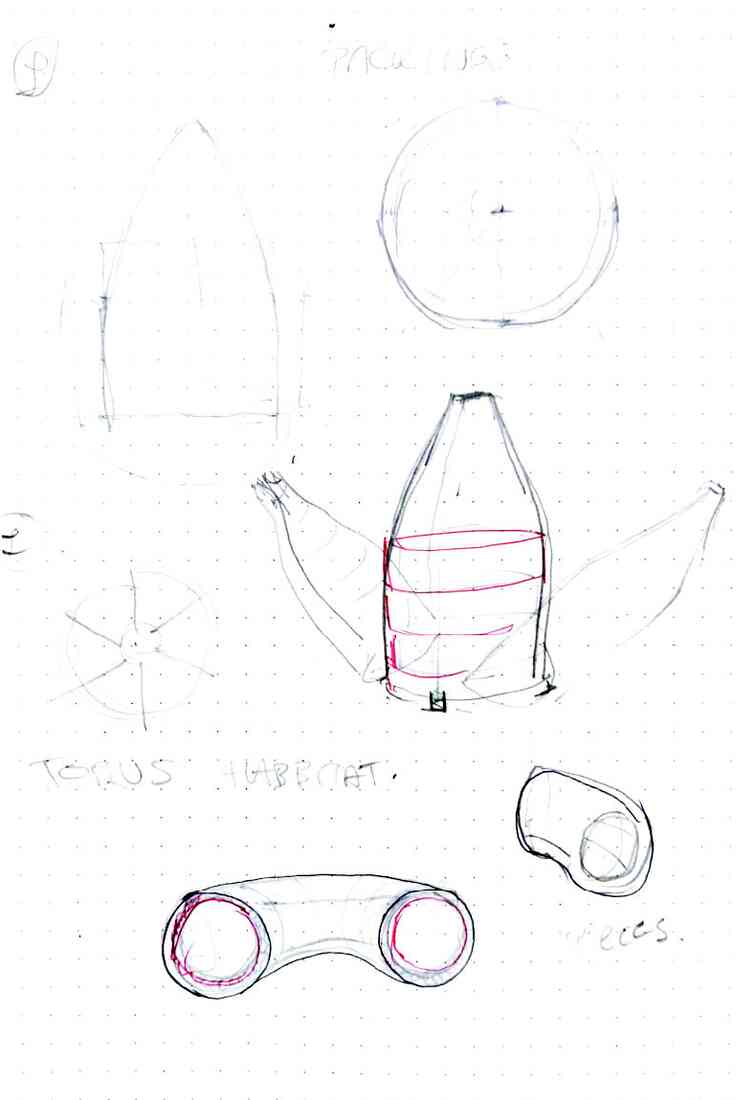
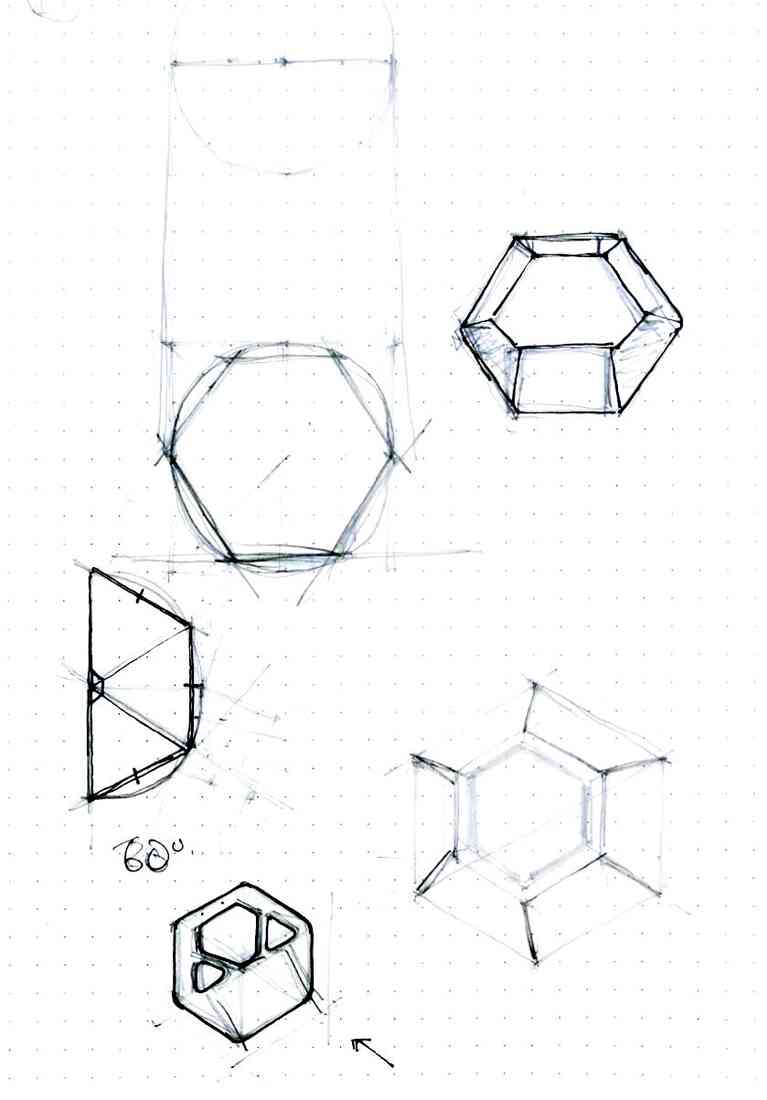
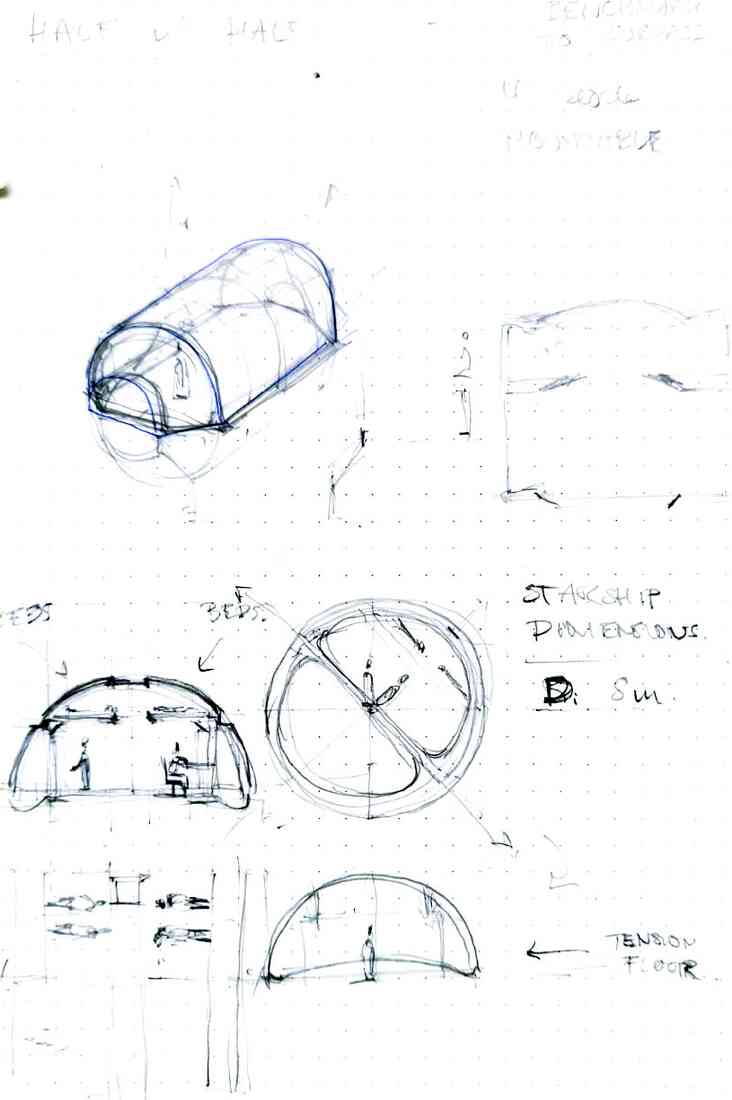
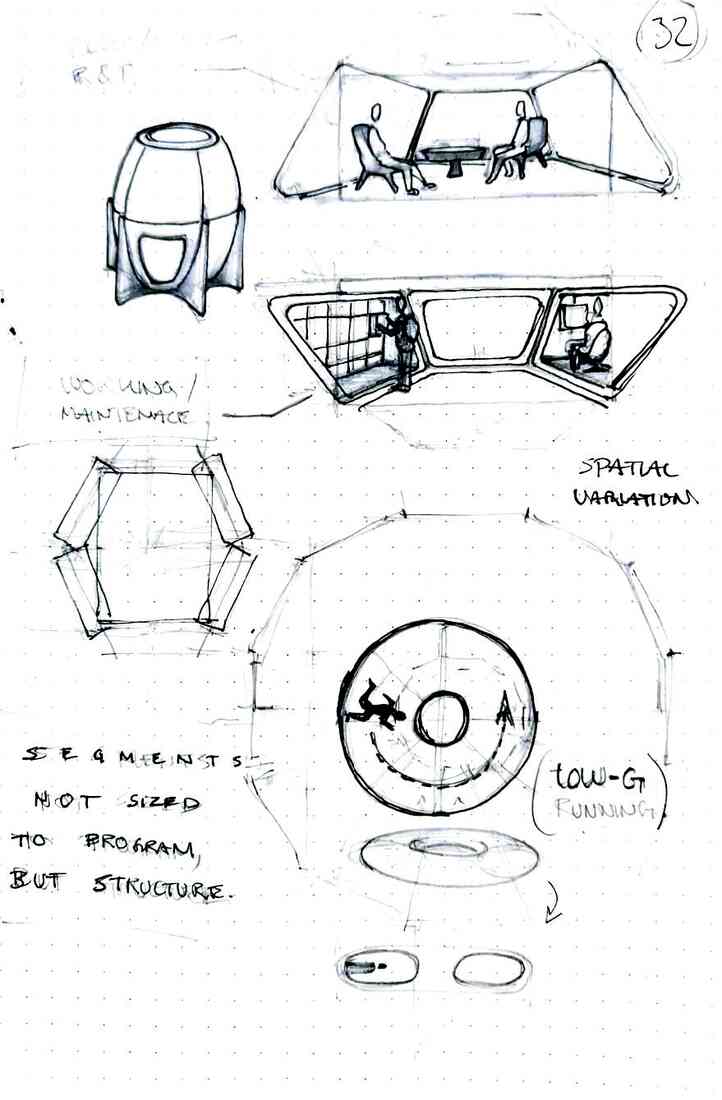
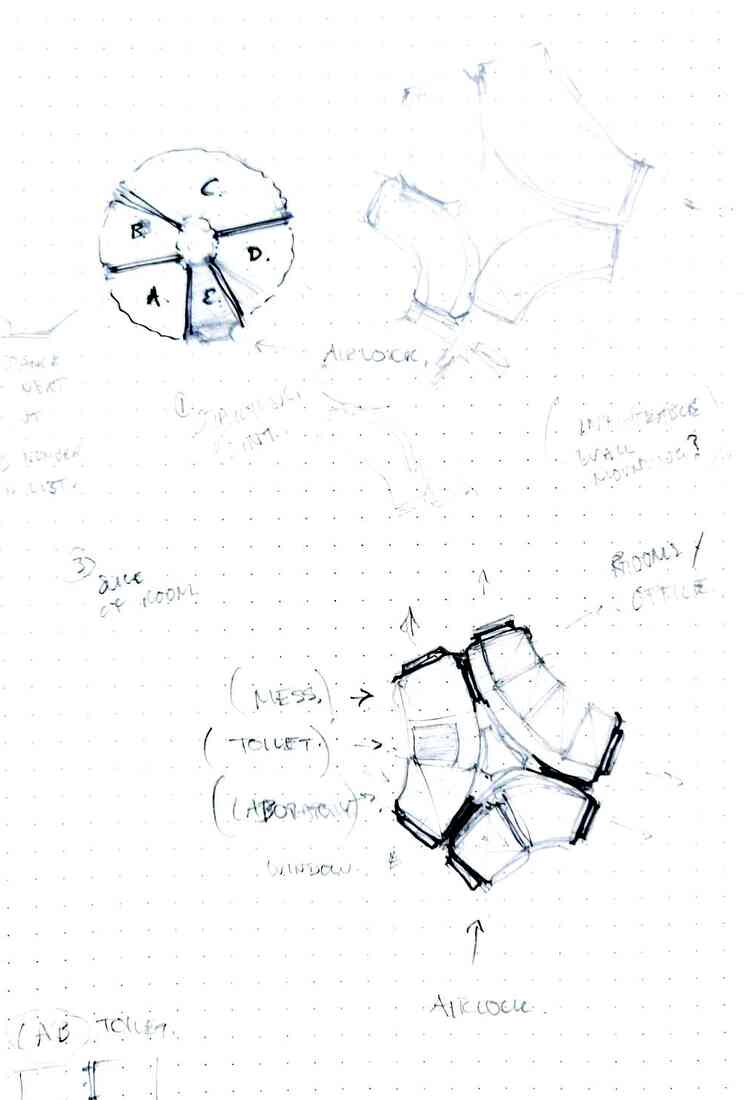
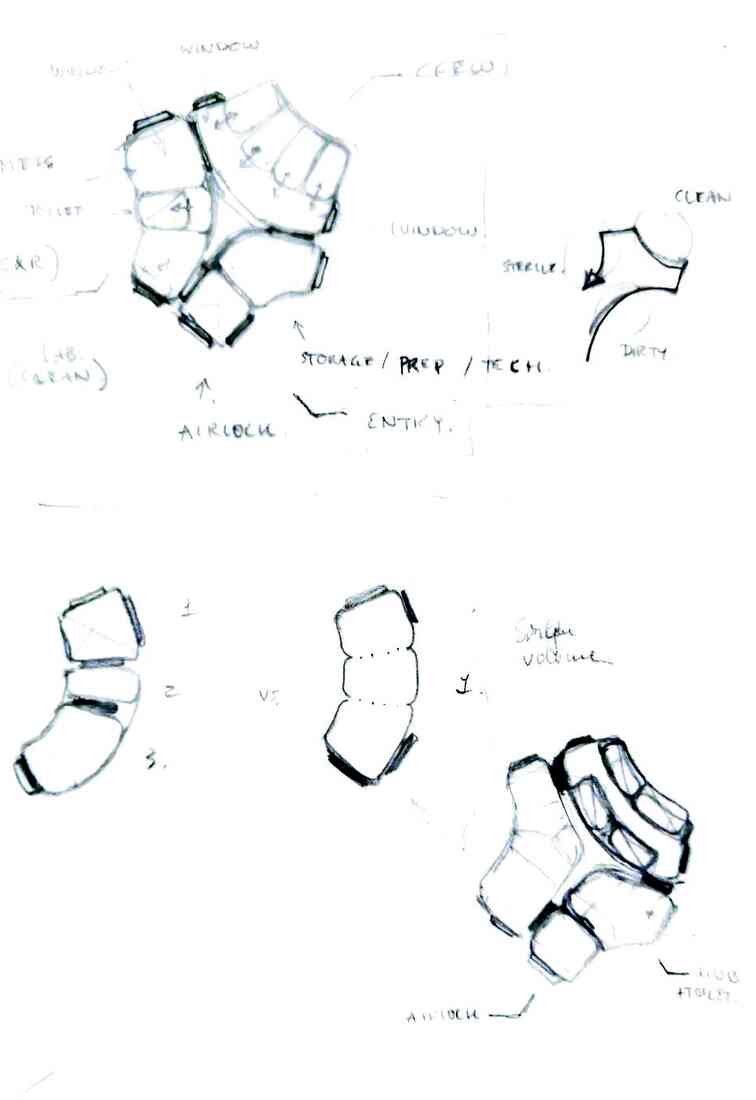
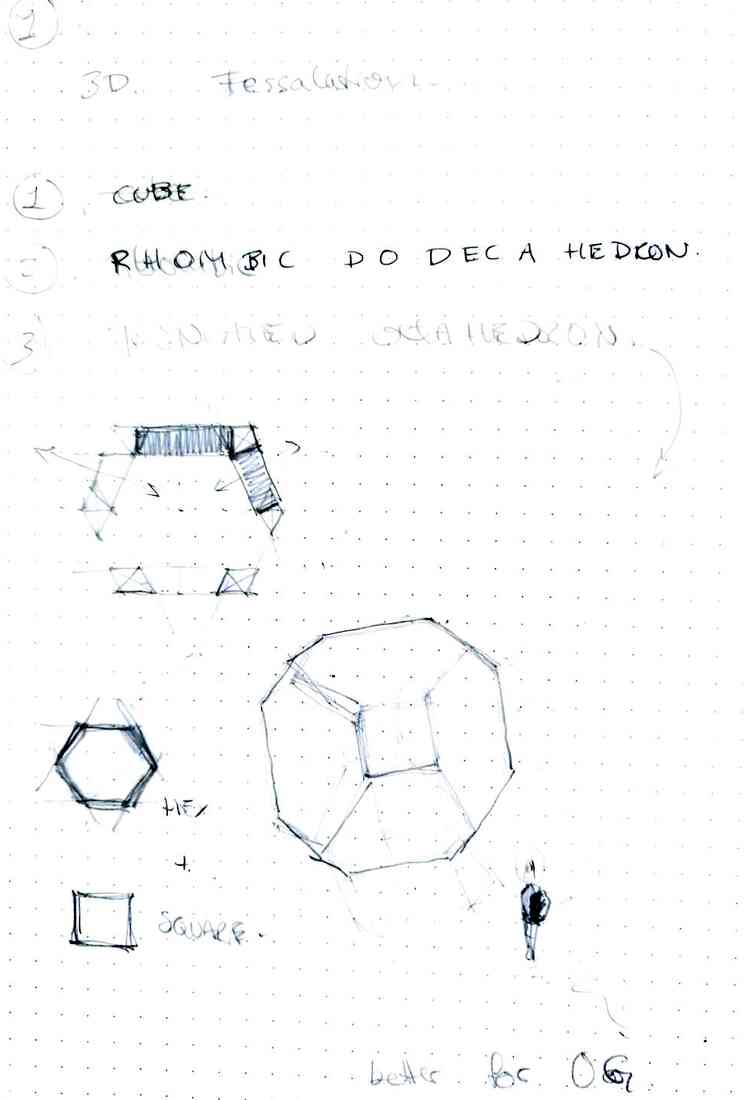
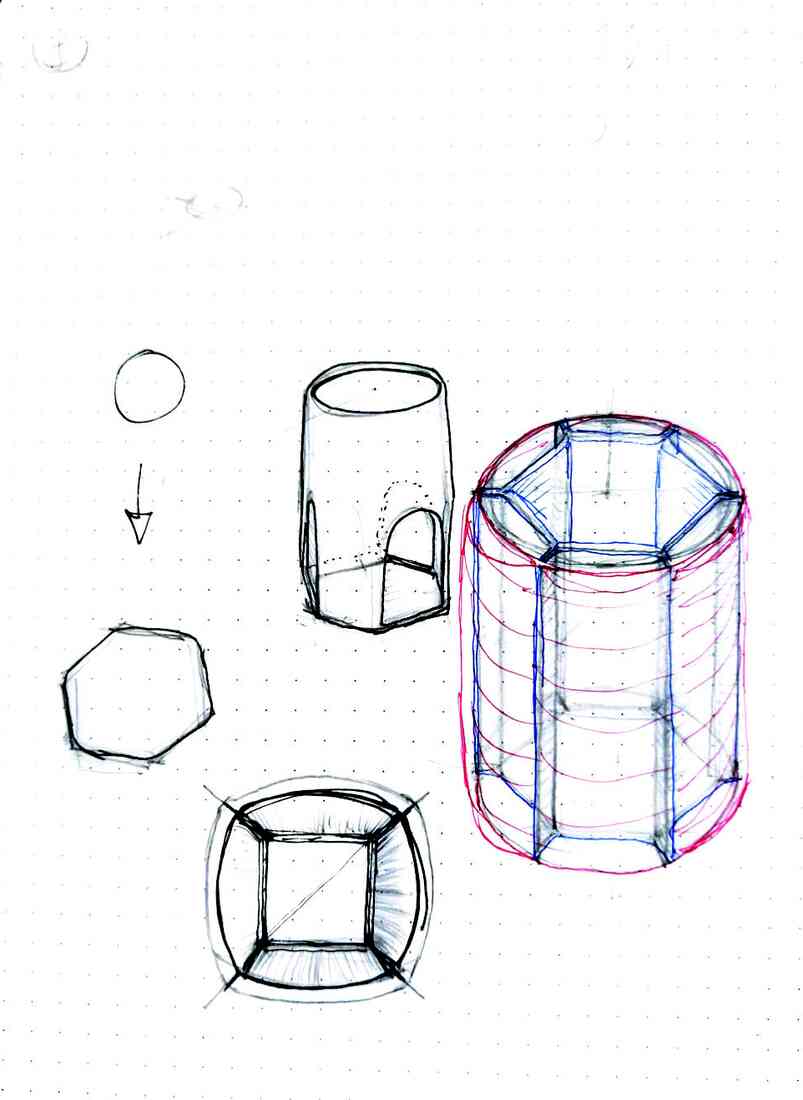
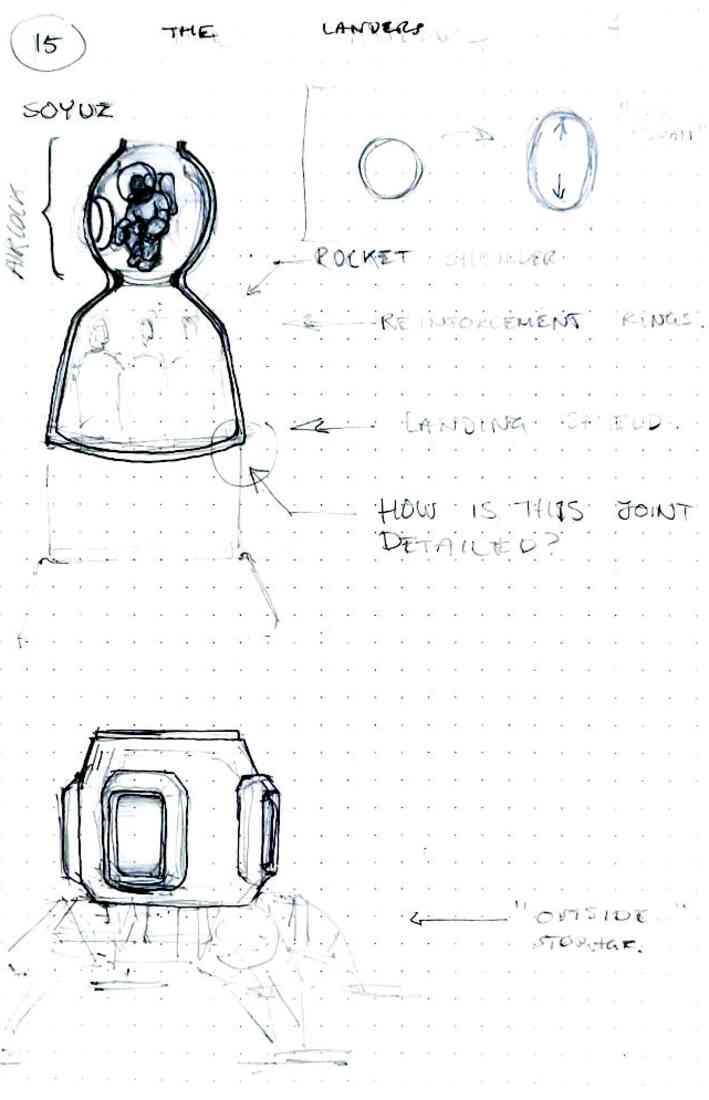
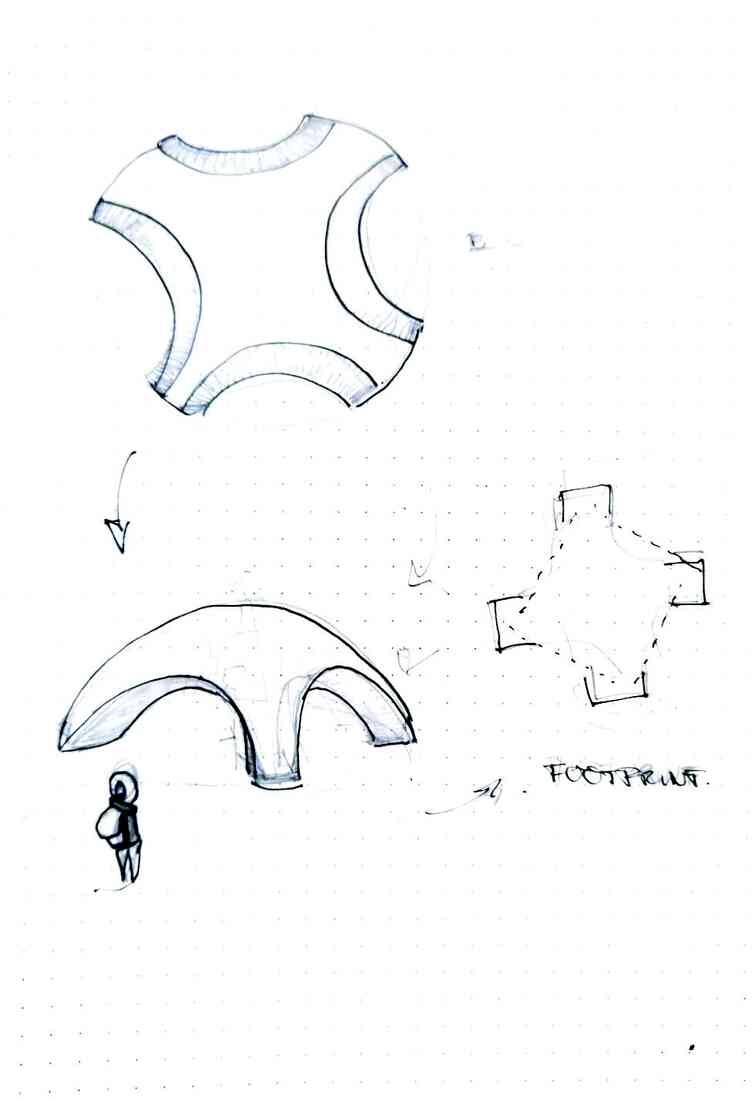
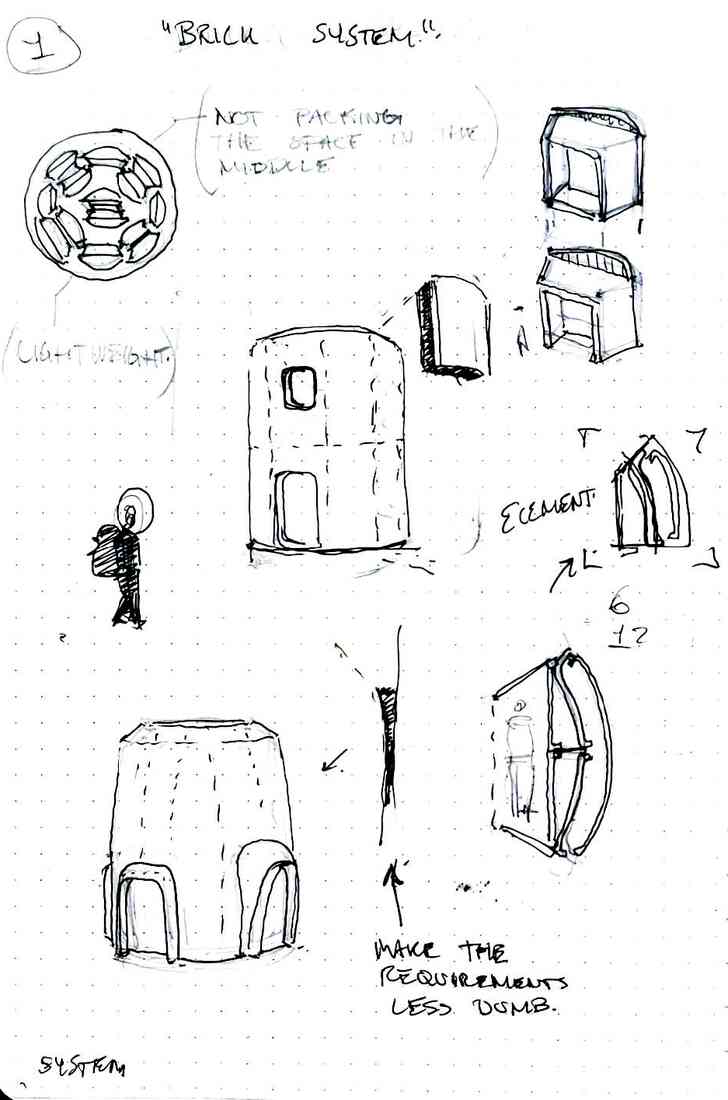
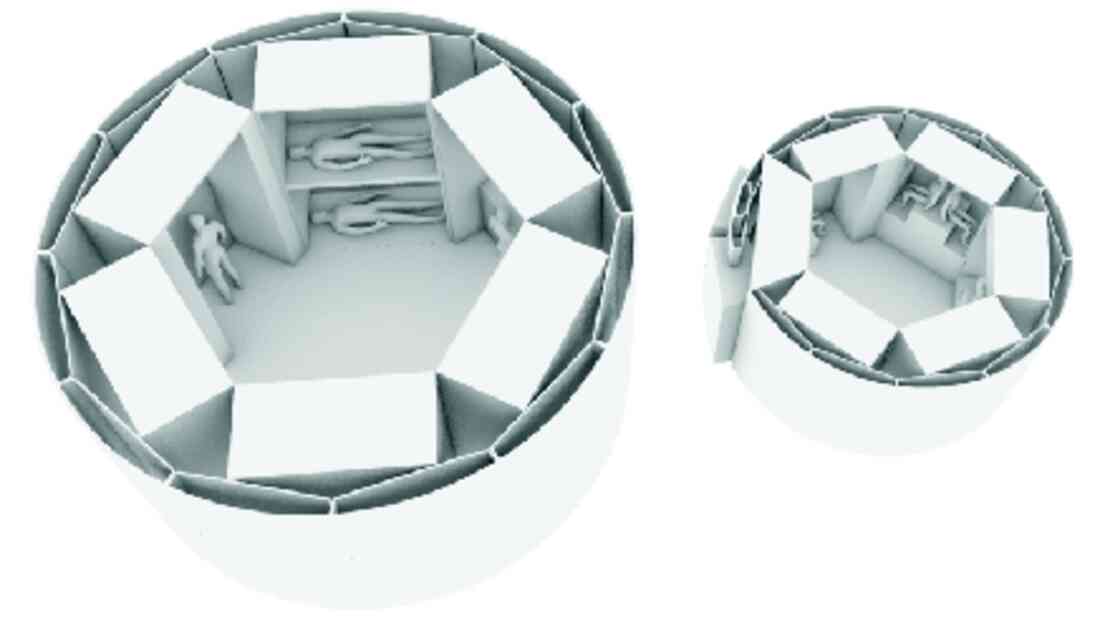
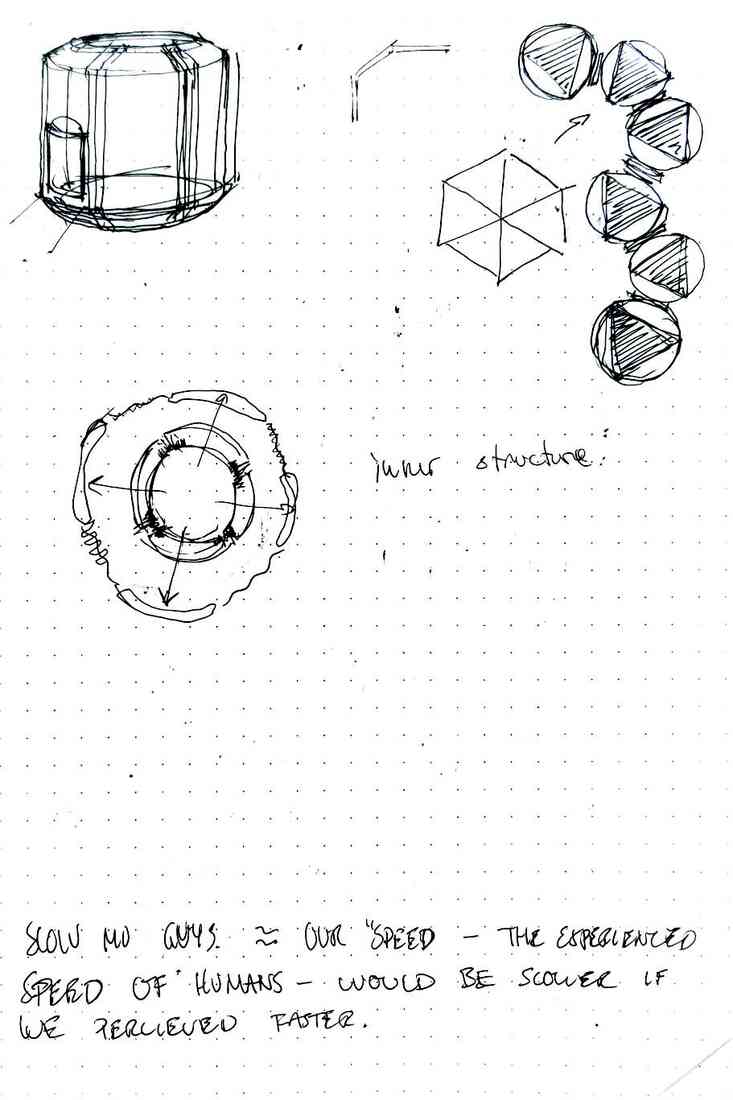
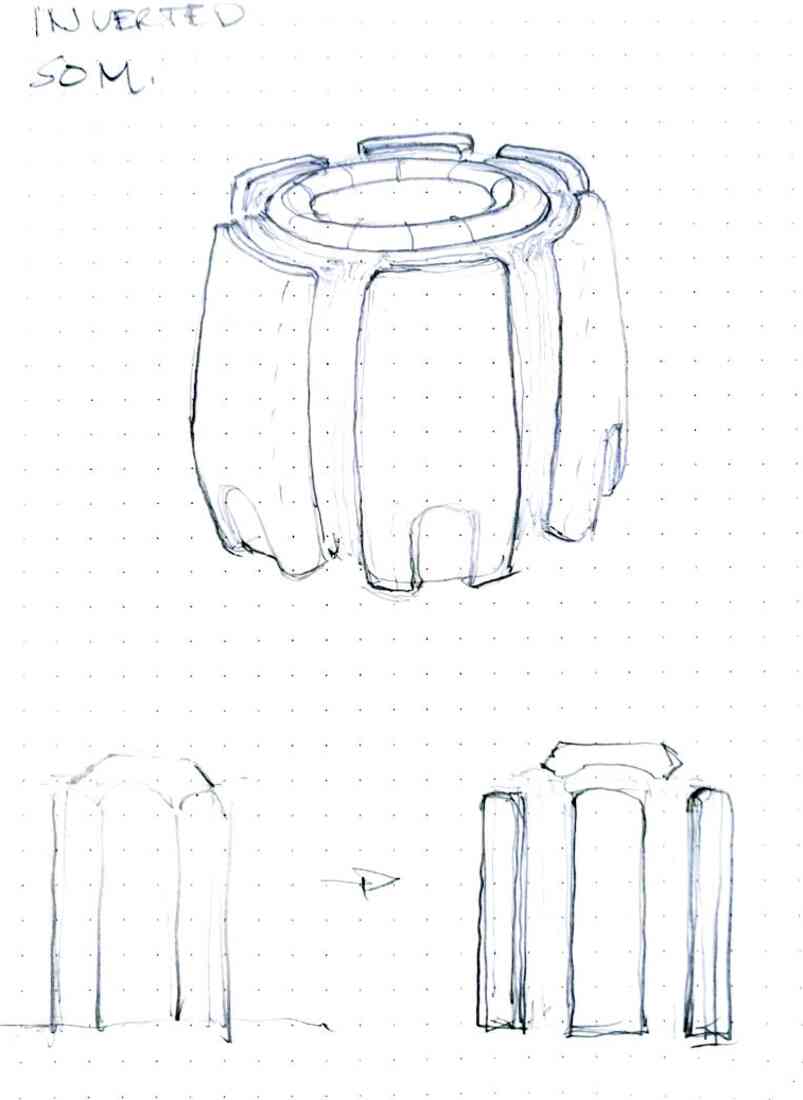
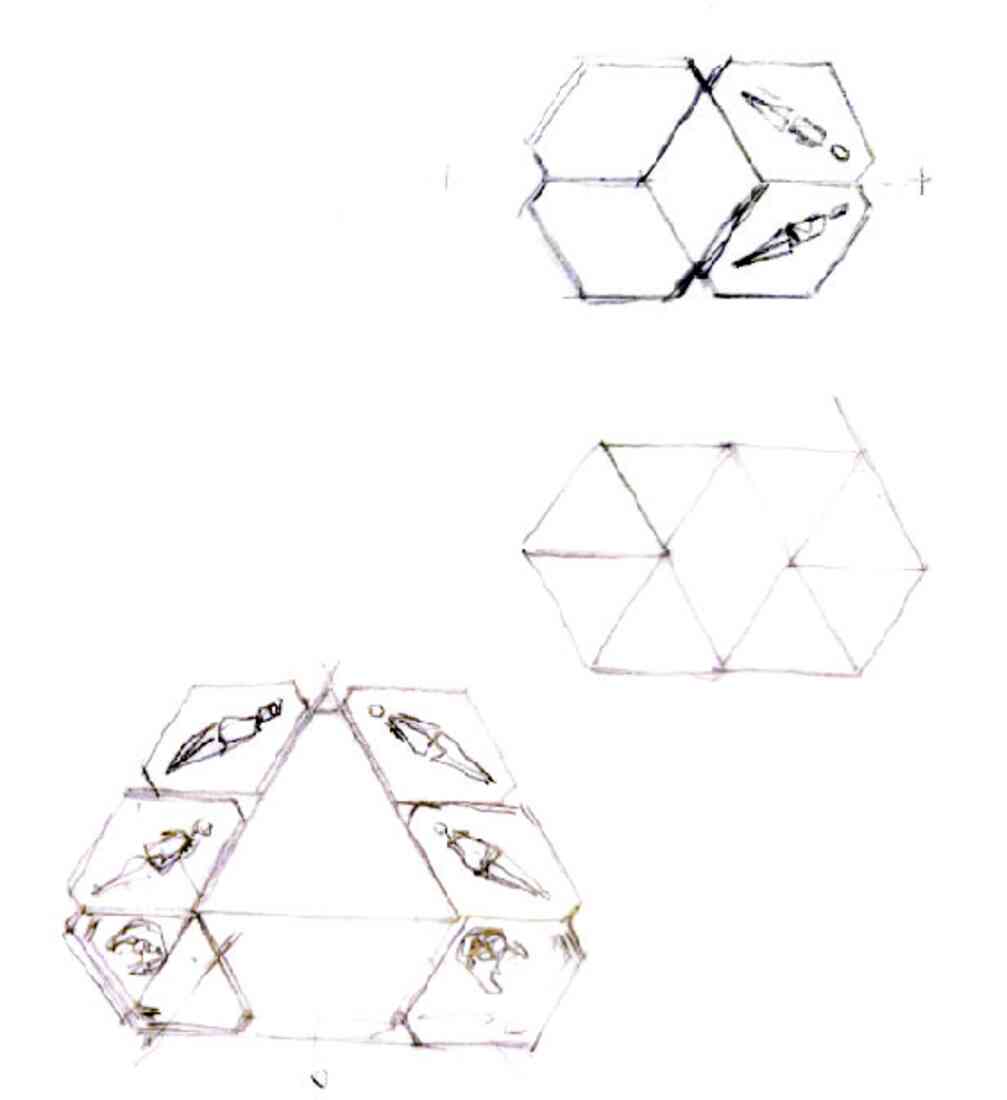
The very first constraint we decided to work from, is the dimensions of the Starship cargo bay. Given it's cylindrical nature, the first designs were focusing on circular shapes.
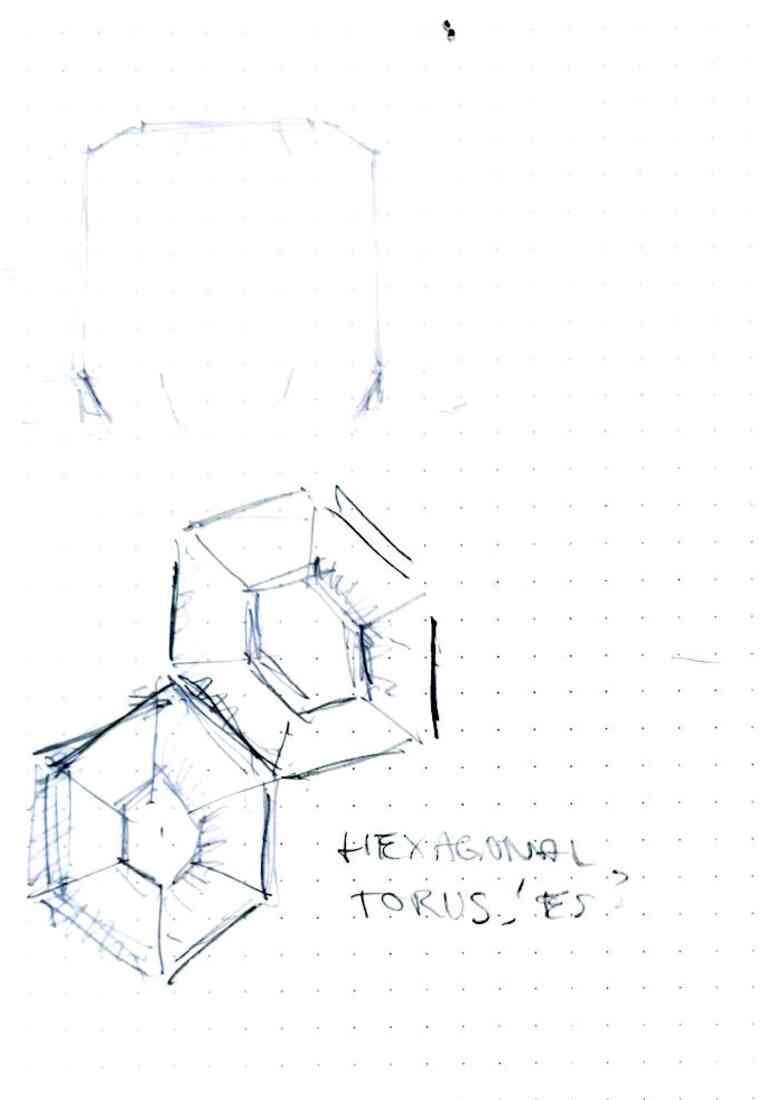
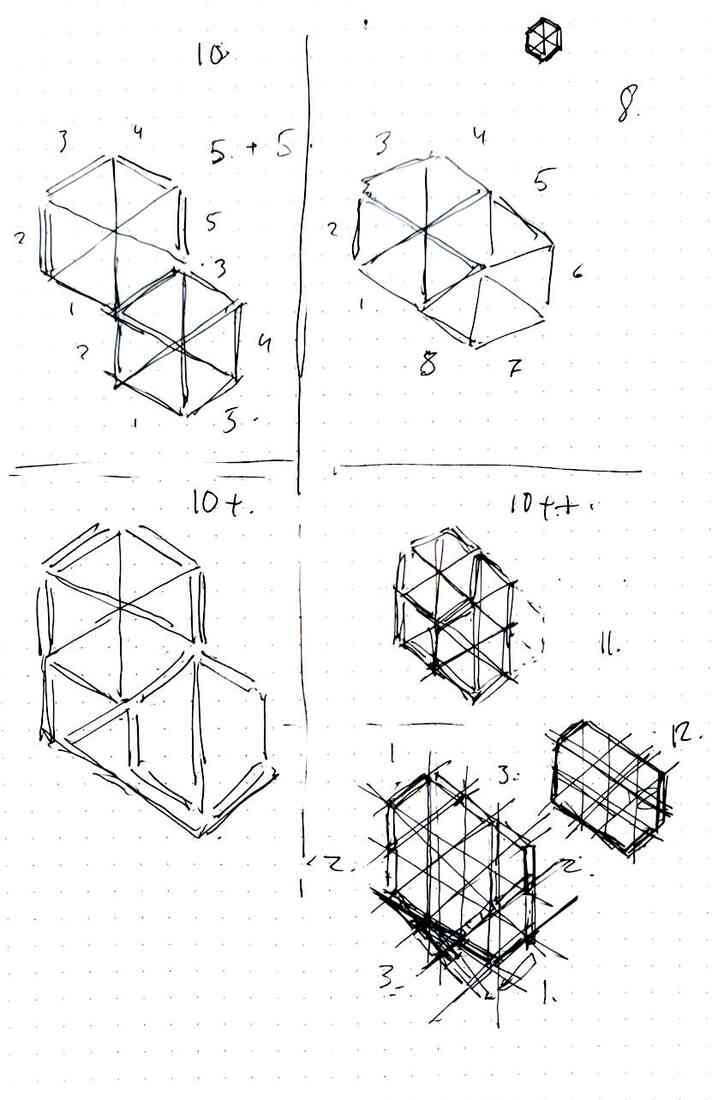
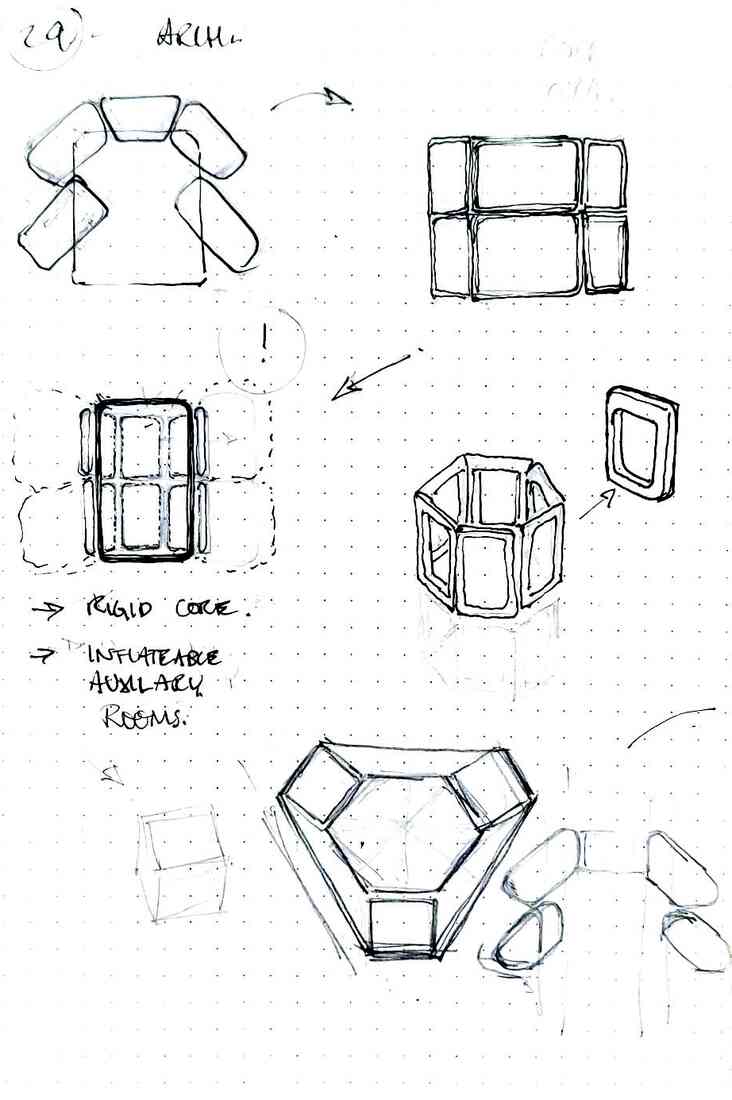
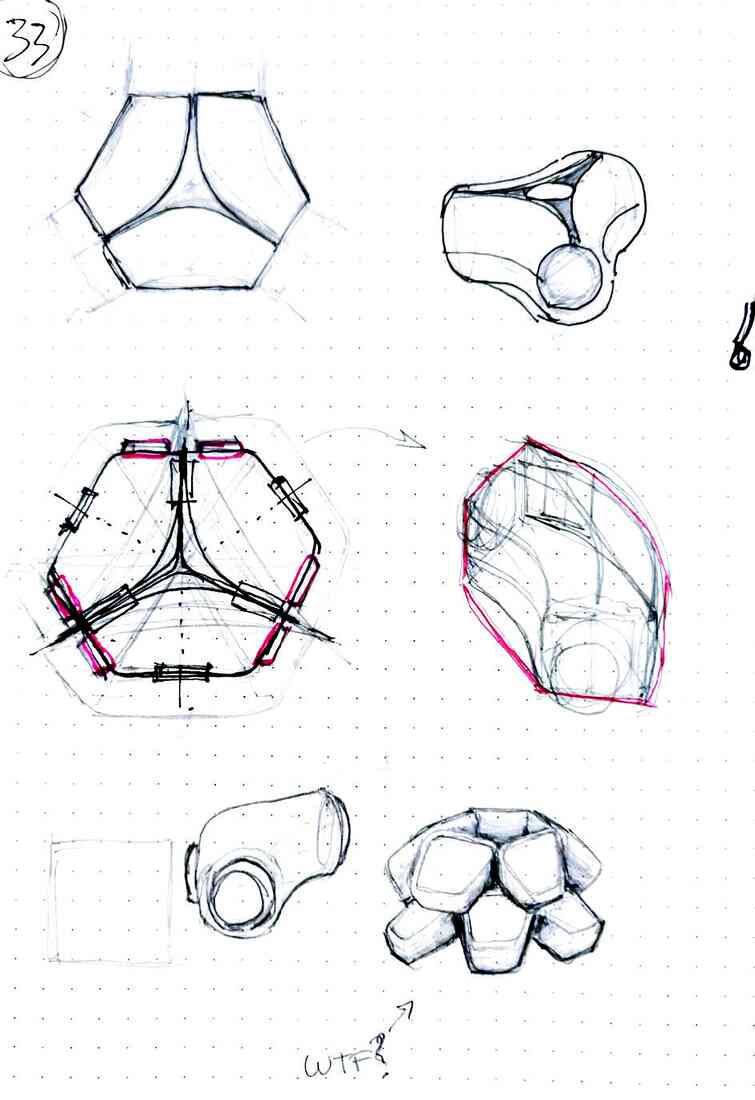
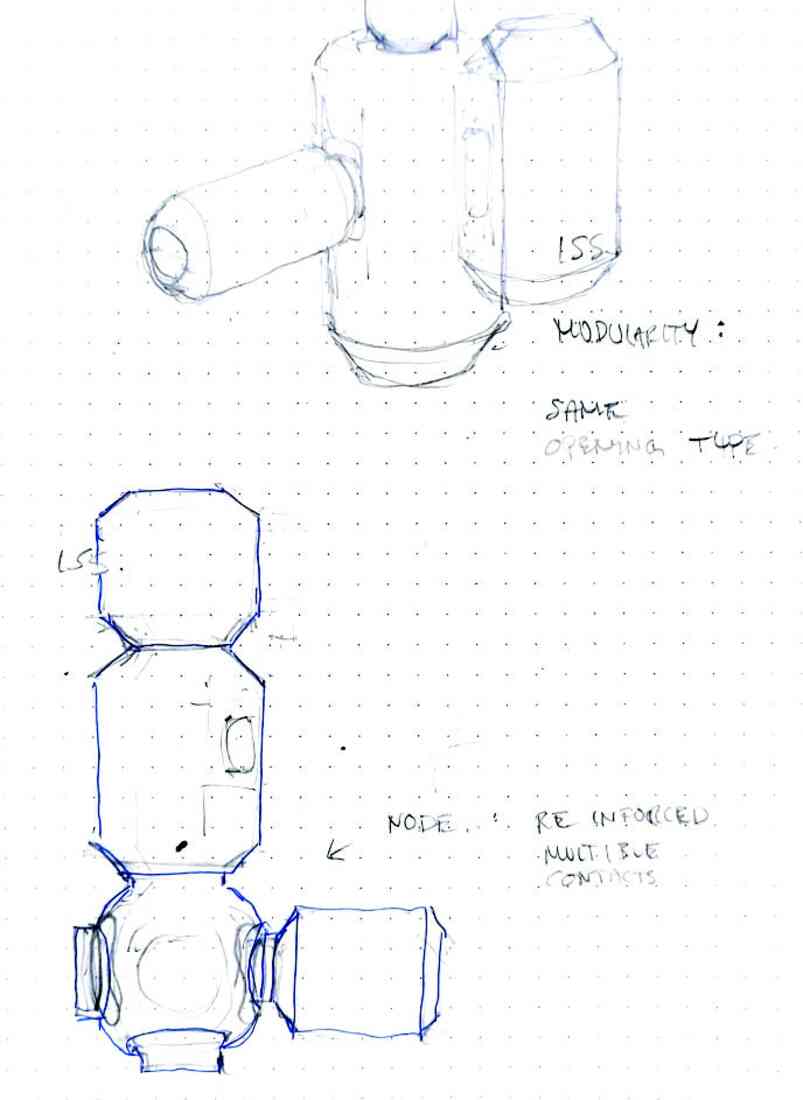
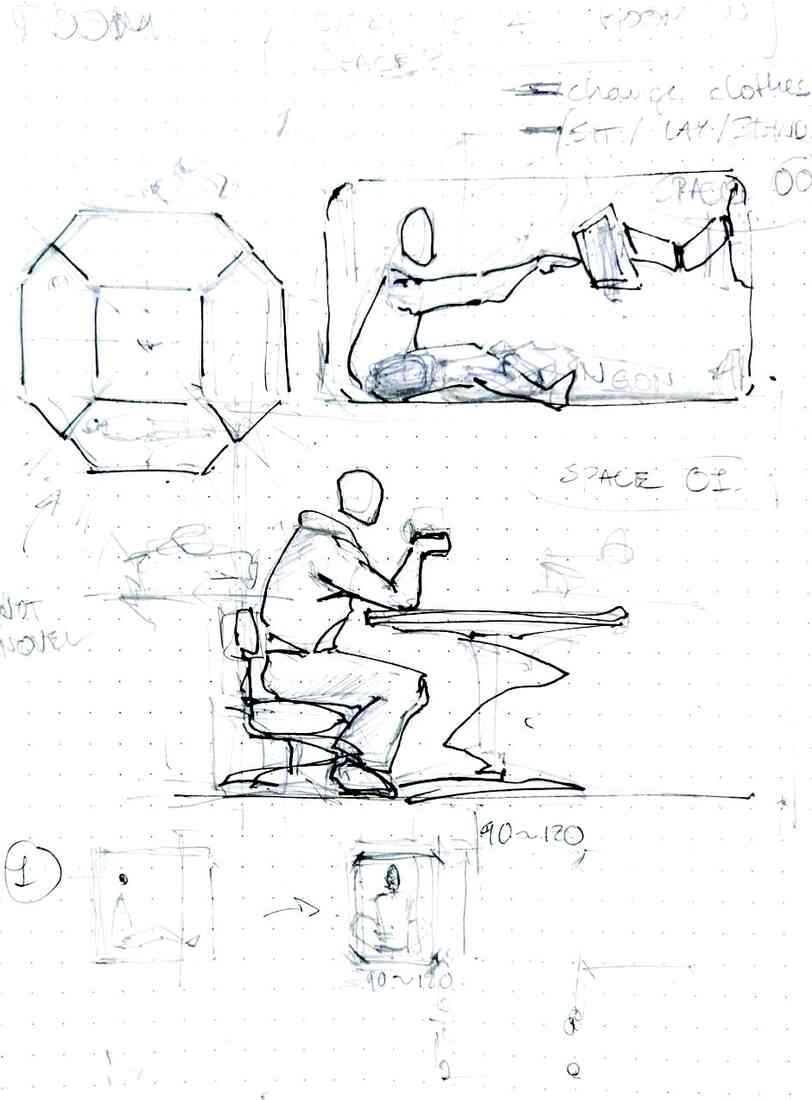
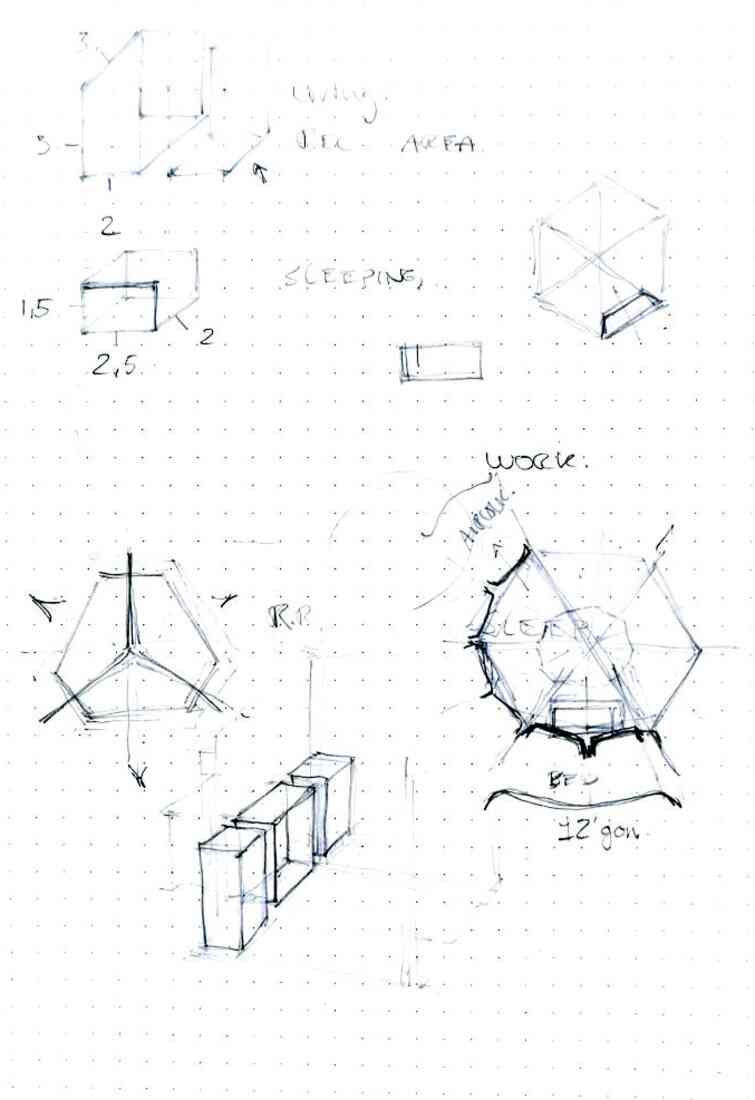
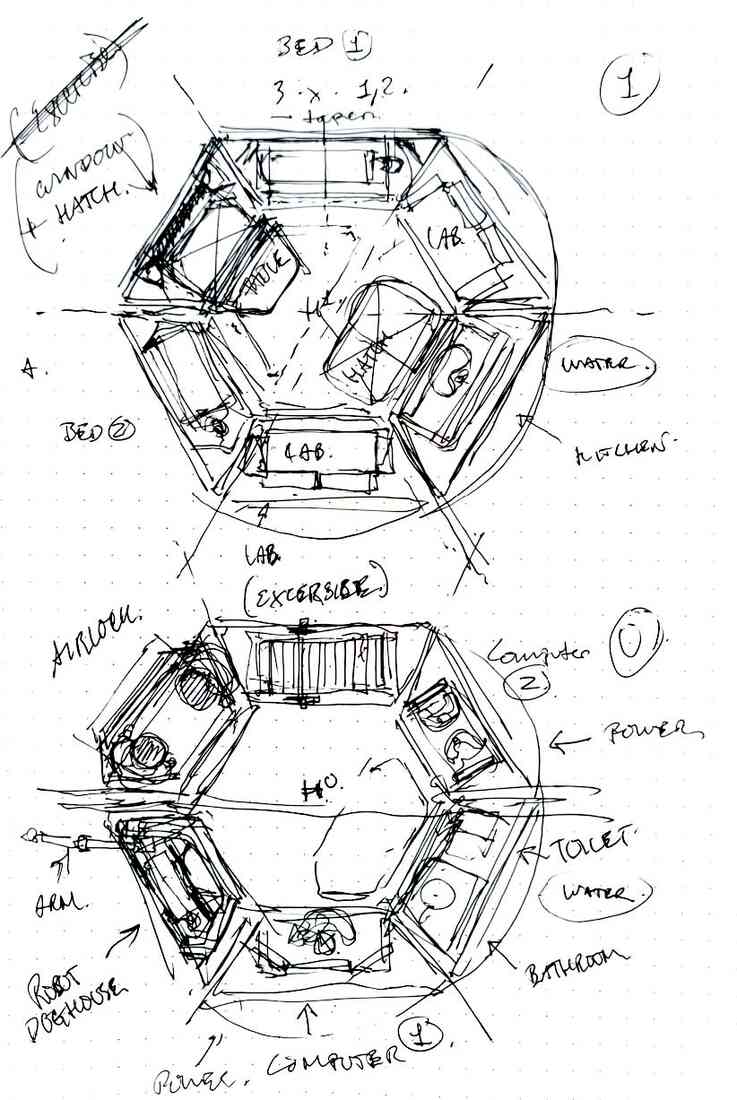
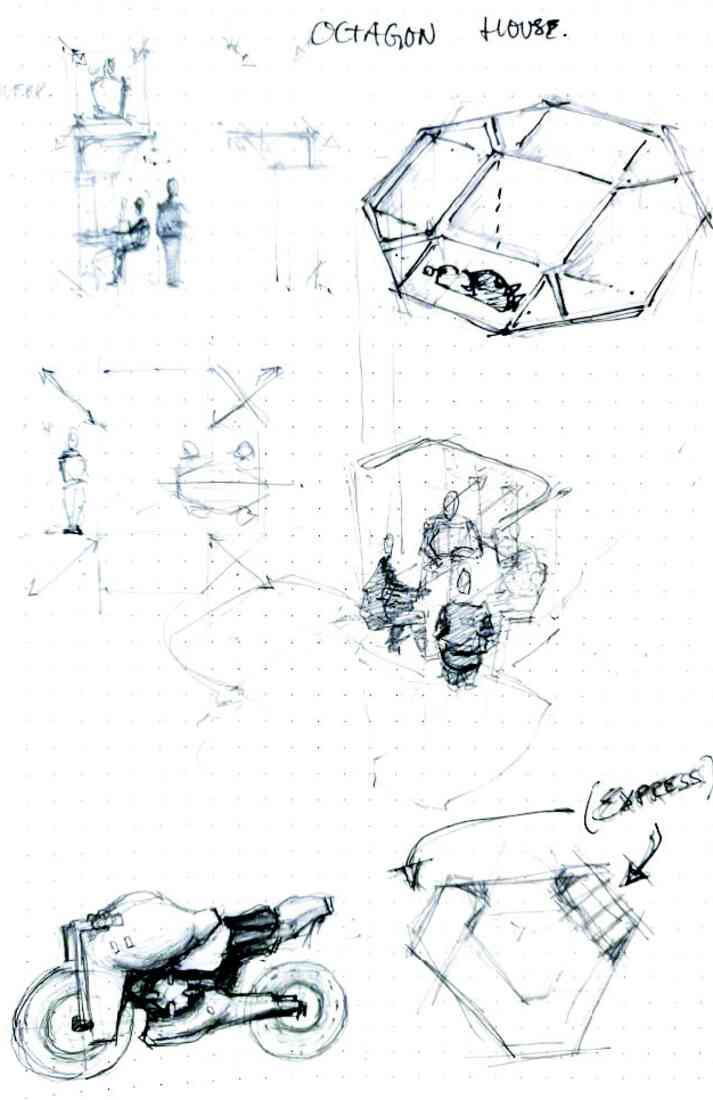
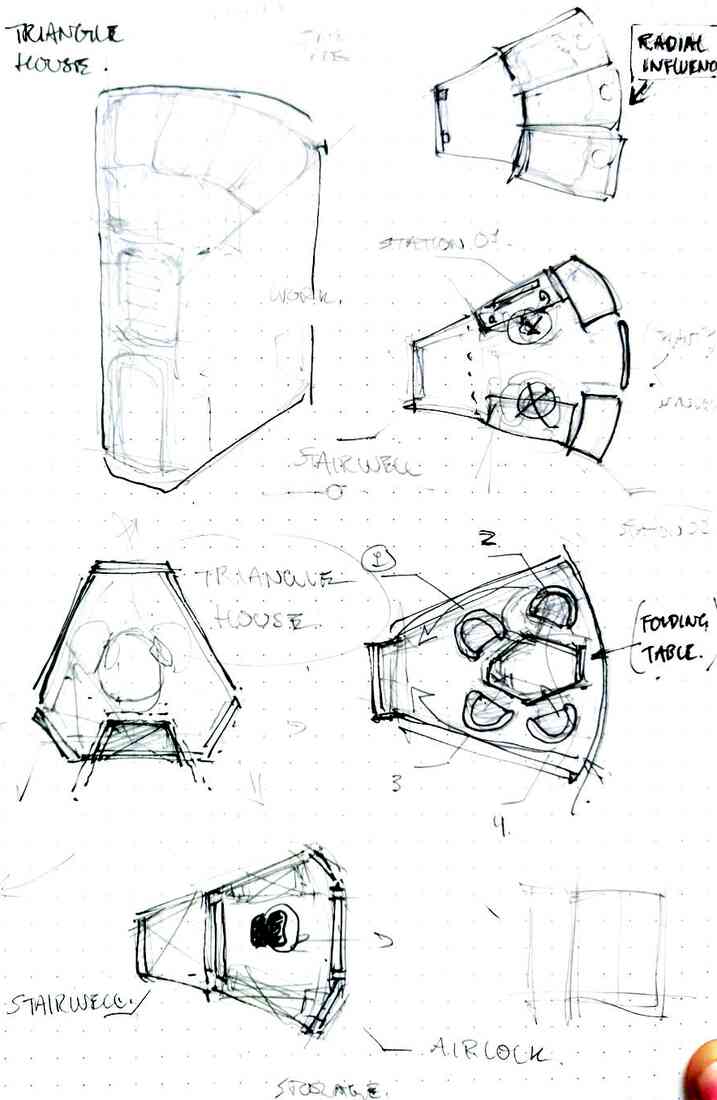
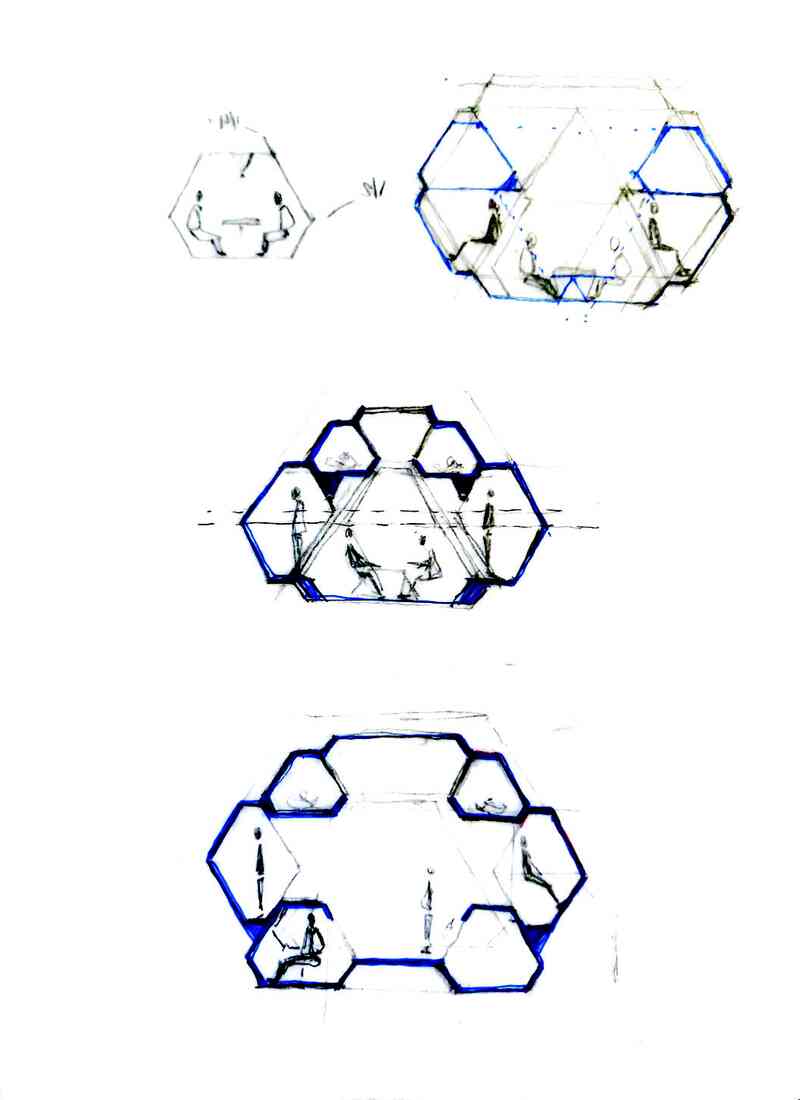
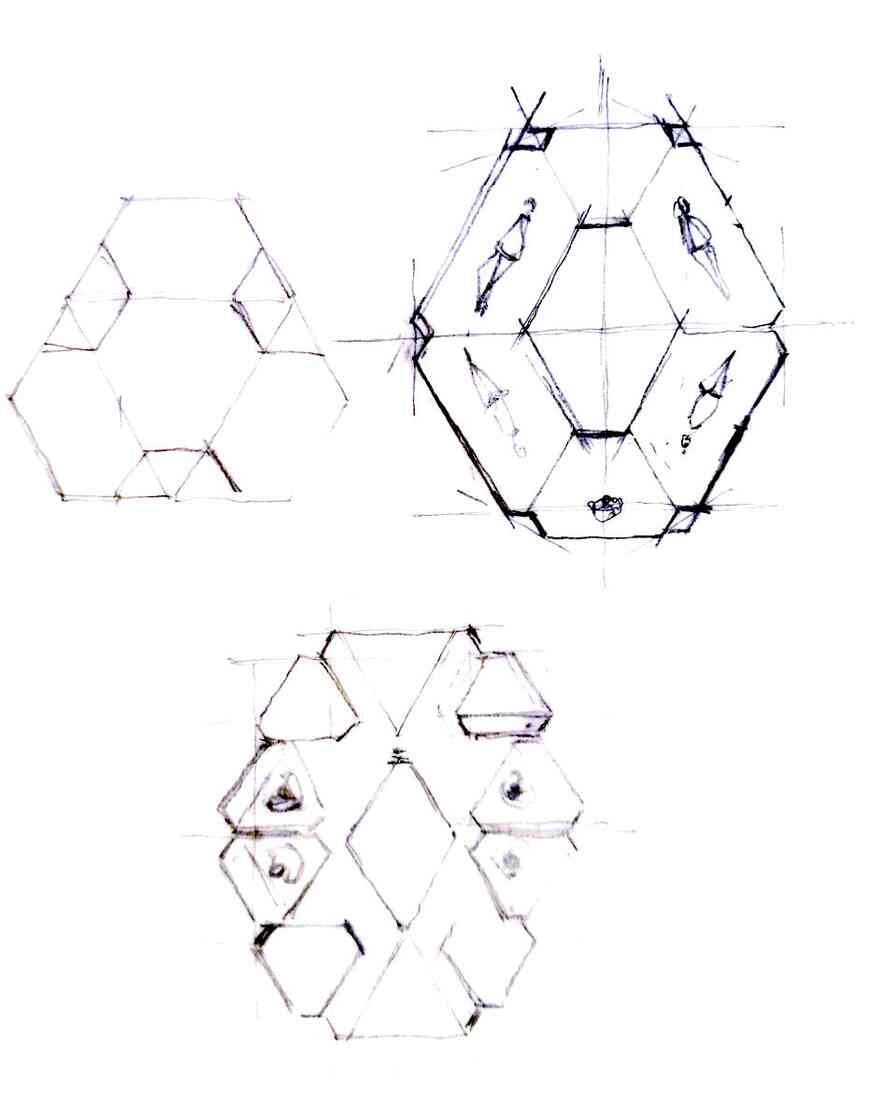
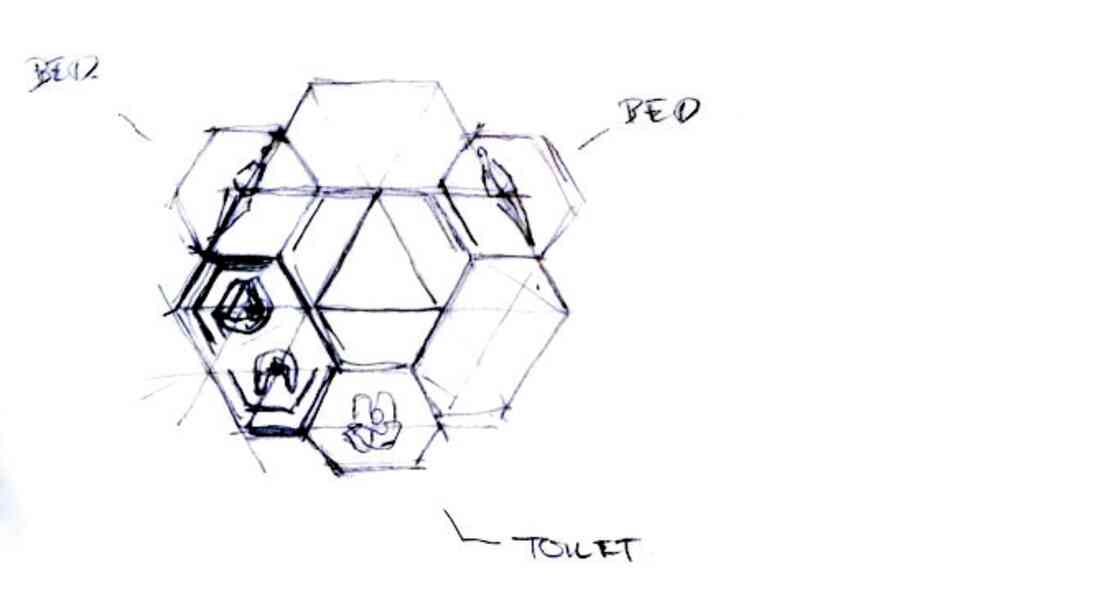
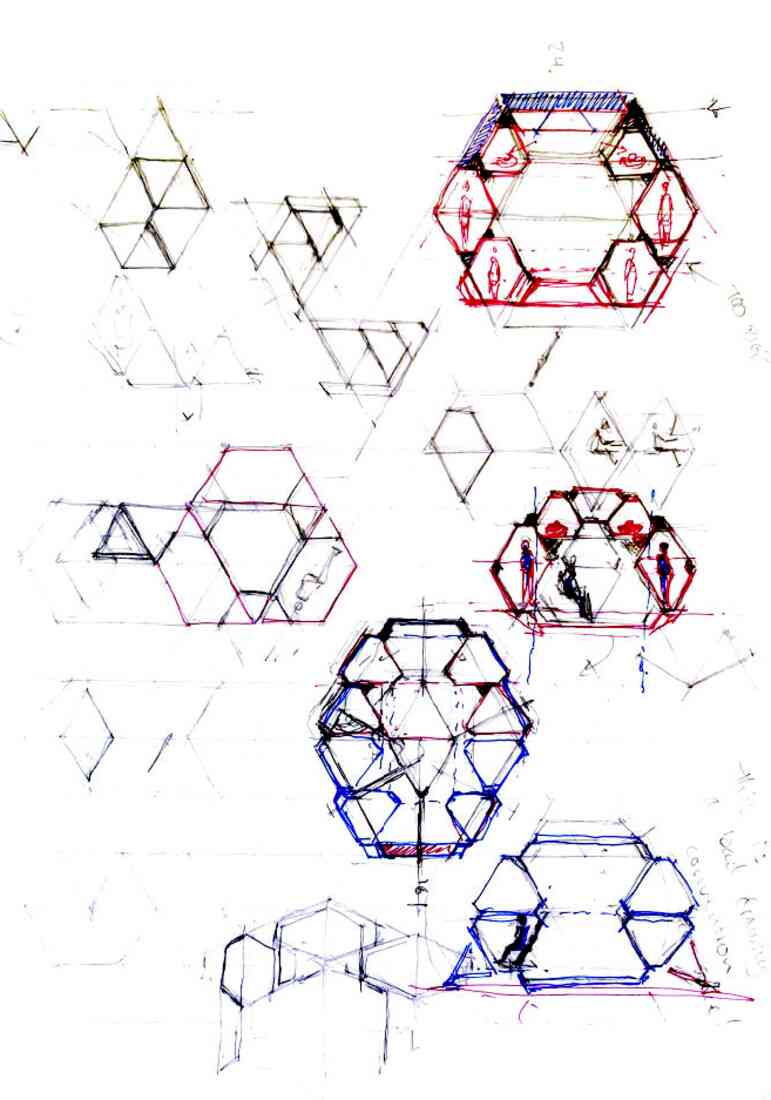
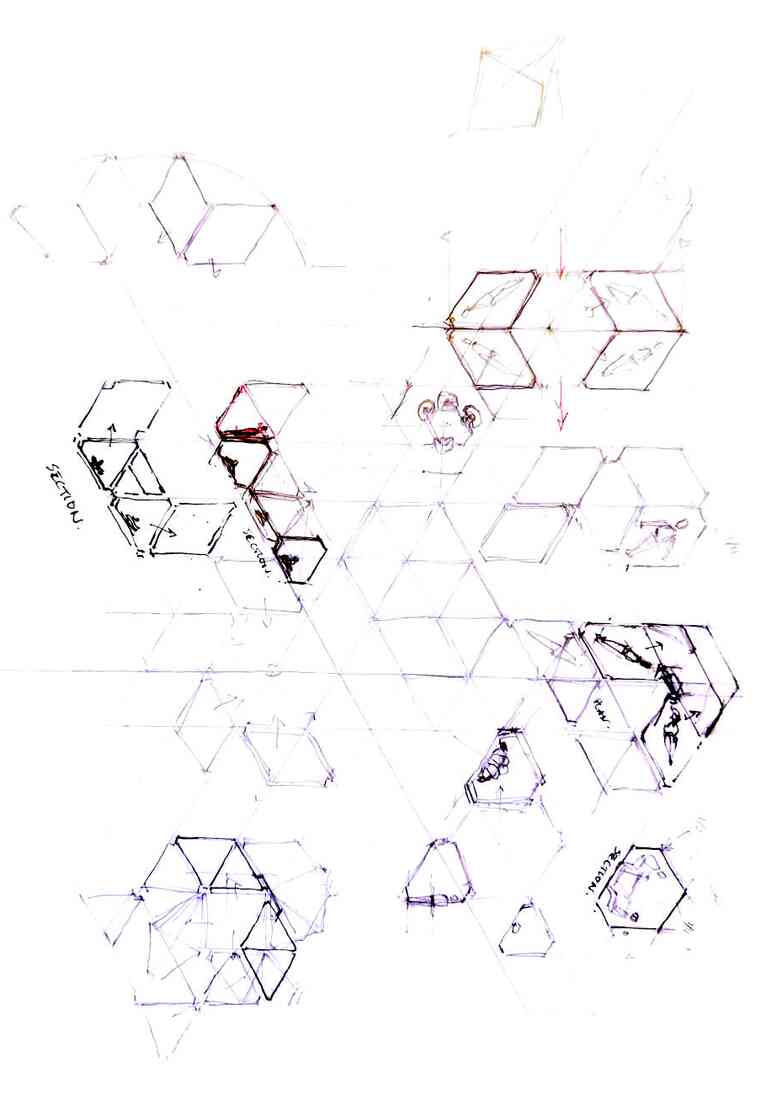
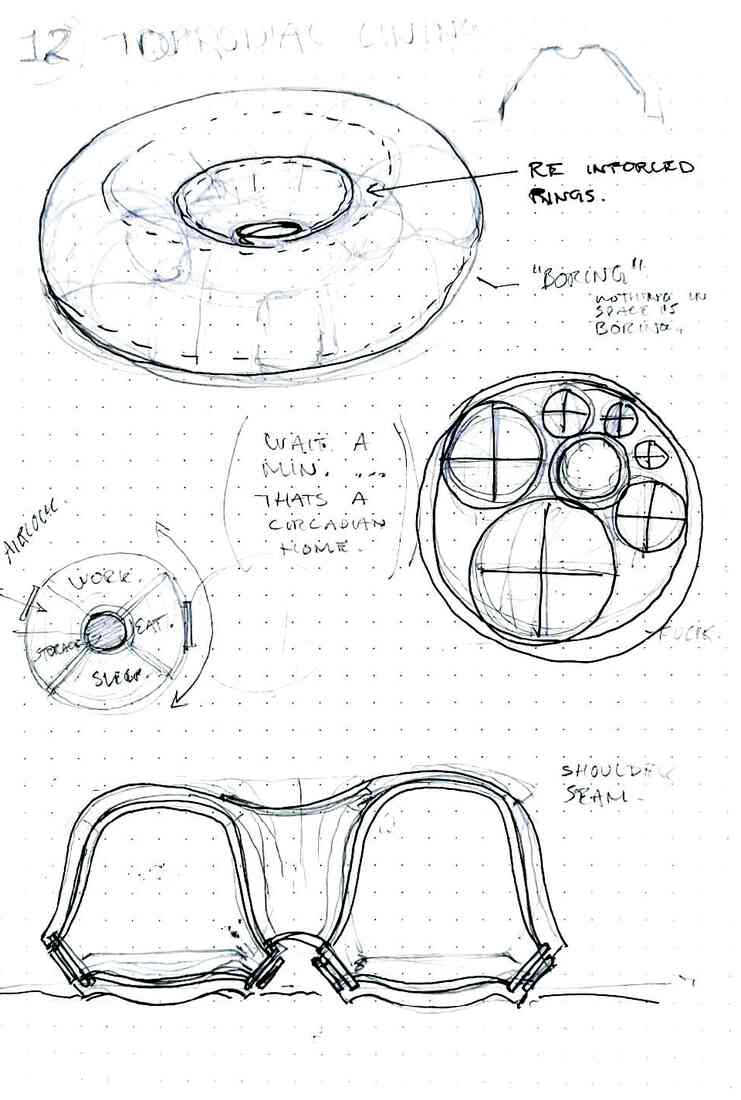
Since you can construct a hexagon with 6 triangles, and a hexagon approximating a circle, that if the footprint of the habitat was triangular, we could fit 6 of them in a single payload.
This also makes sense, when you realise the rough dimensions such a triangle has as a living space.
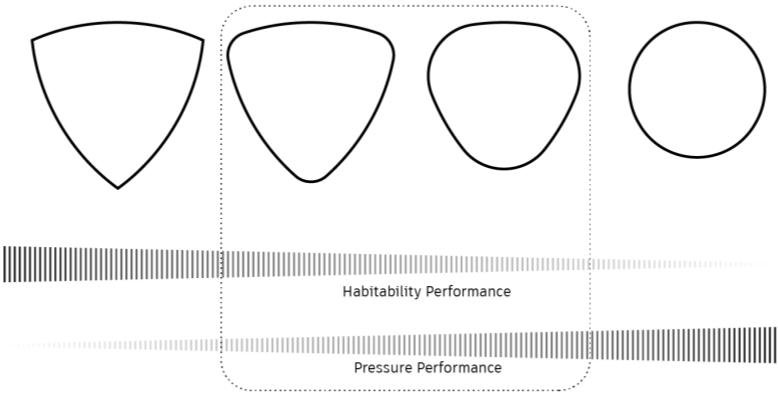
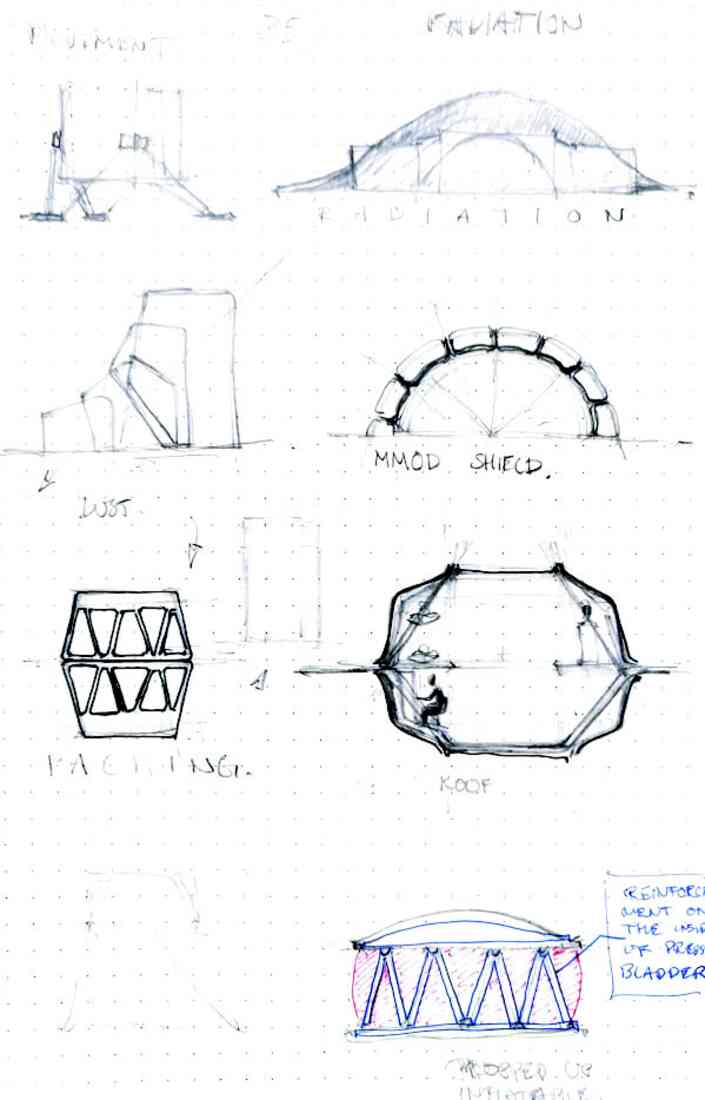
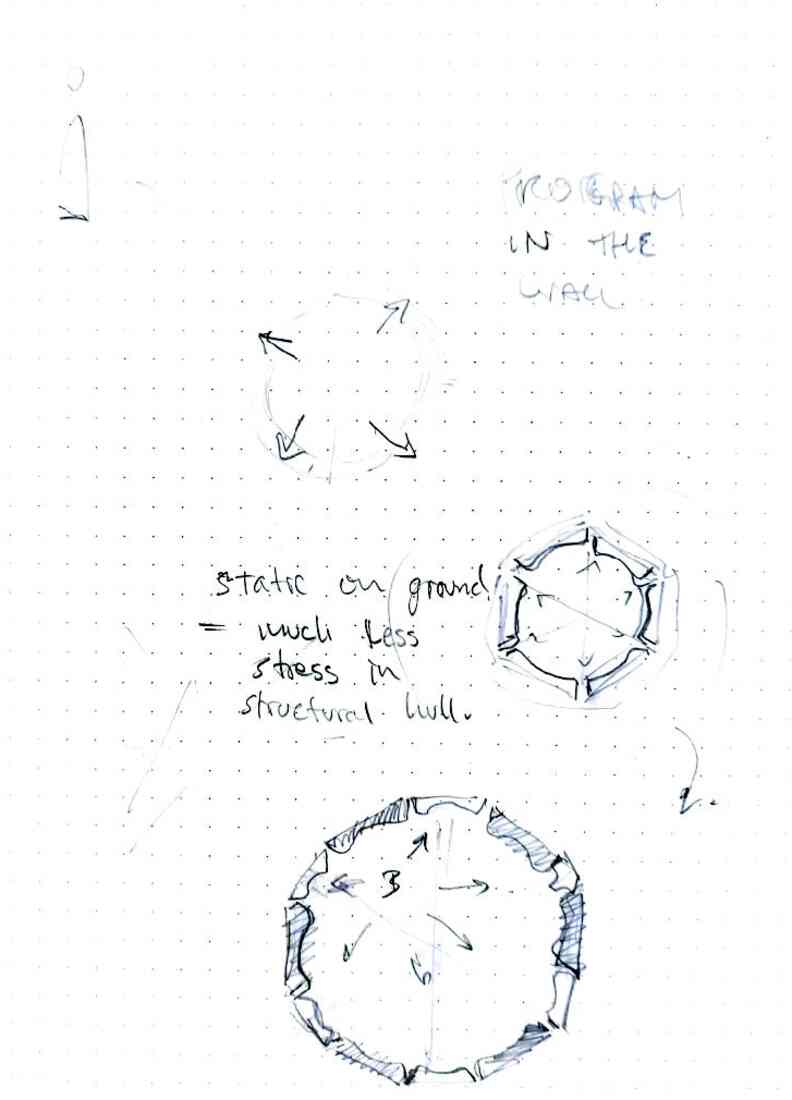
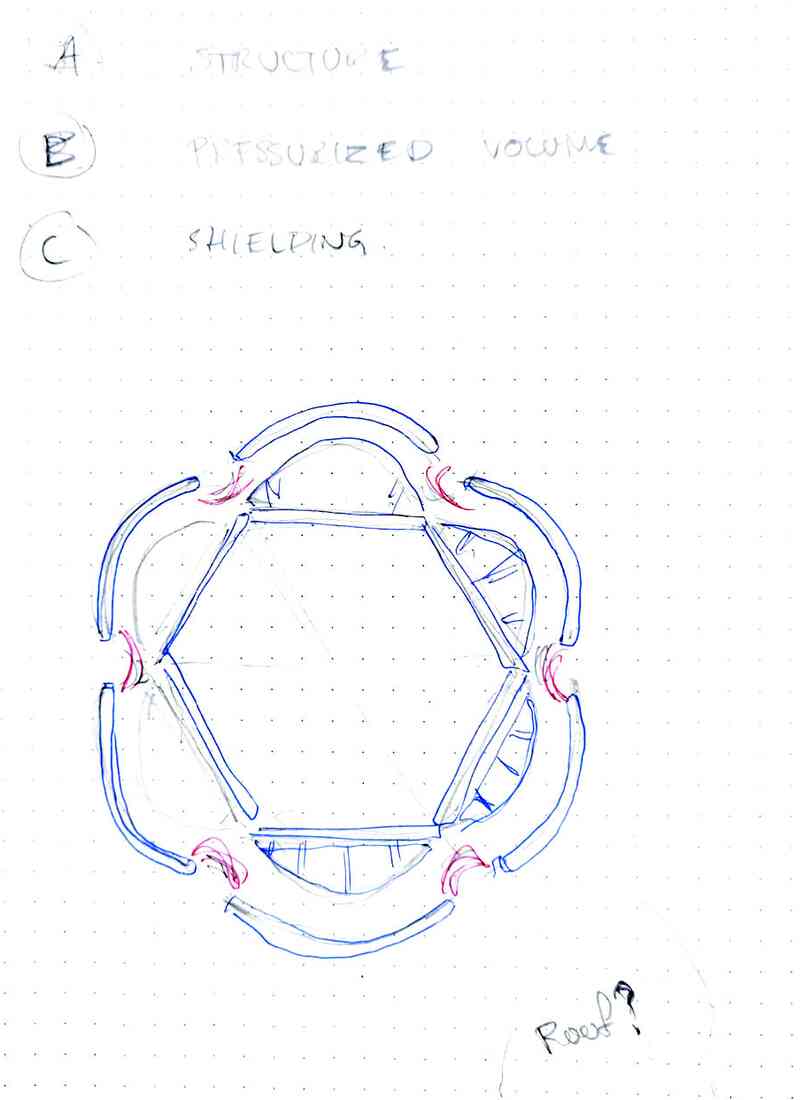
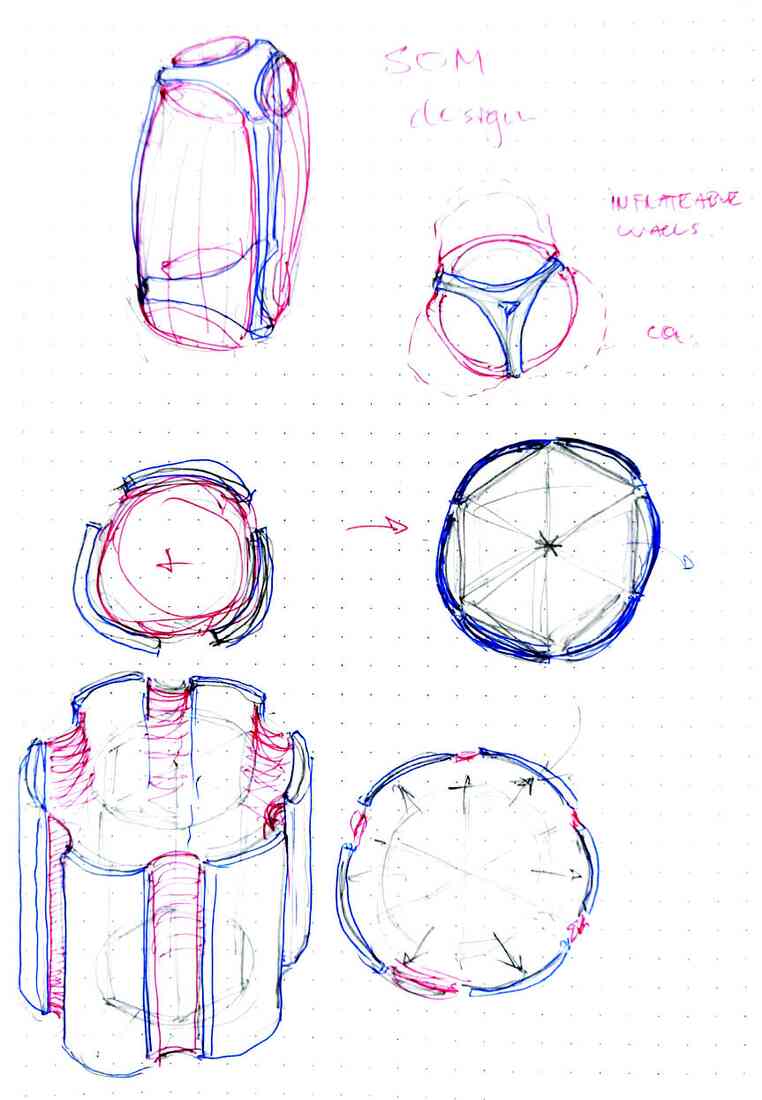
Then, by adjusting the curvature between a perfect triangle and circle, we can optimize a shape, that utilizes the space inside Starship even better, than the base shapes. The circle uses 67% of the footprint, the triangle 83%. Our shape wins at 86% (see below).
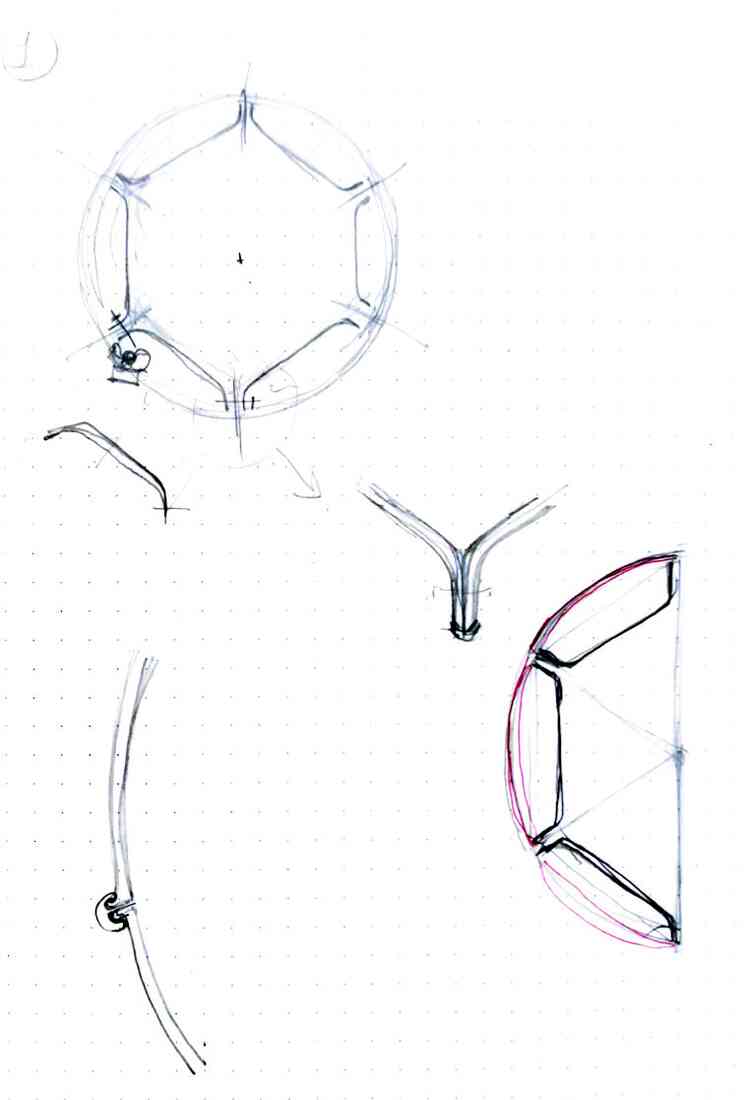
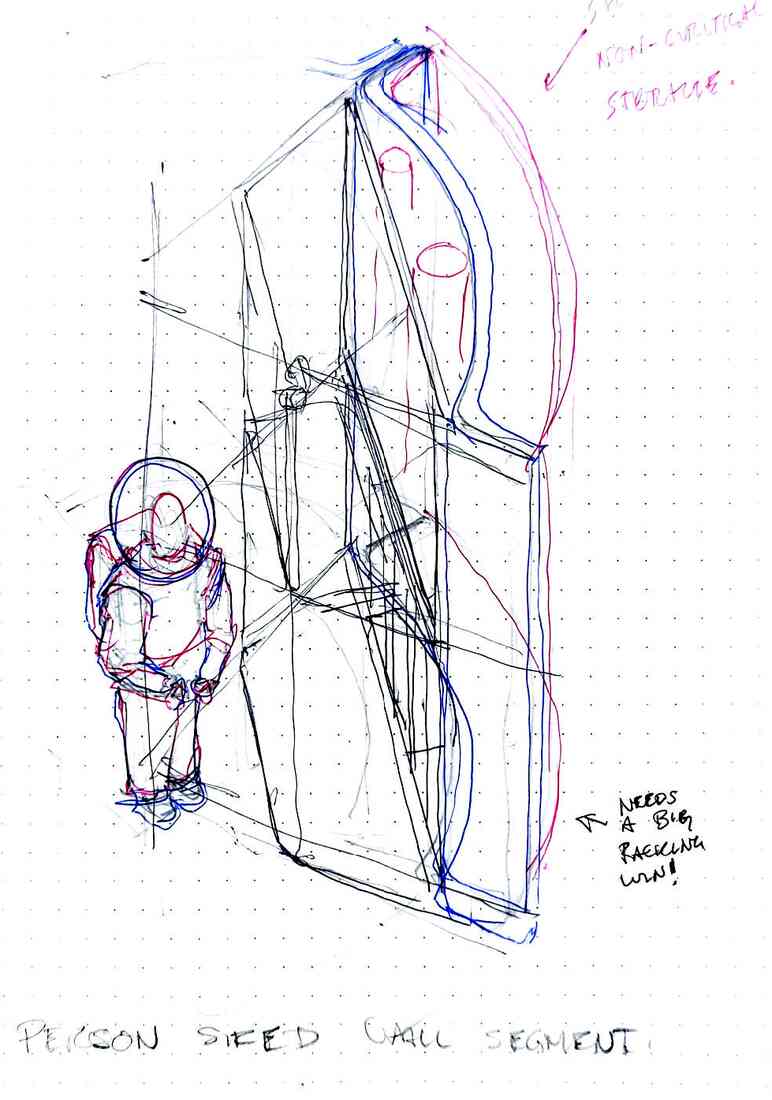
Finally, the shape also is a trade-off between footprint and strength, as visualized in the diagram below.
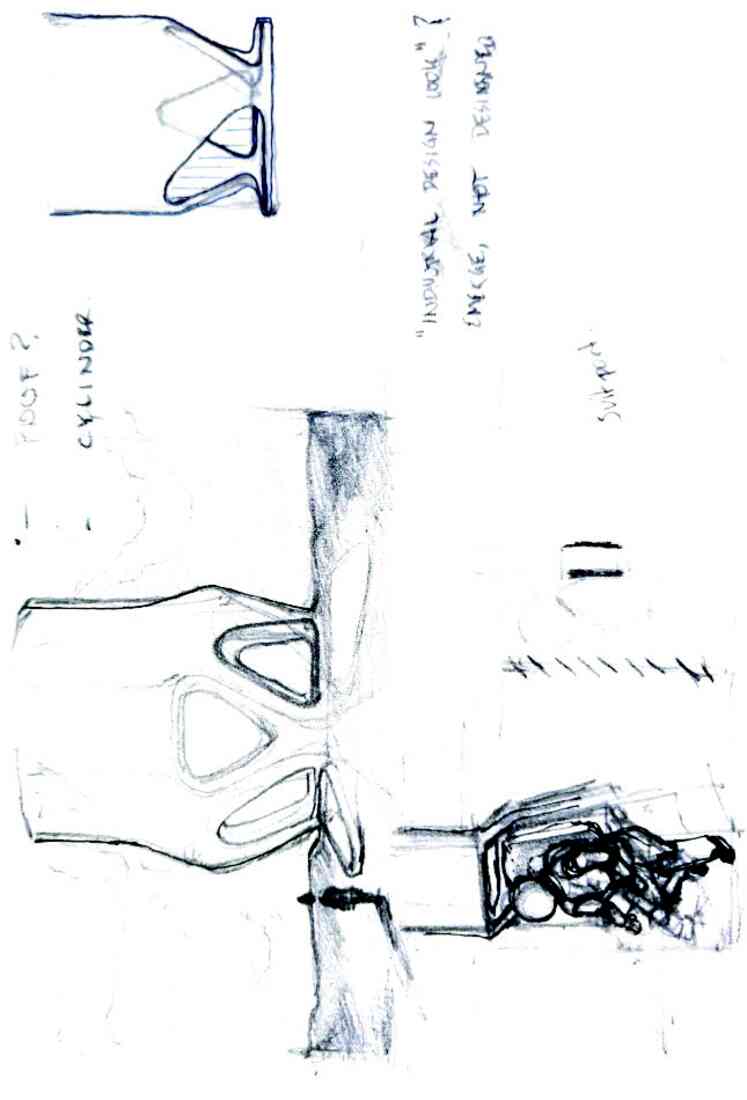
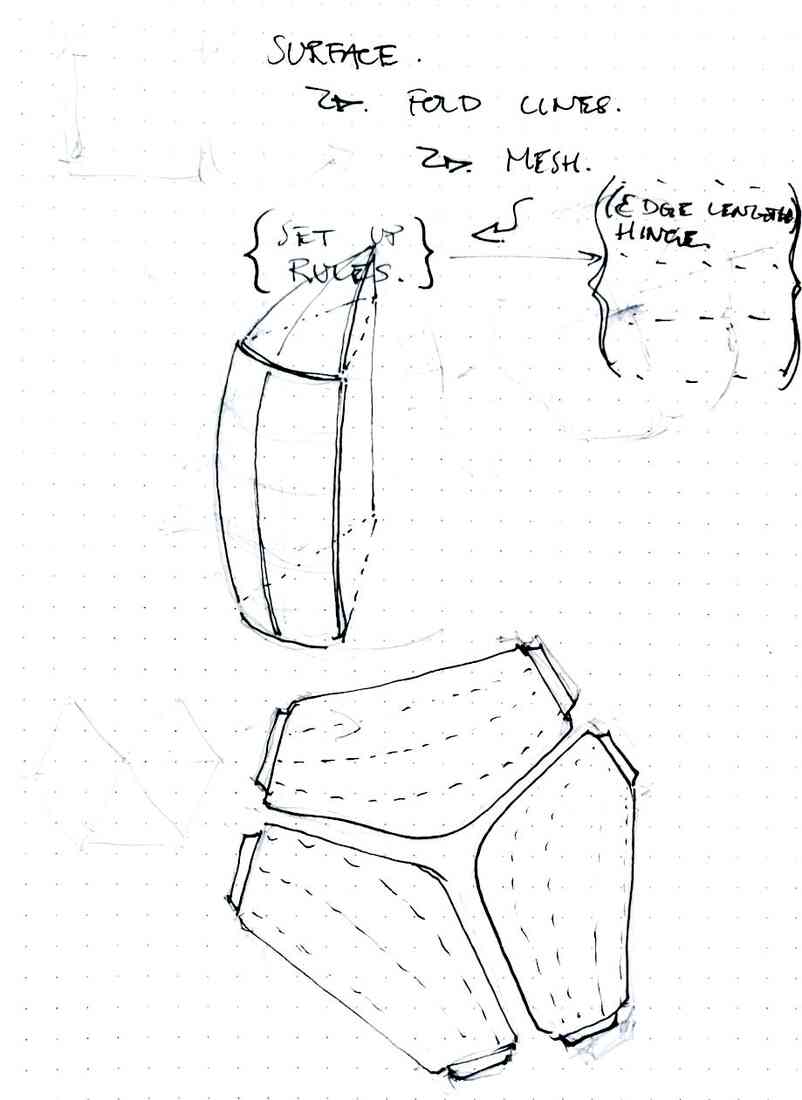
Topology Optimization
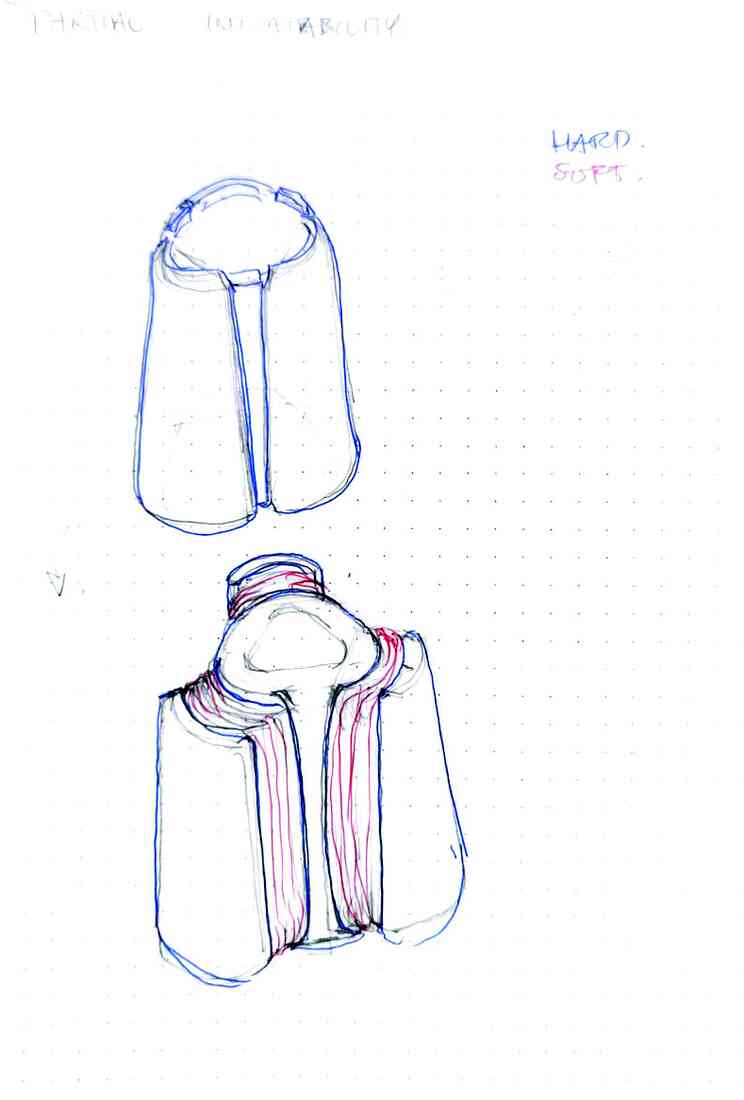
The final curvature and thickness at each edge was then optimized further using an algorithm as seen in the animations below.
The organic shape of the shell surface is indeed not arbitrary either. It is based on algorithmic optimizations called Topology Optimization, which slowly morphs a shape through many iterations, constantly evaluating the shapes and continuing with derivatives of the best ones.
In our case, the shape is being optimized to maximize strength for an internal pressure (since the habitat would be pressurized and the outside would be a vacuum), while minimizing the weight and material usage.
Finally, when satisfied with our results, we adjusted and cleaned up the shape to make it 3D printable and more aesthetic.
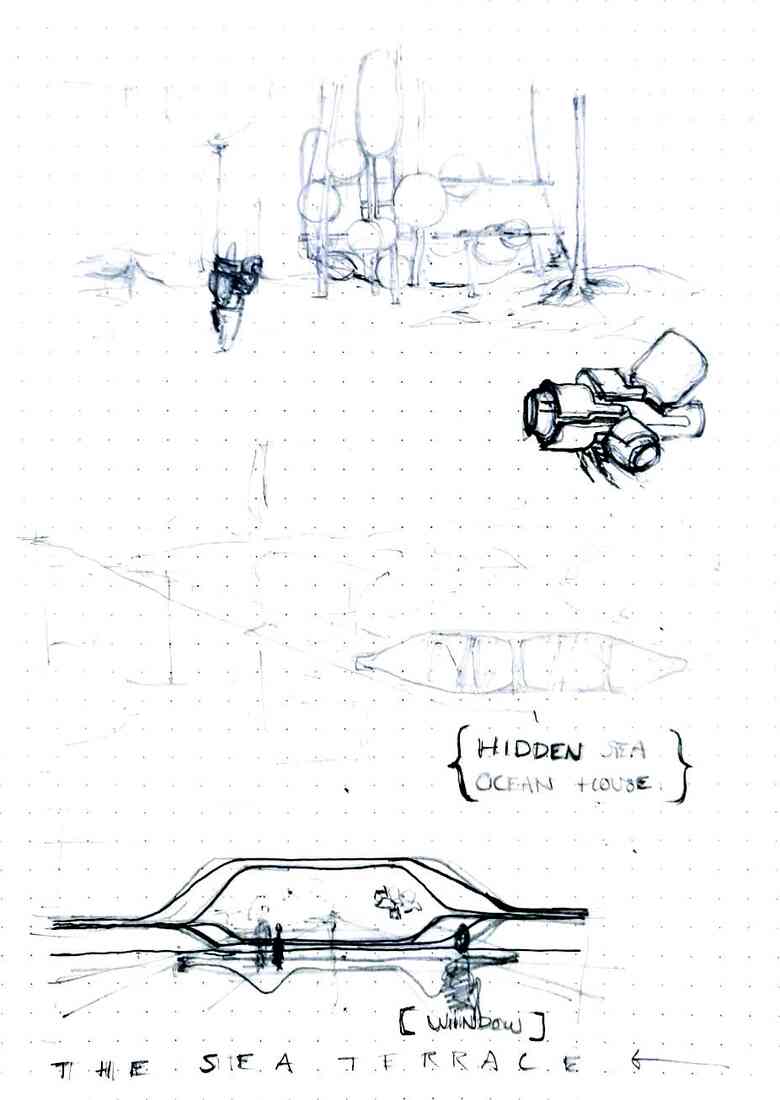
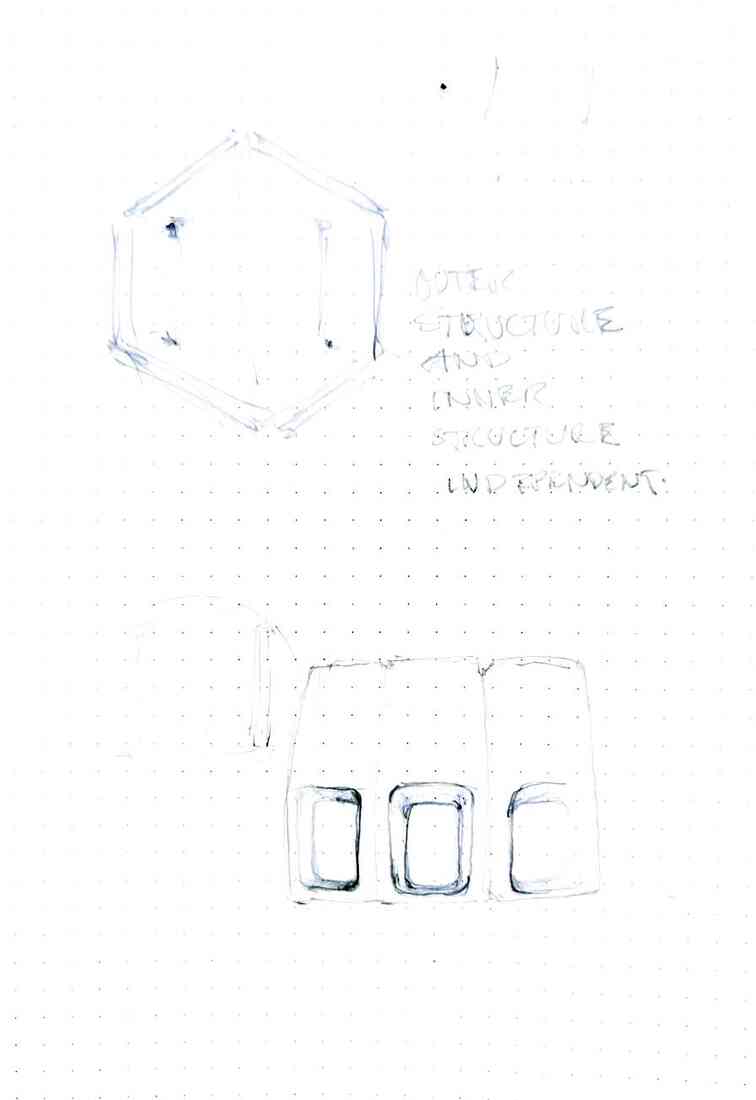
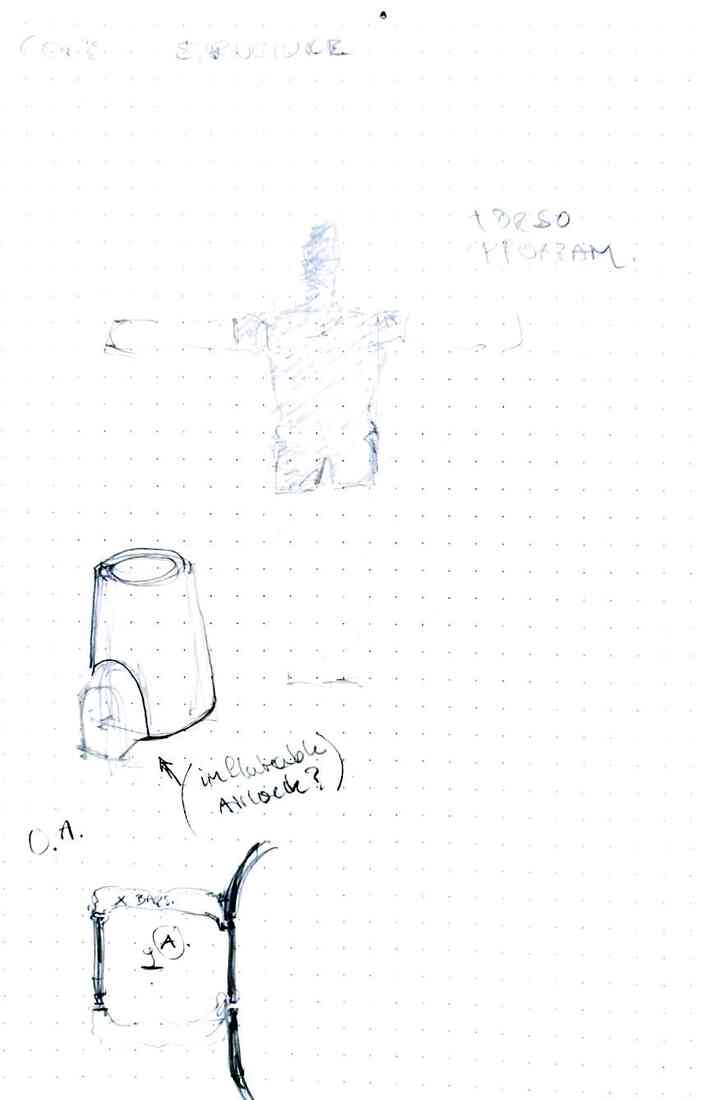
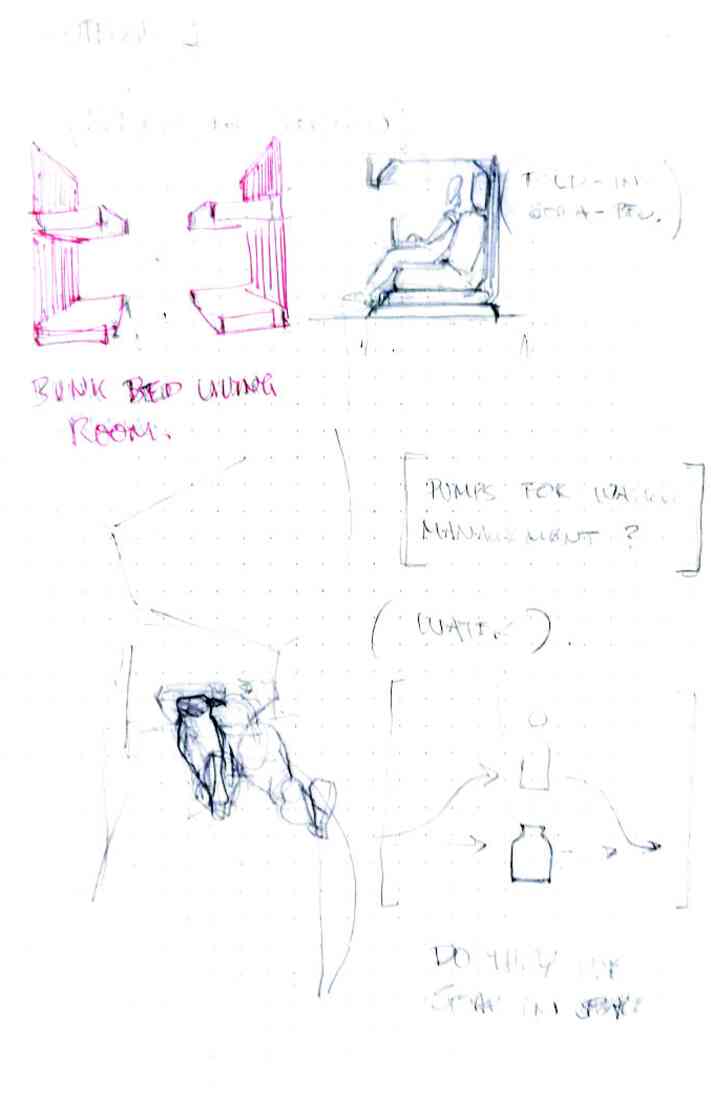
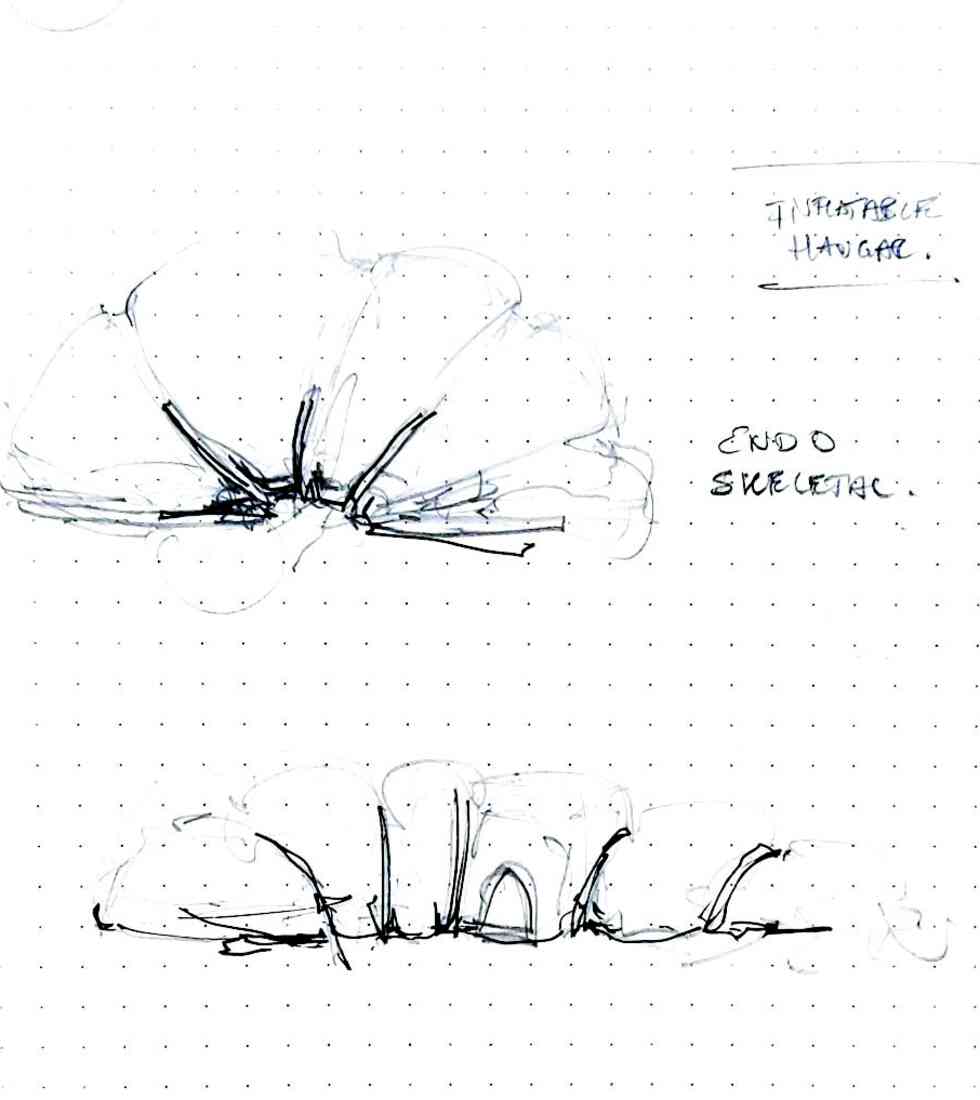
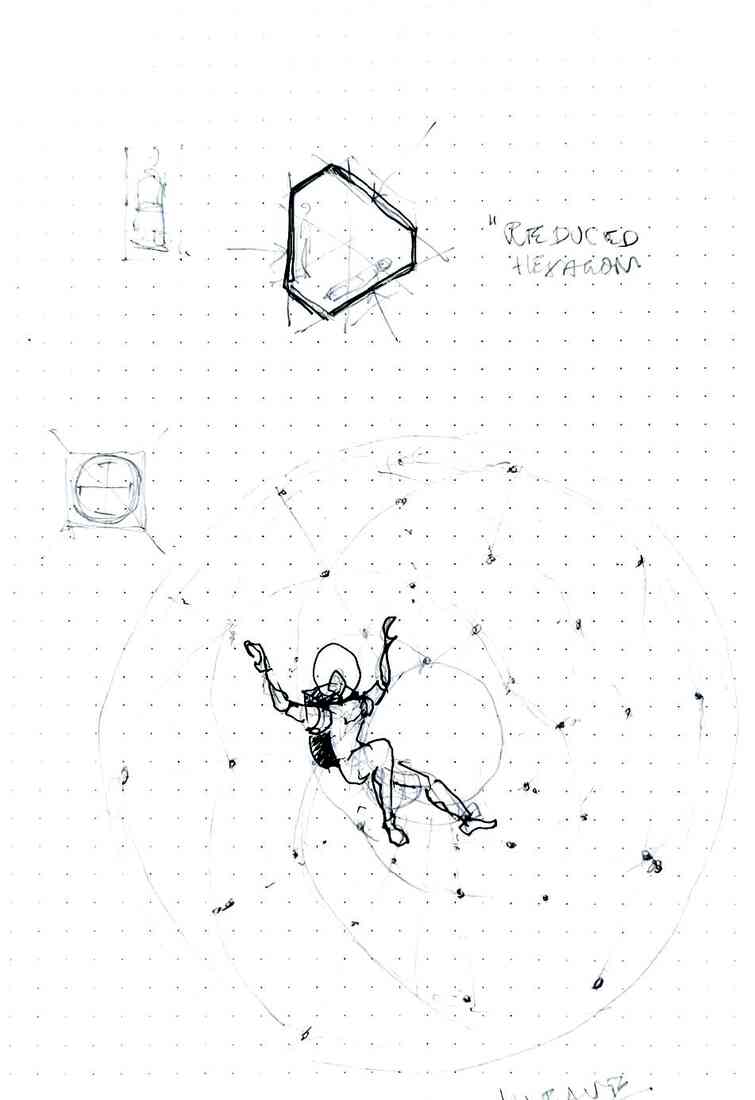
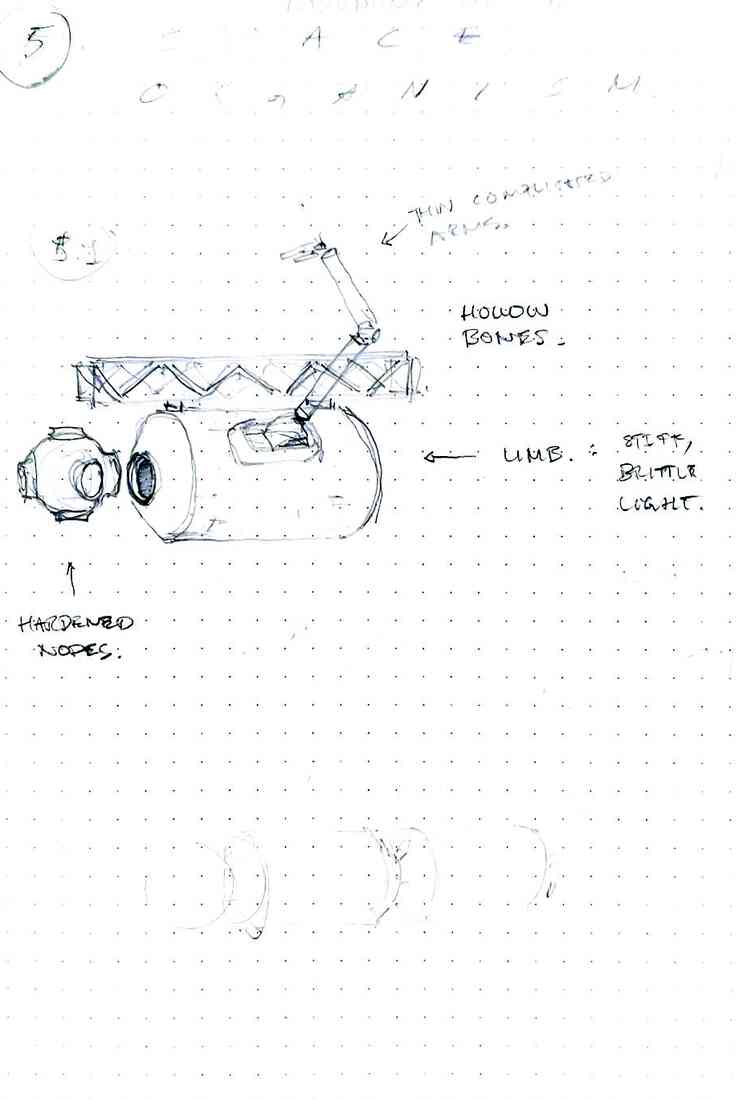
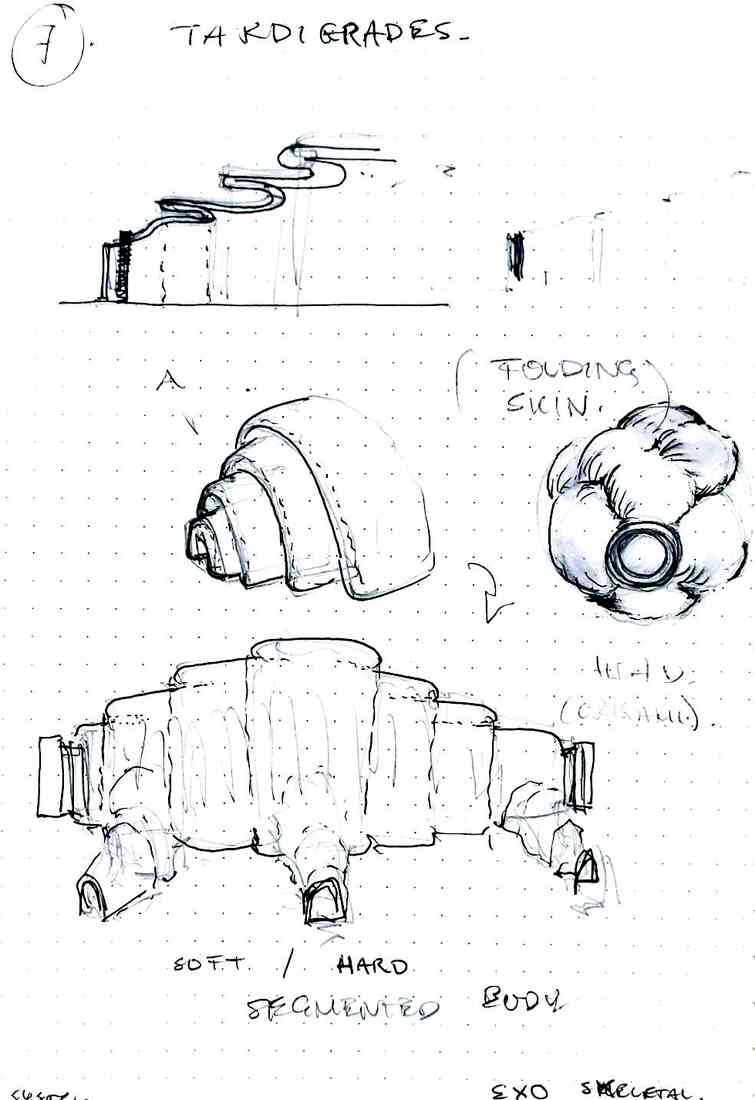
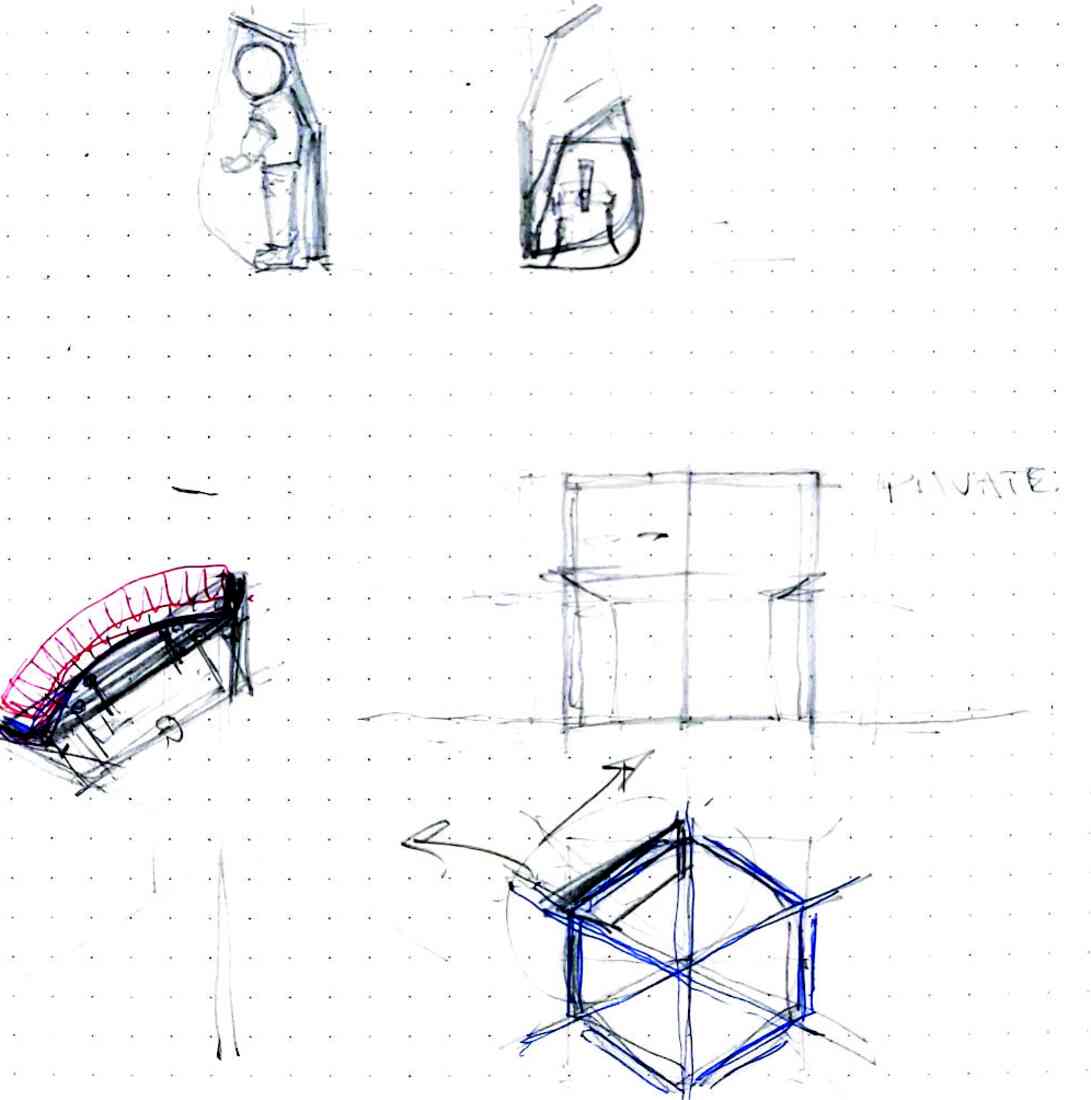
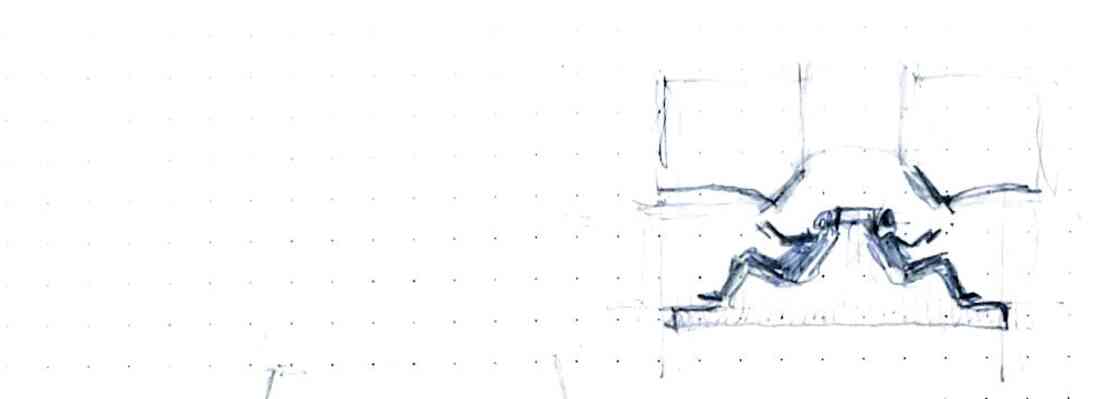
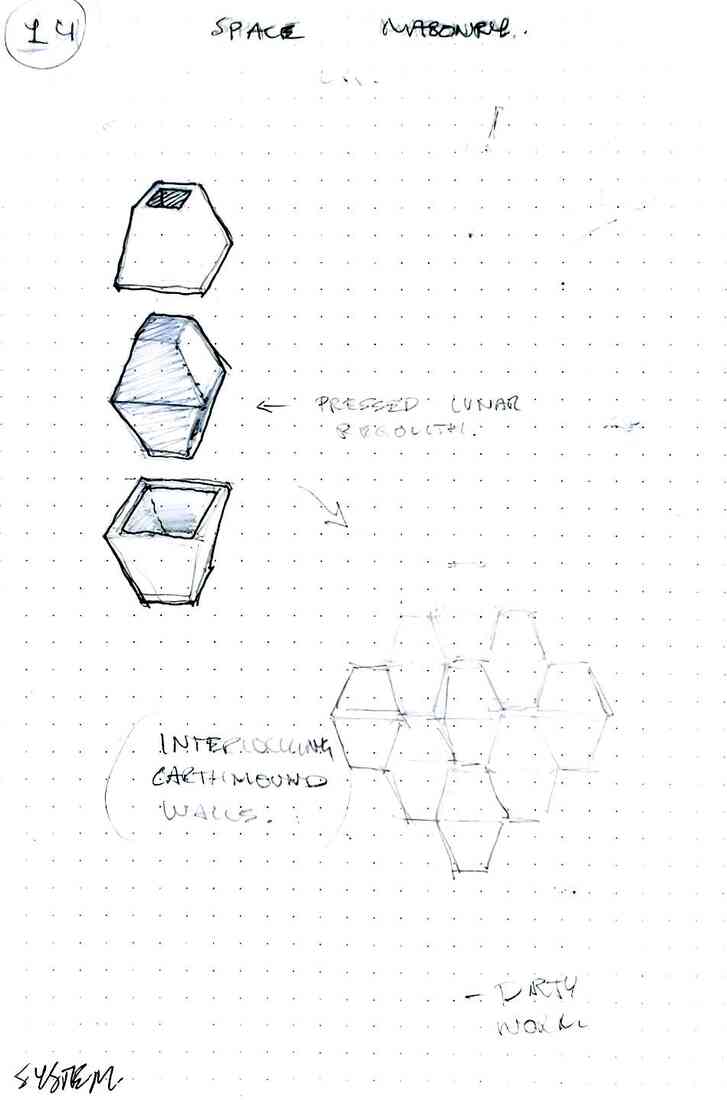
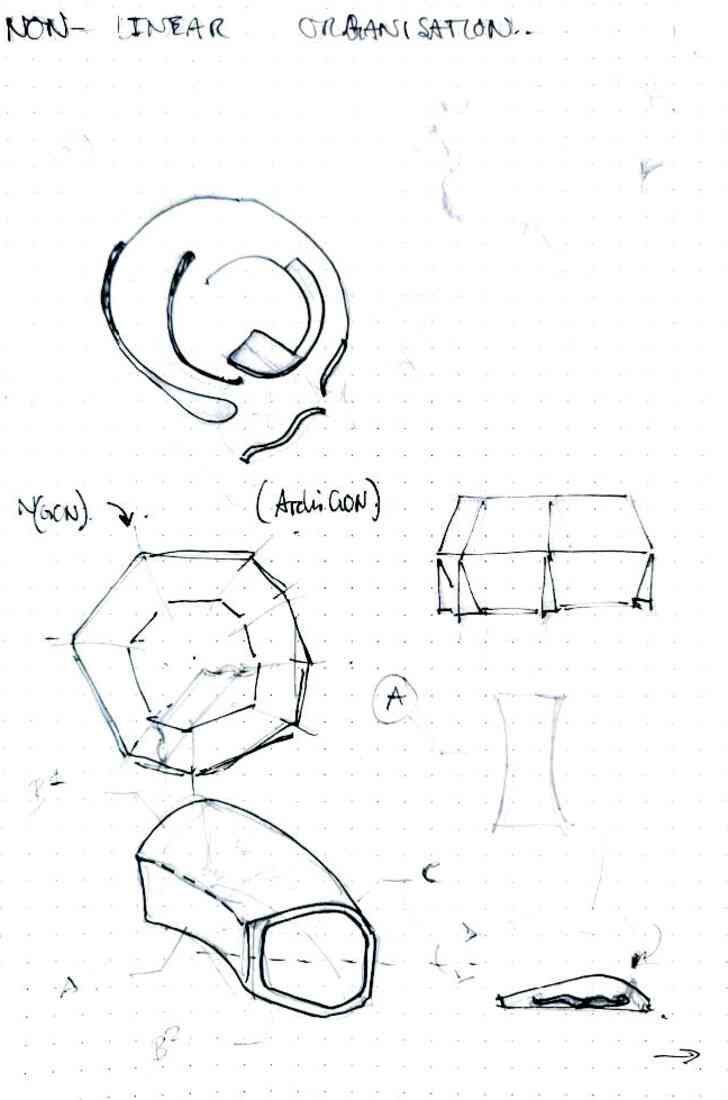
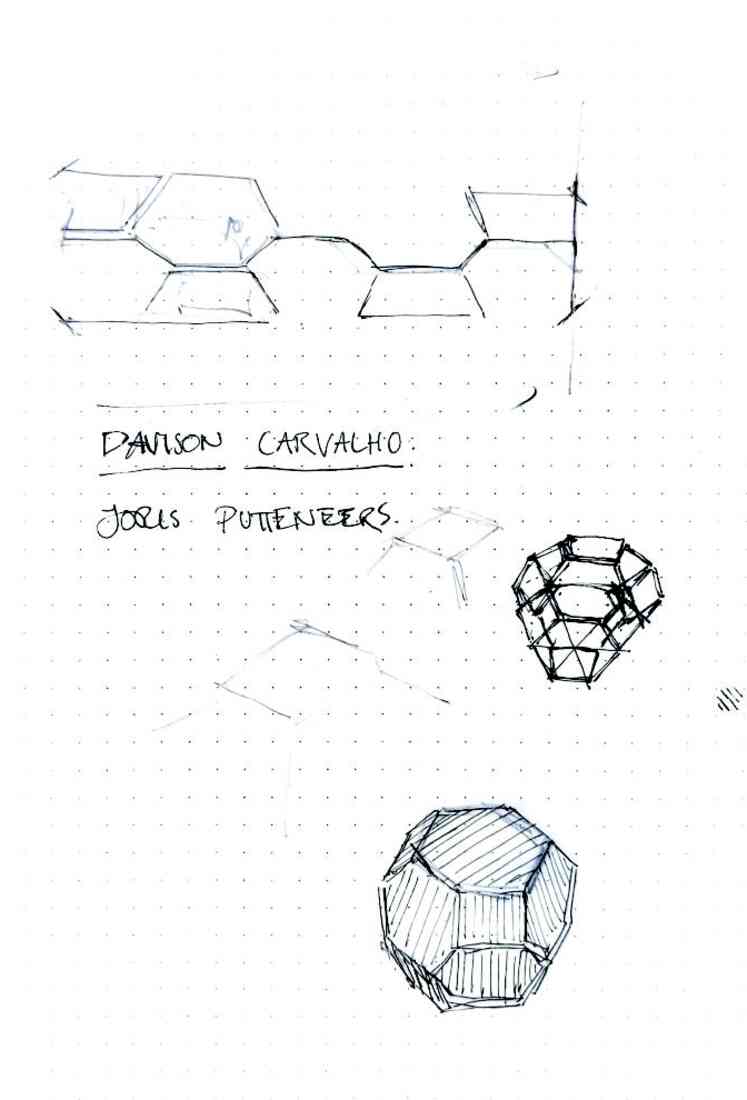
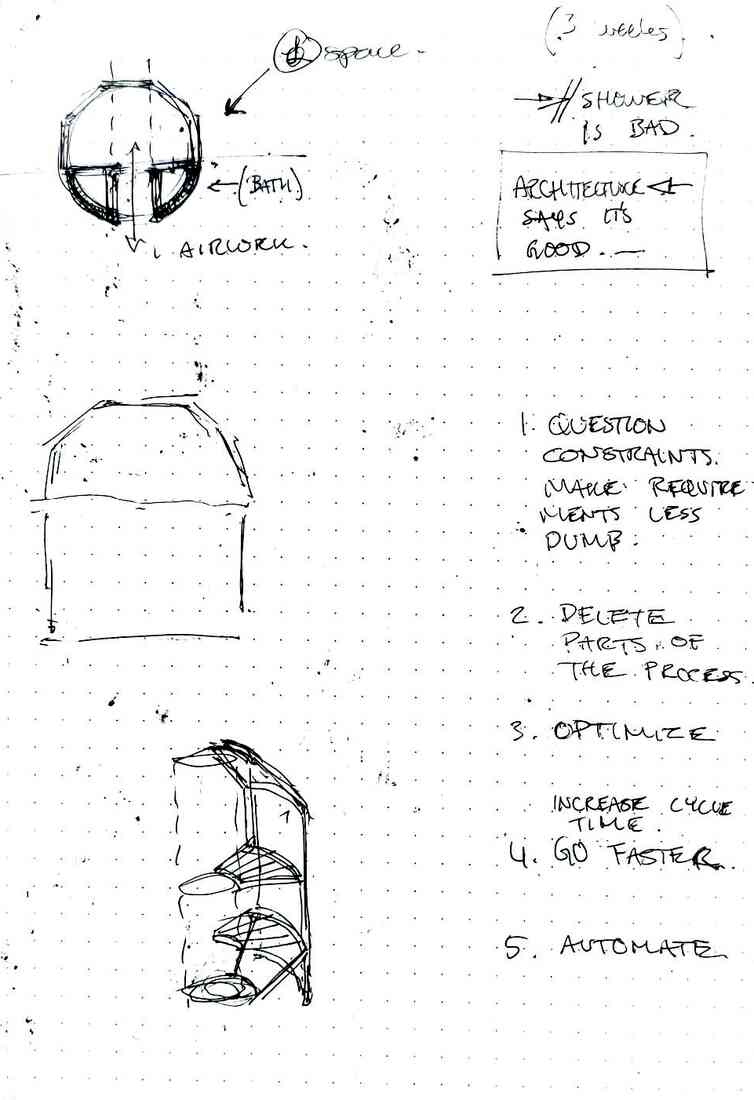
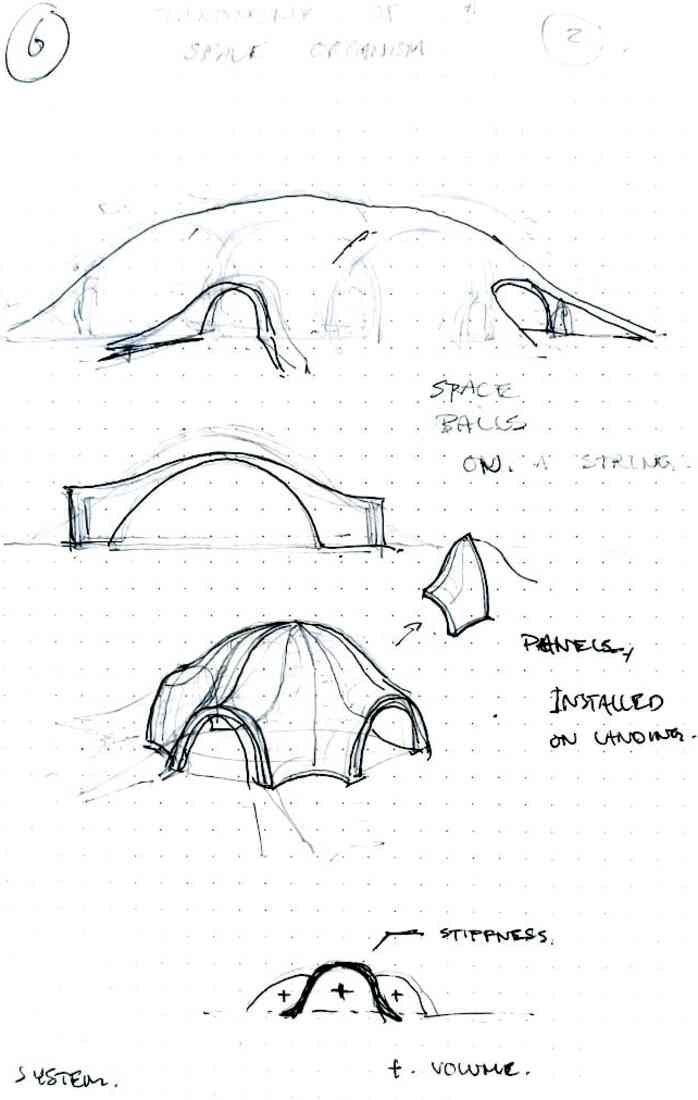
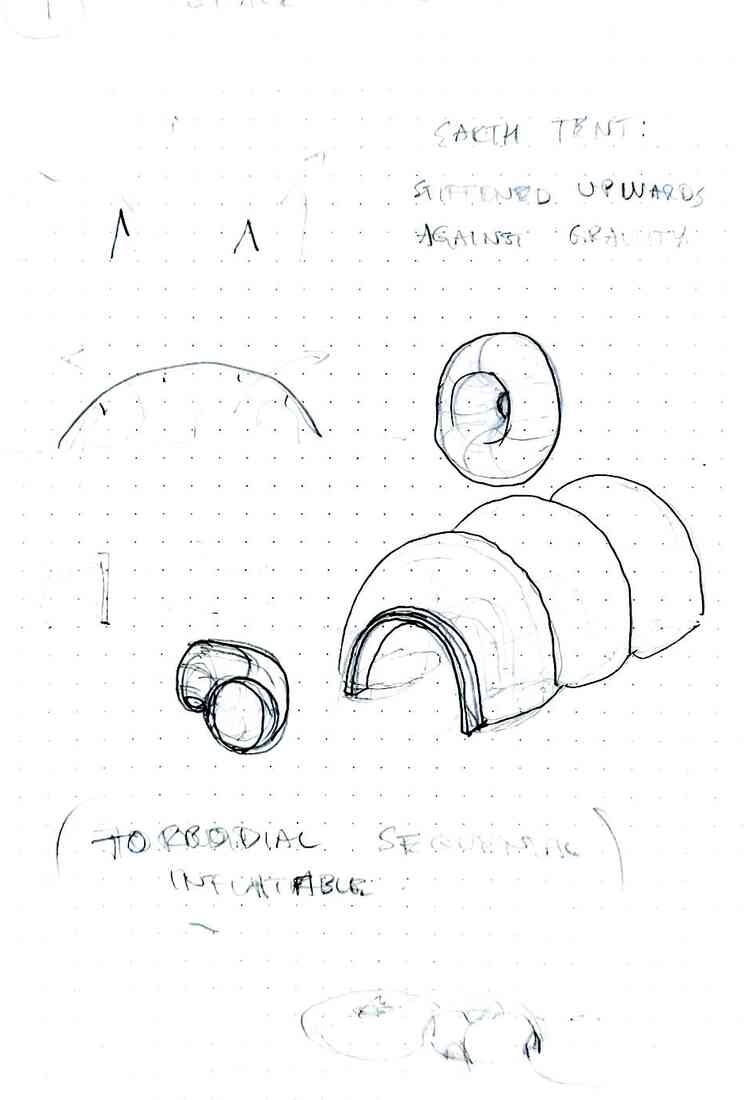
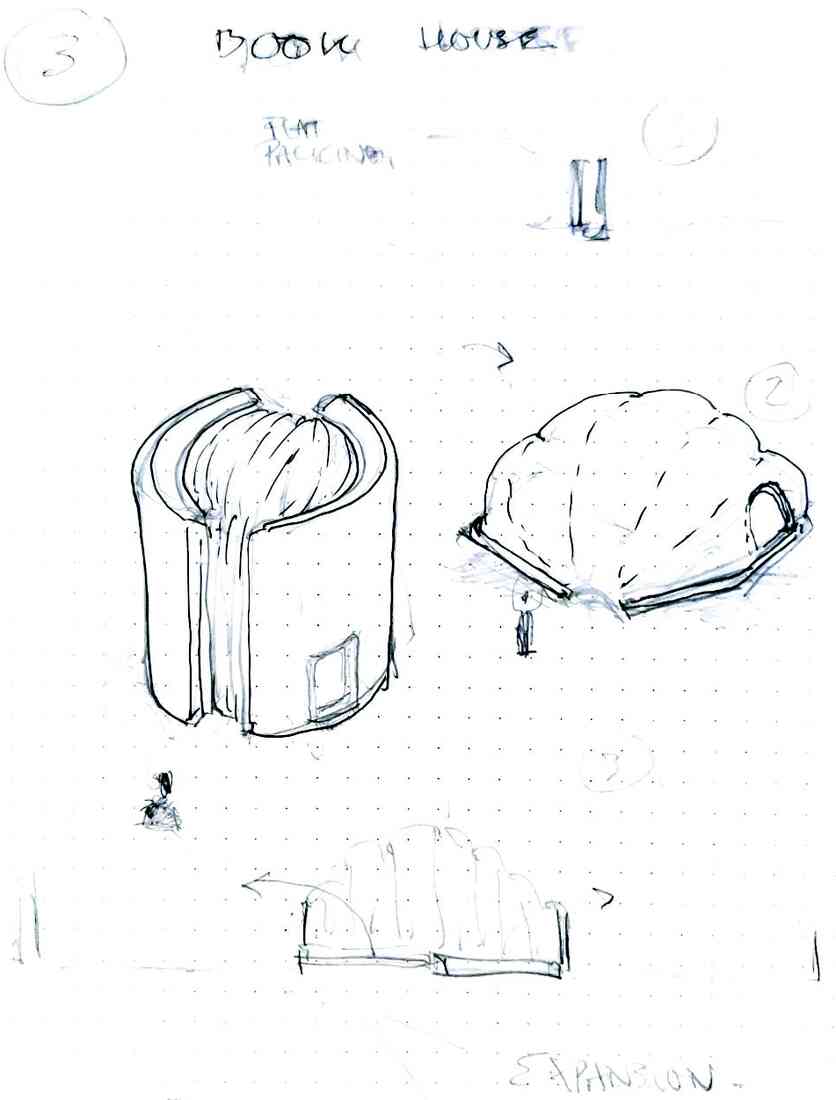
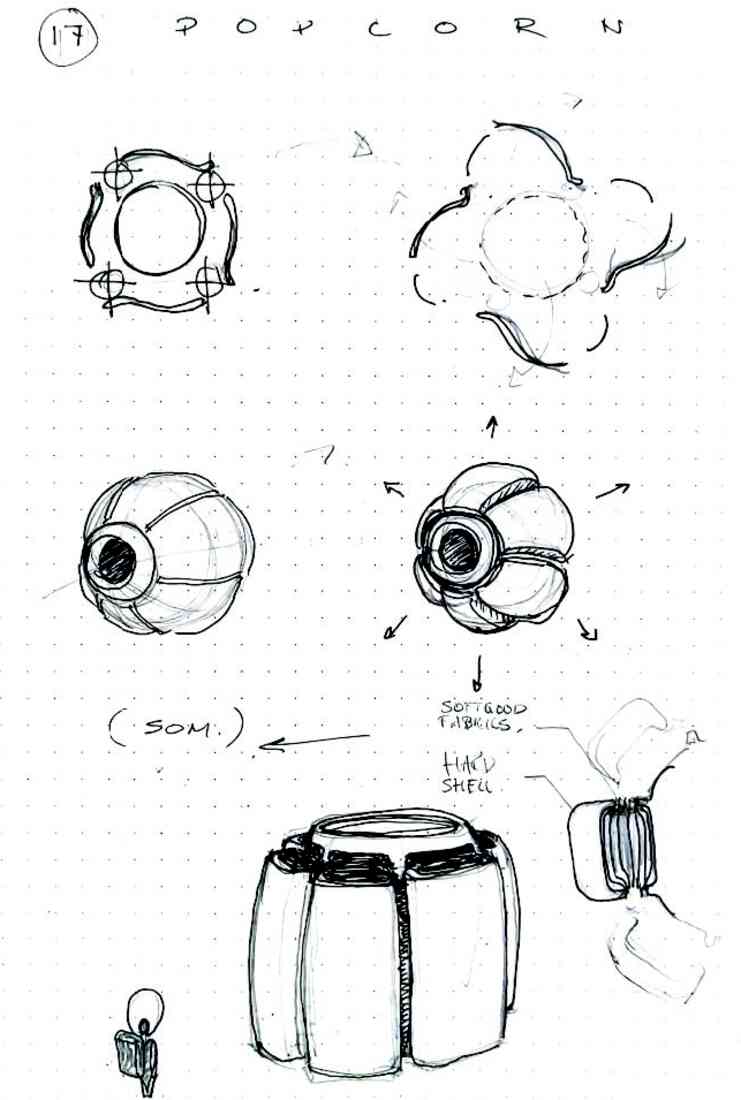
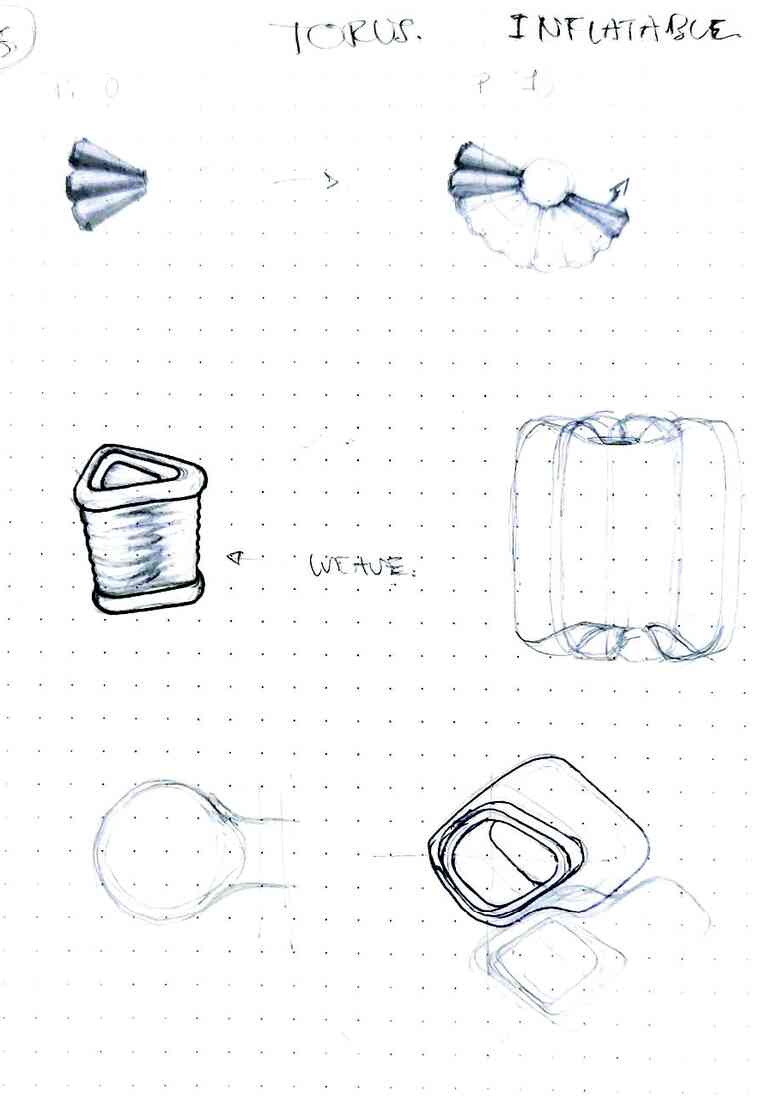
A 100 sketches
We like to start each project with at least a 100 sketches to brainstorm ideas and iterate quickly.
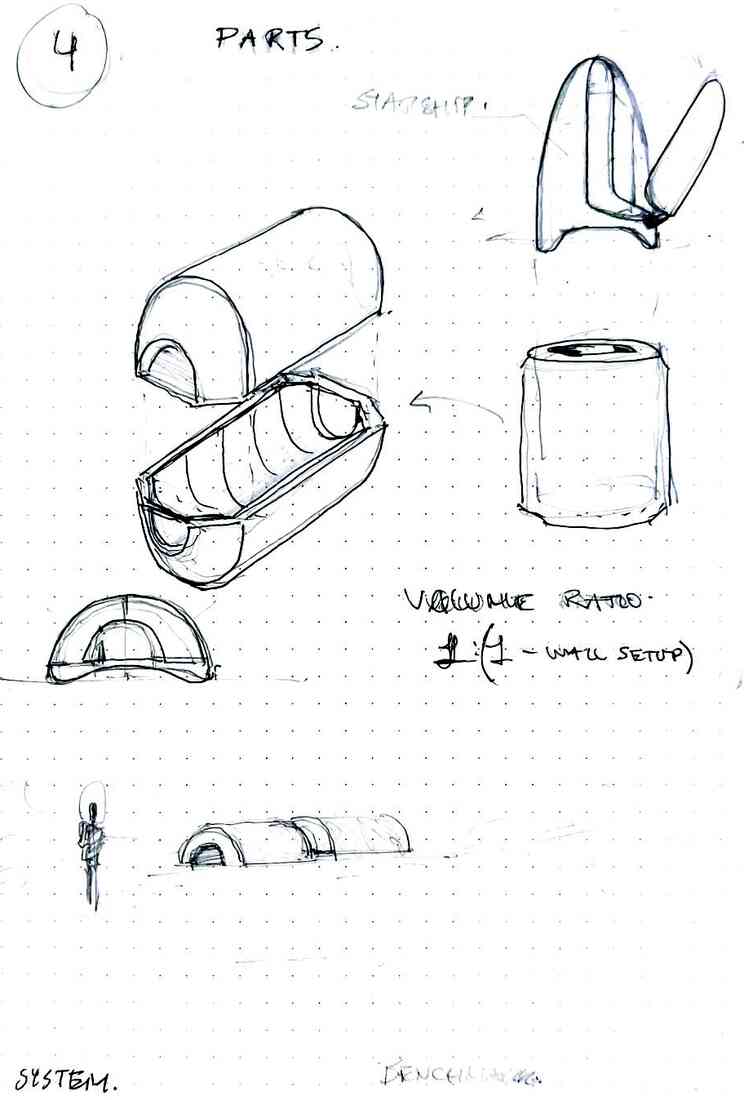


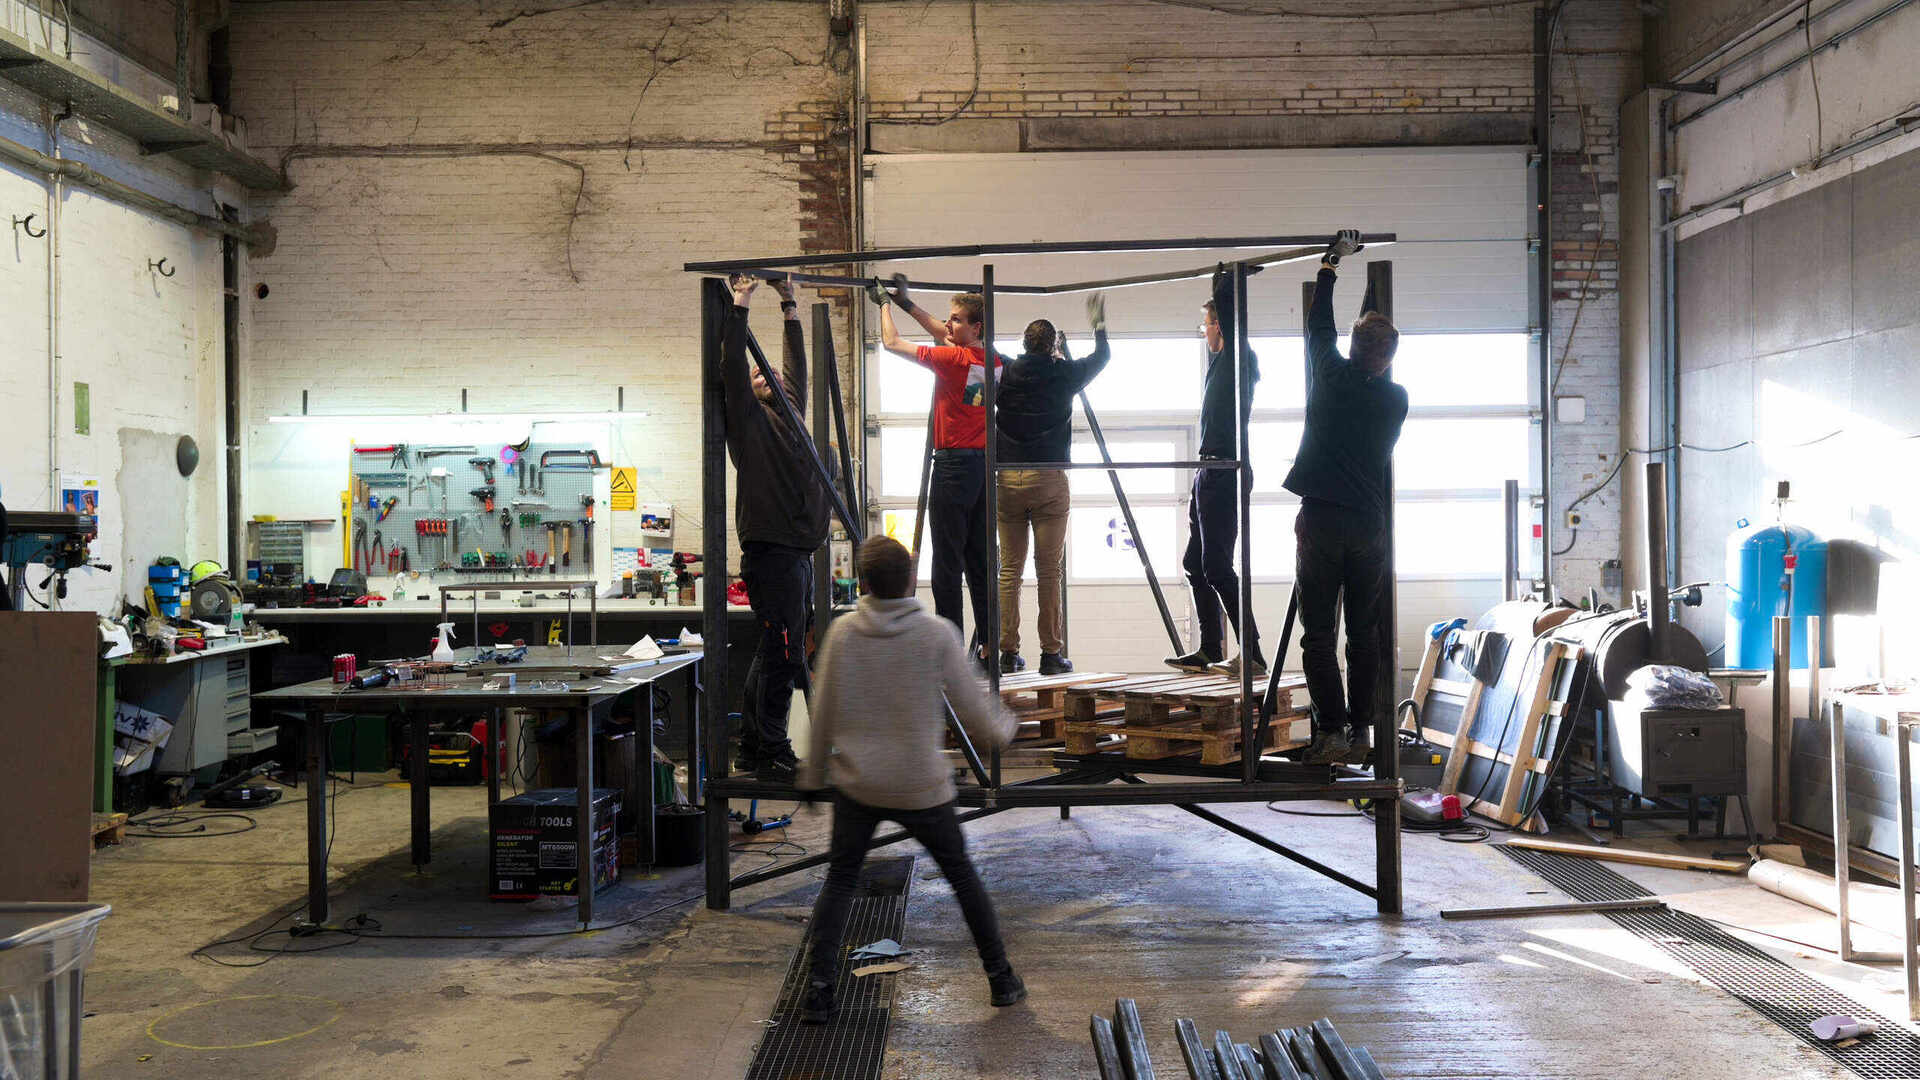
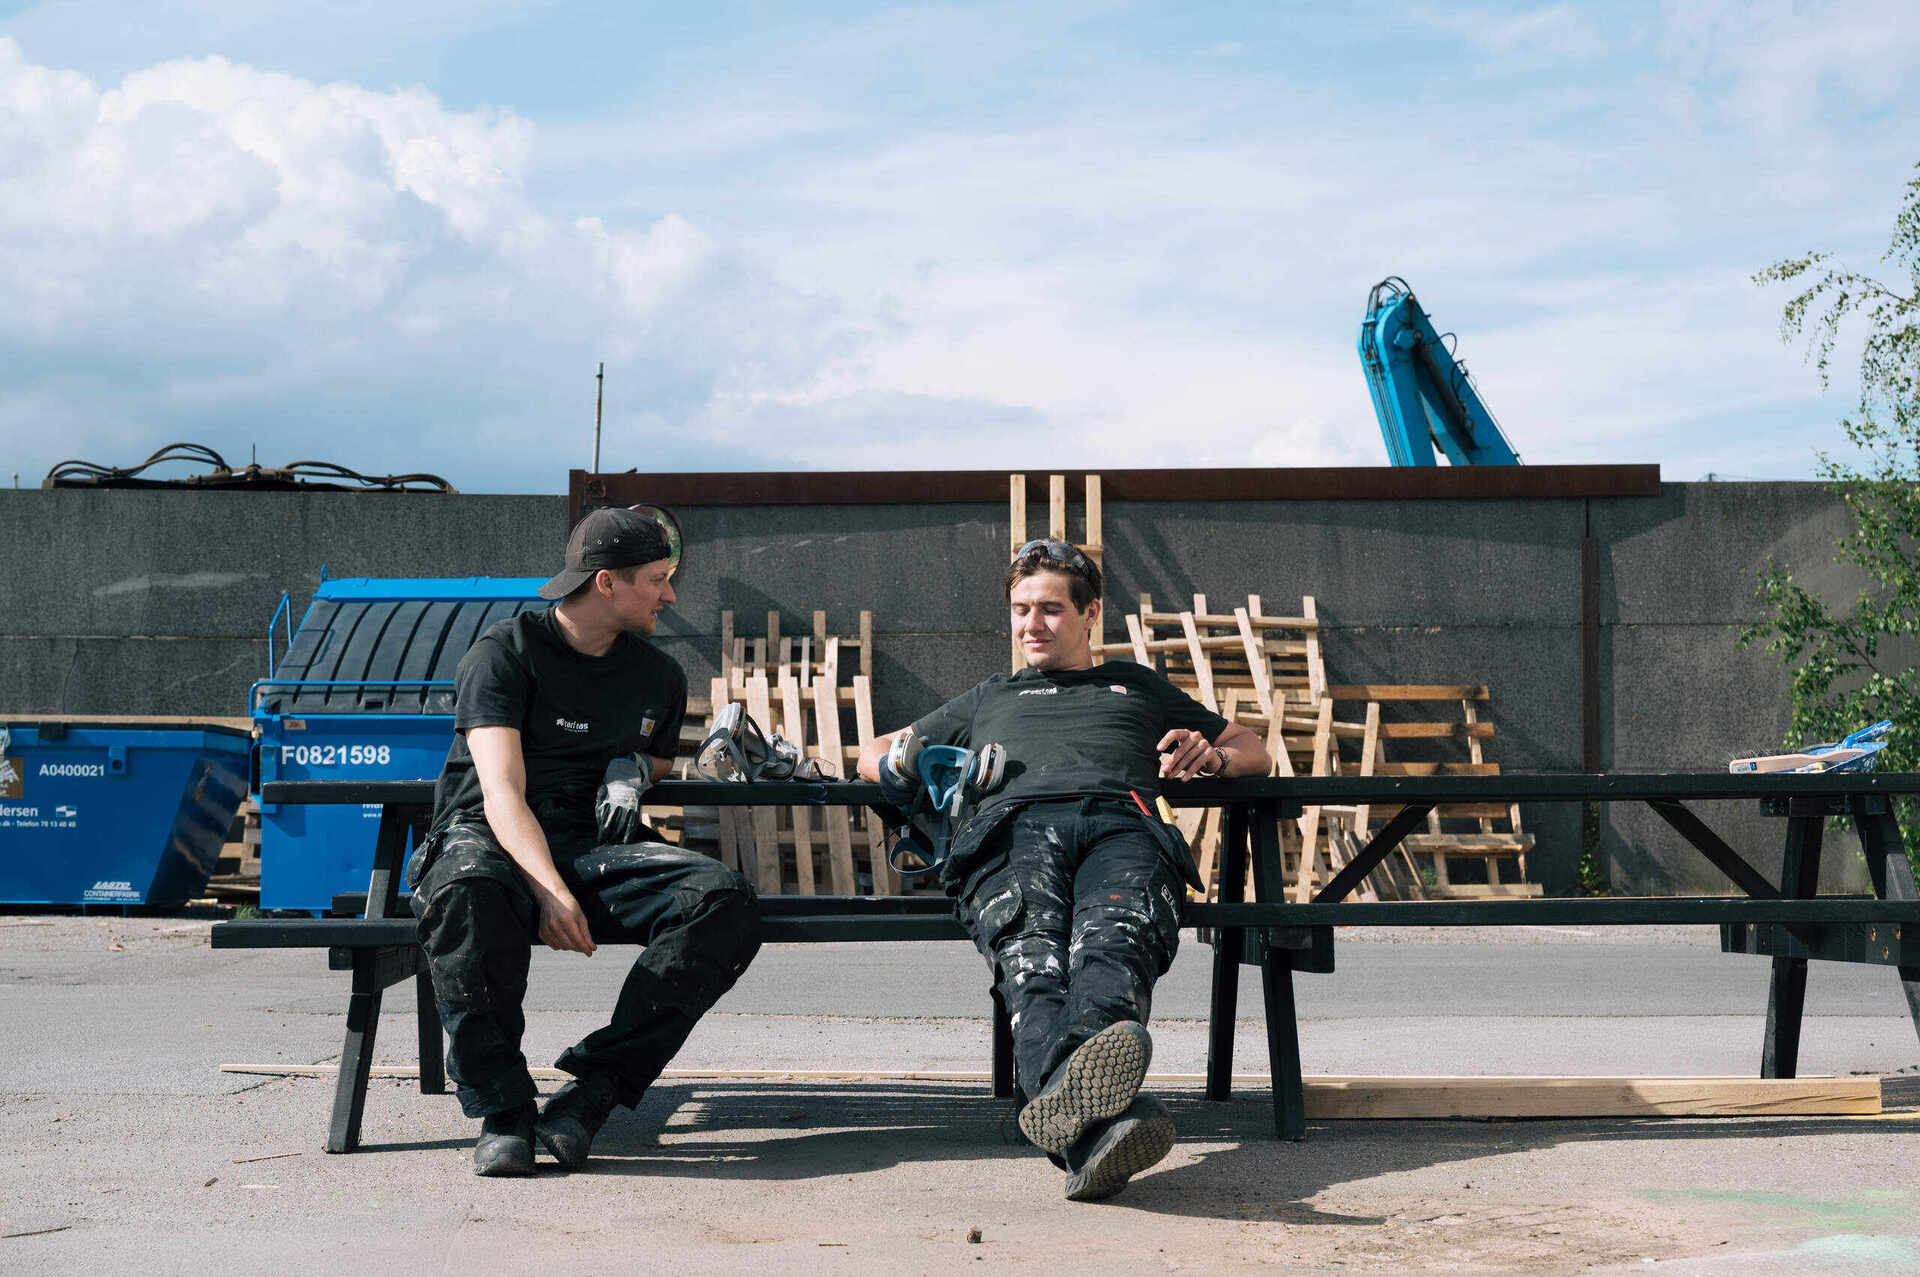
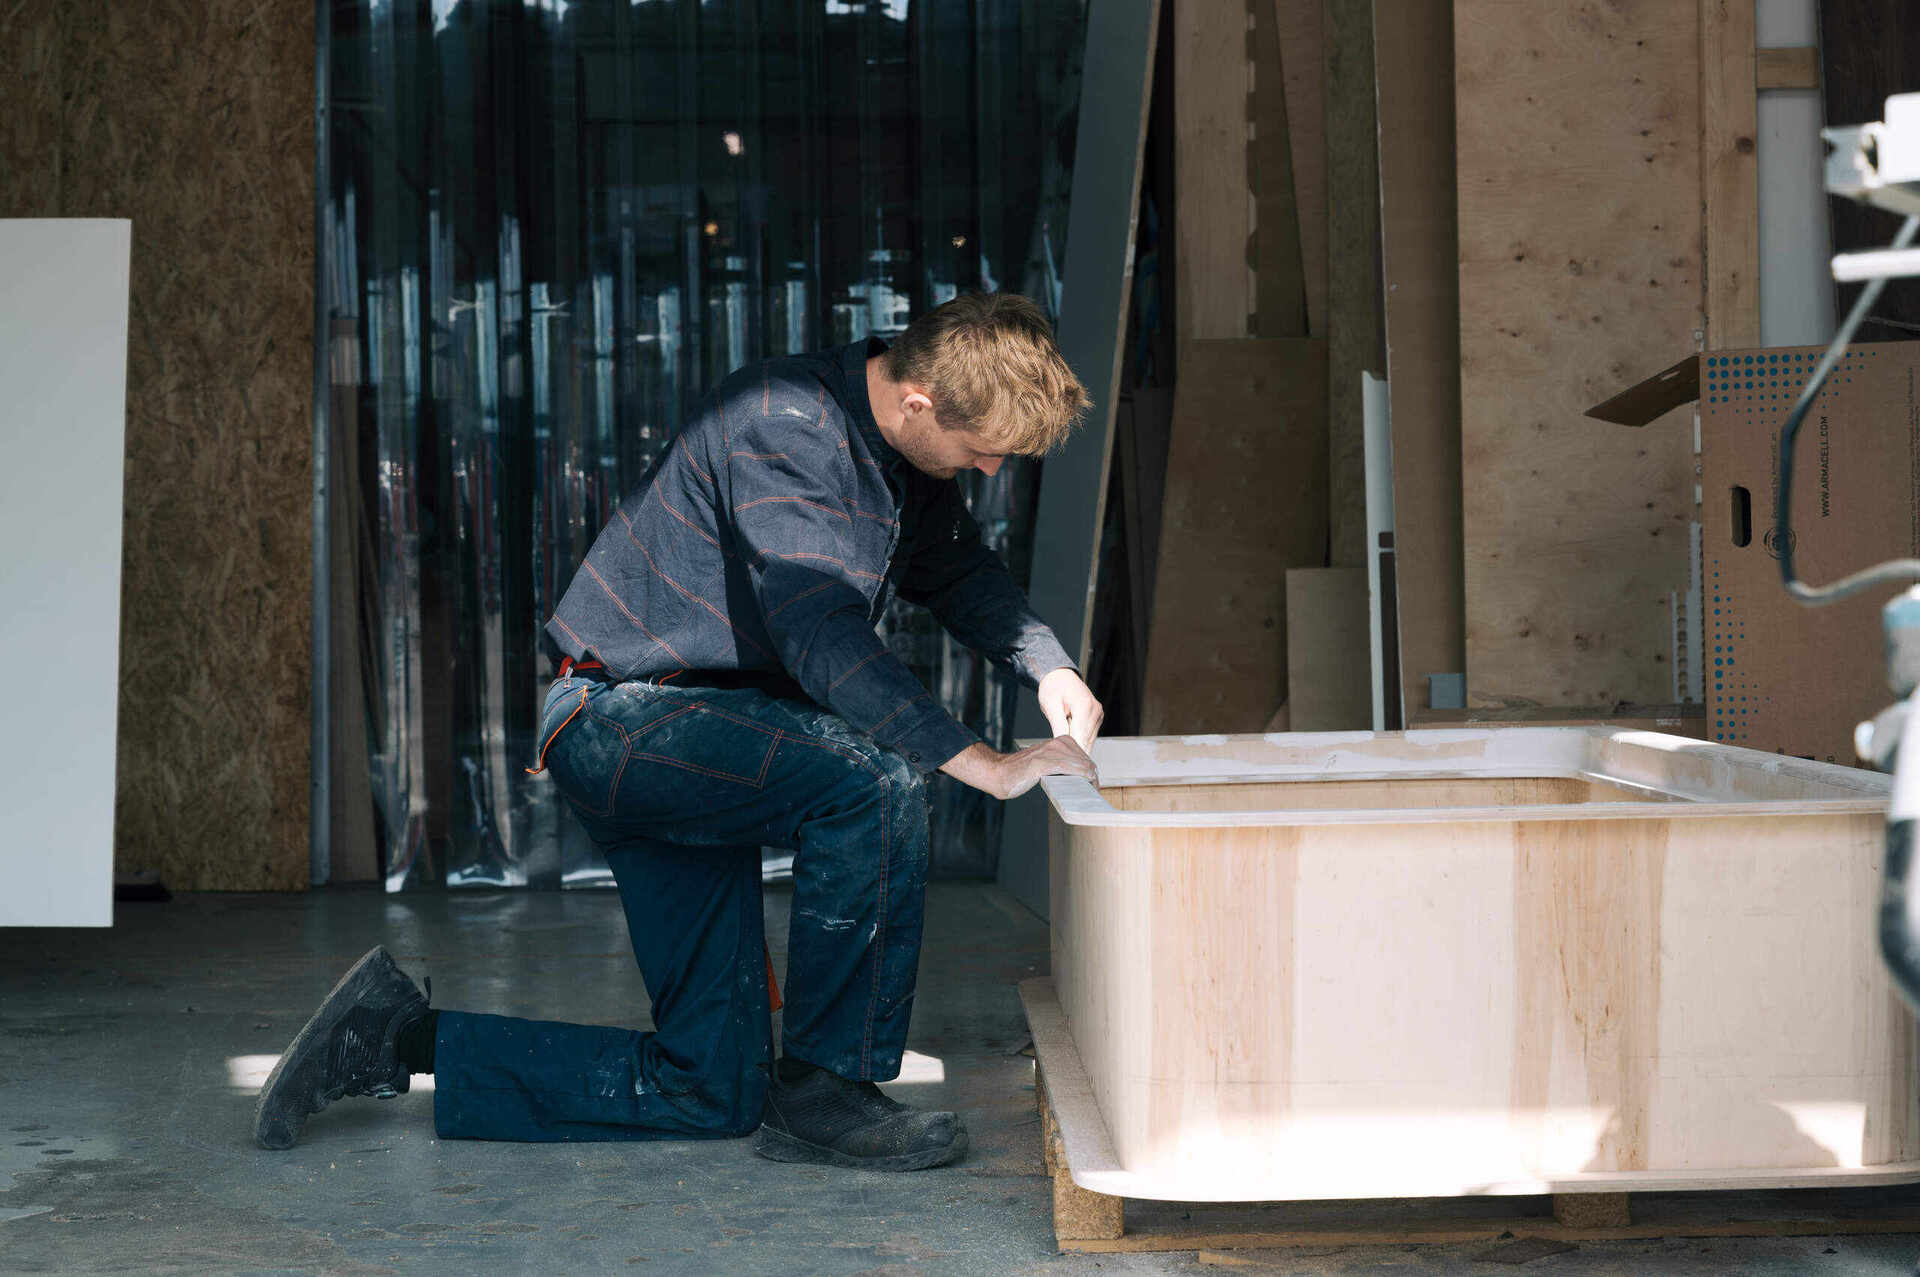
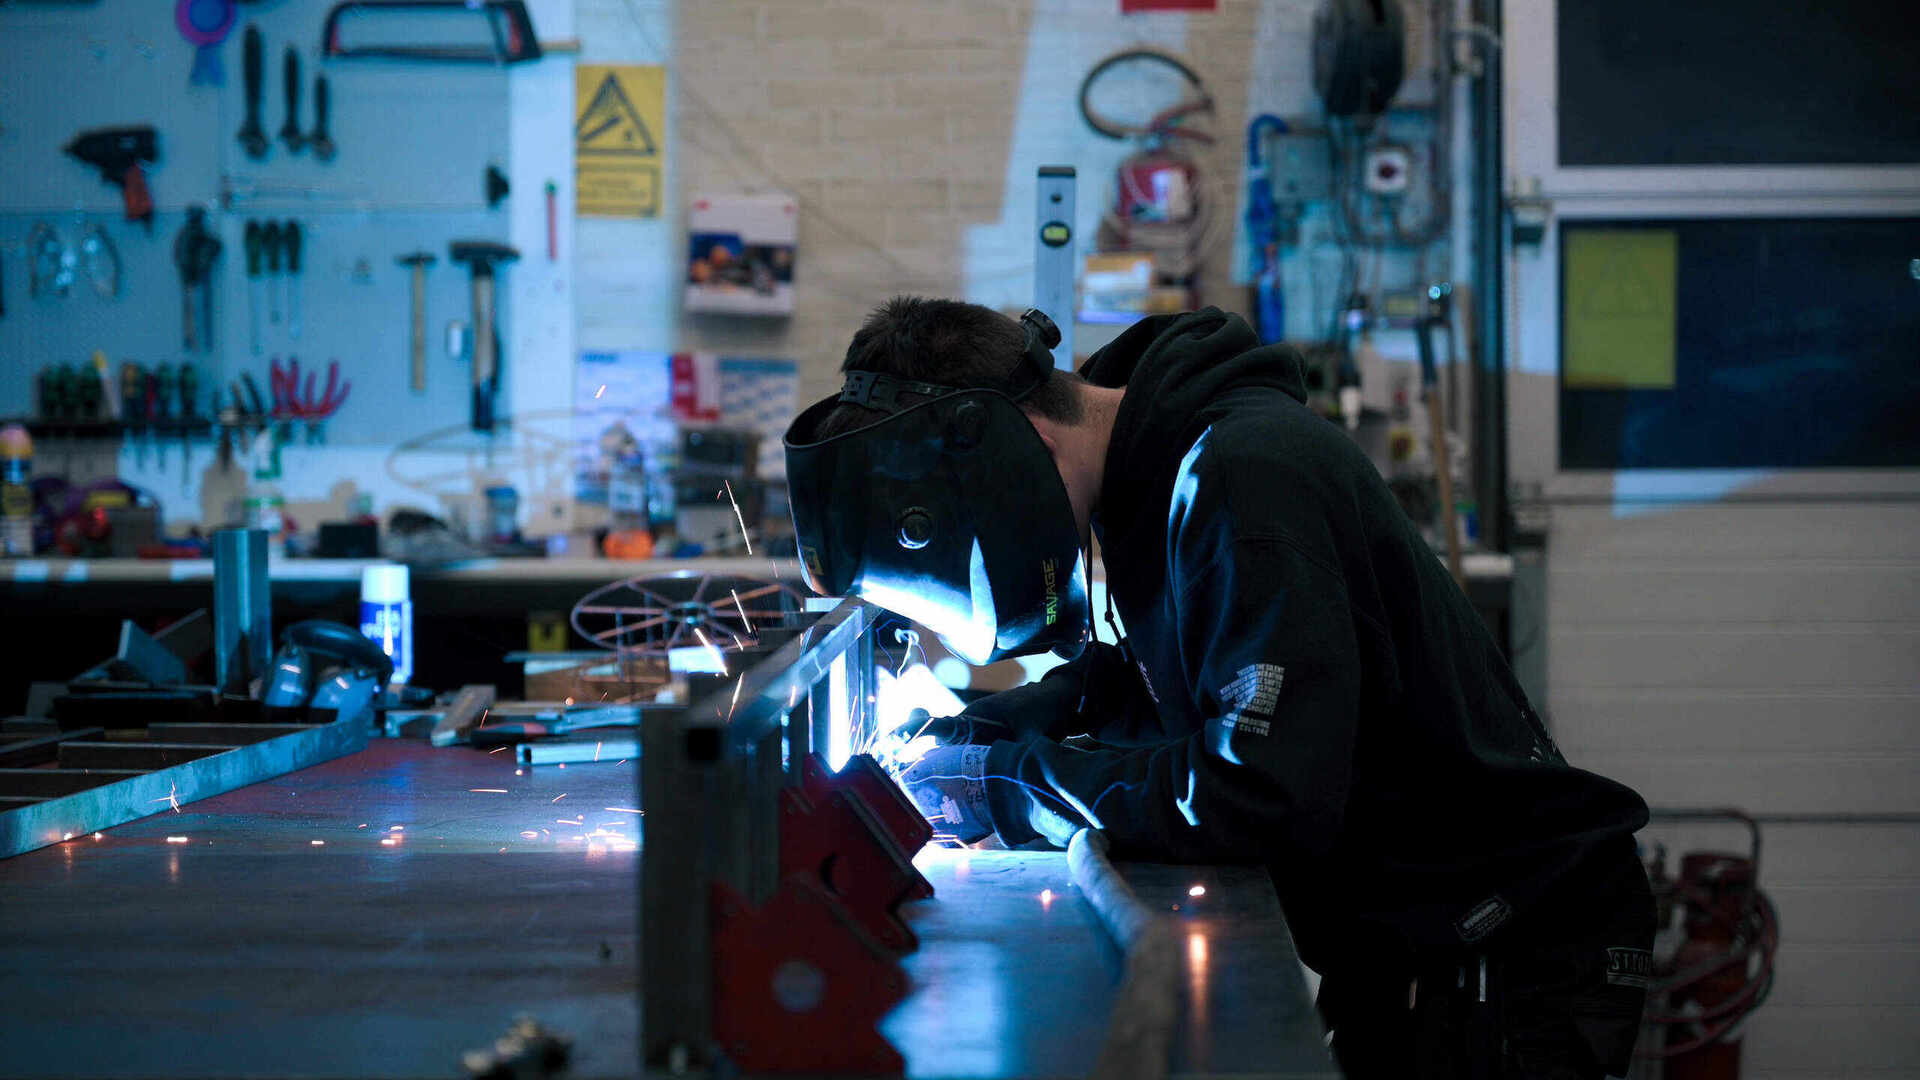
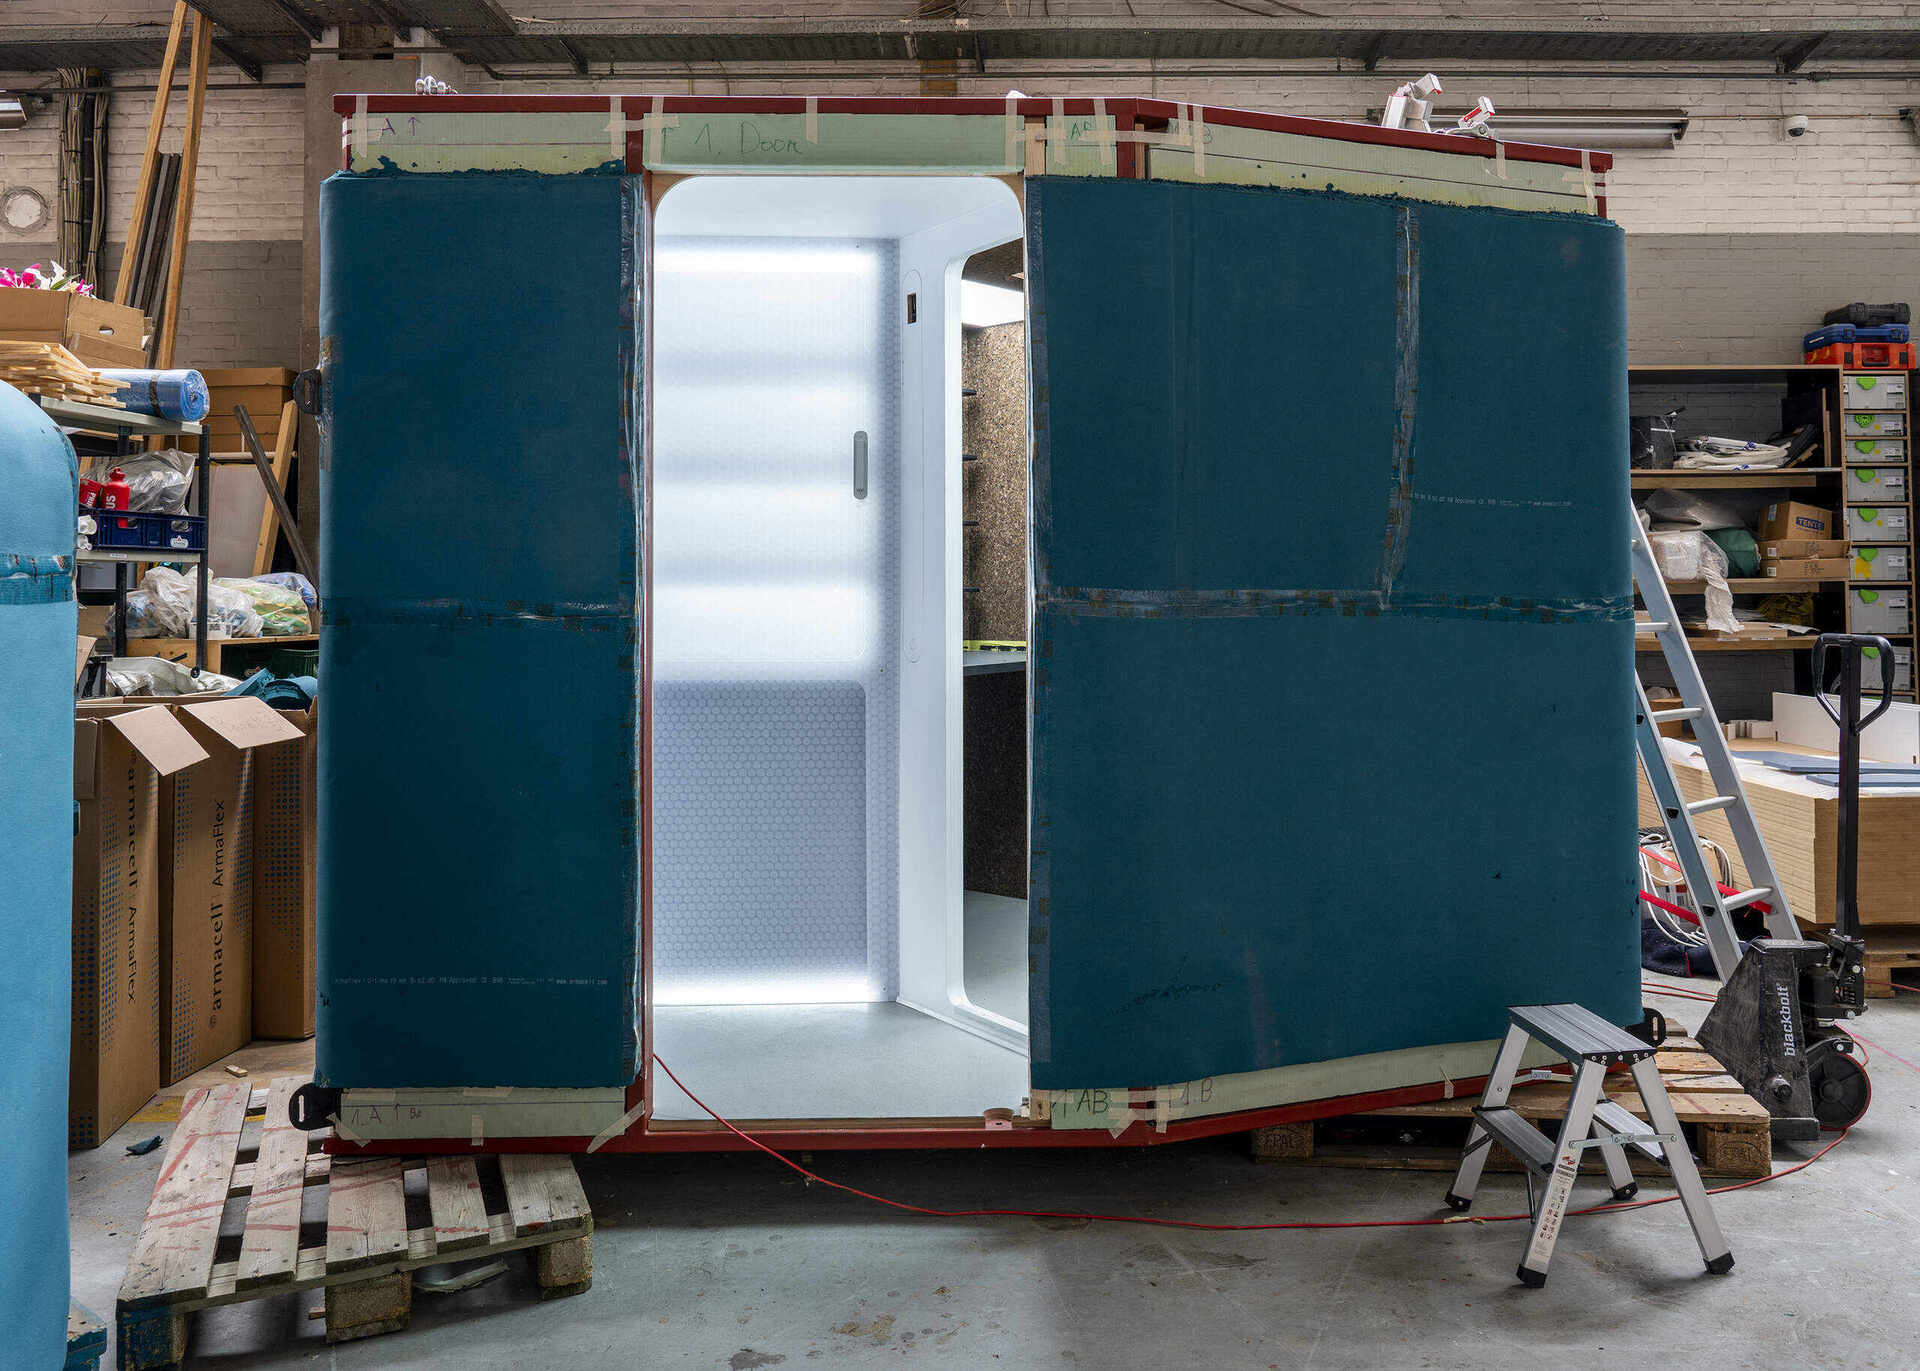
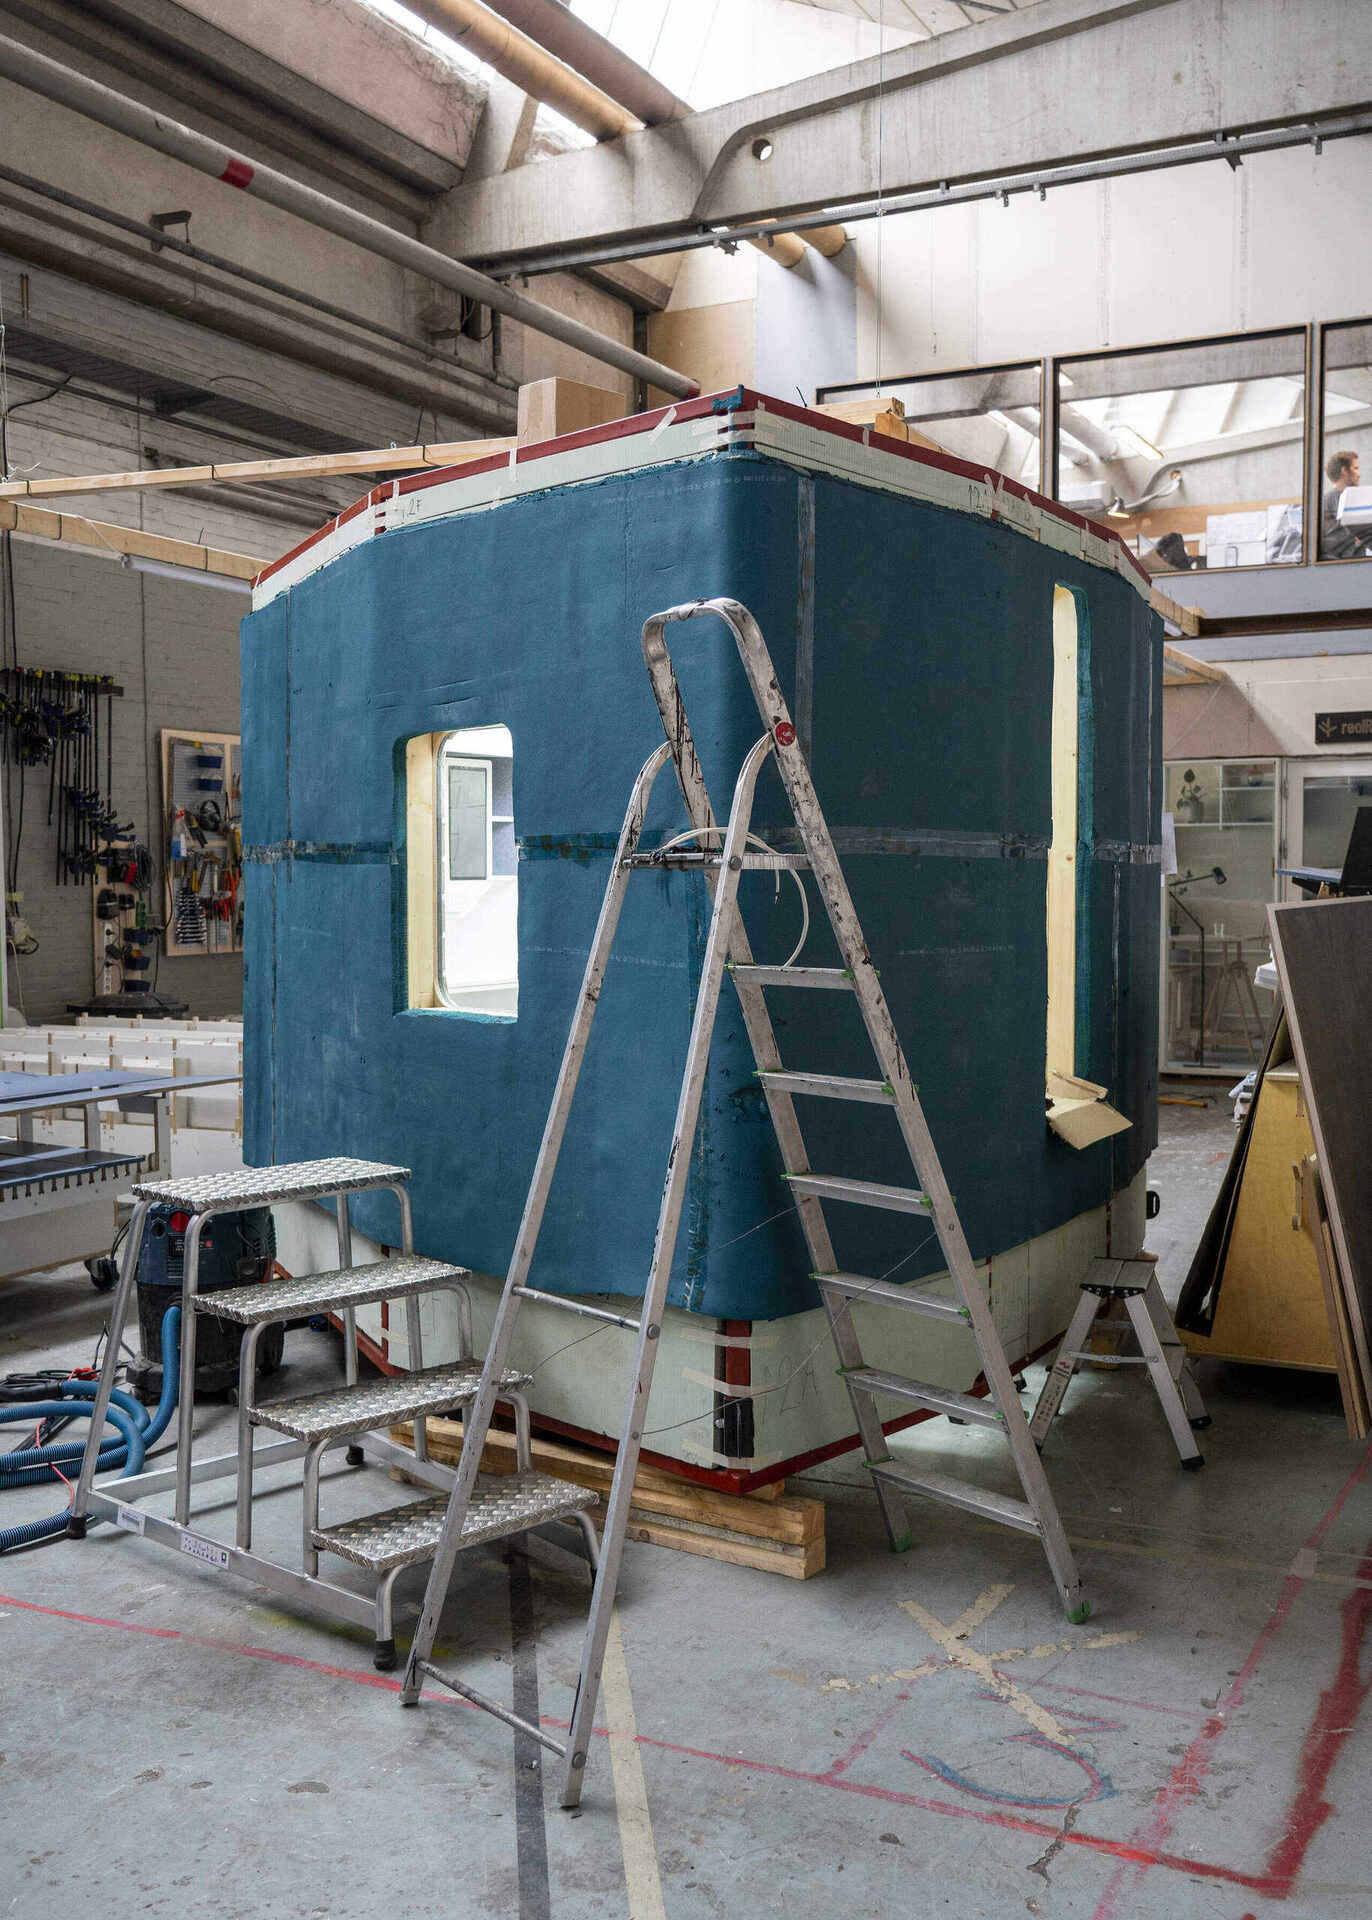
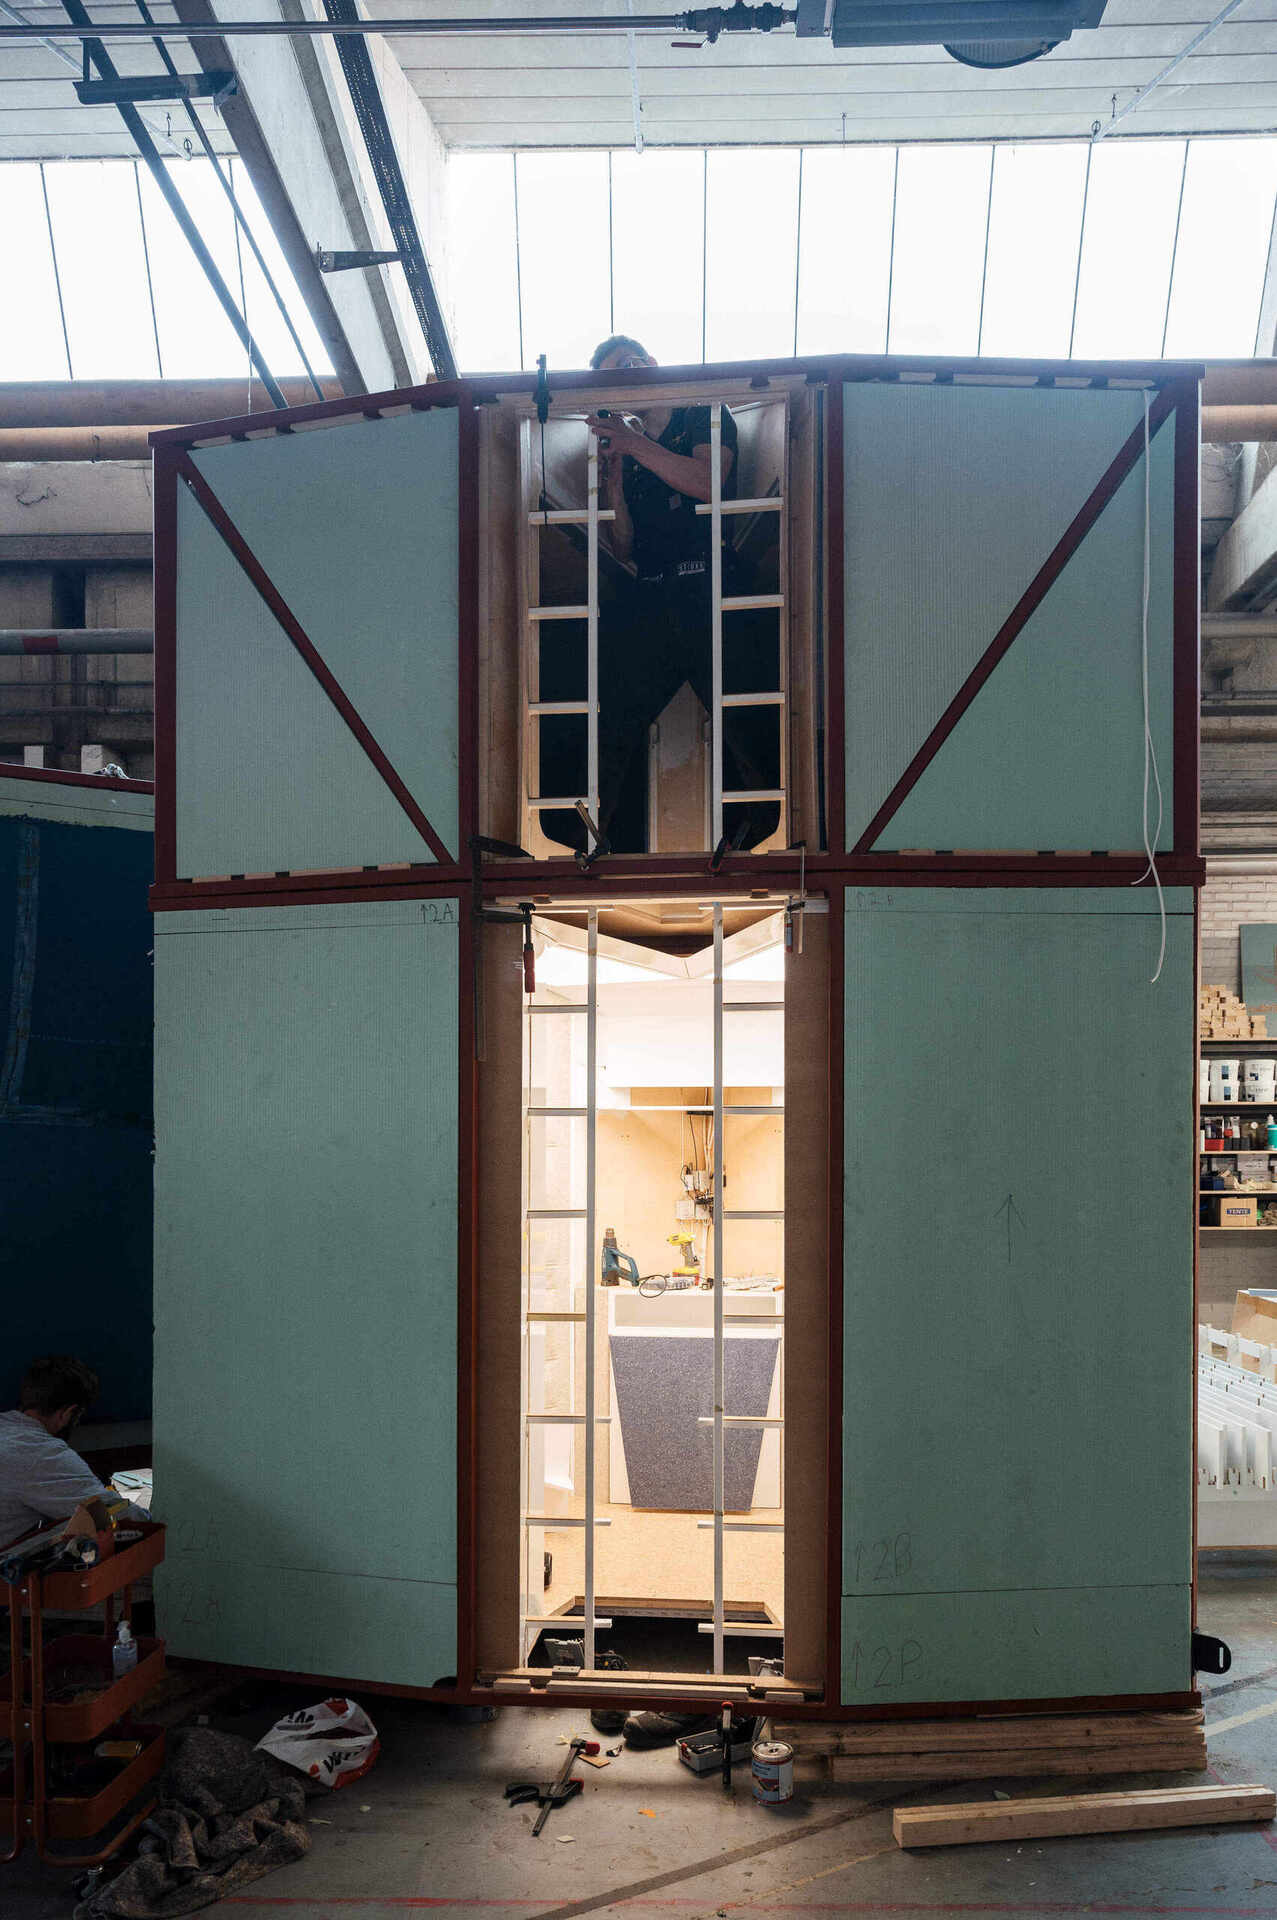
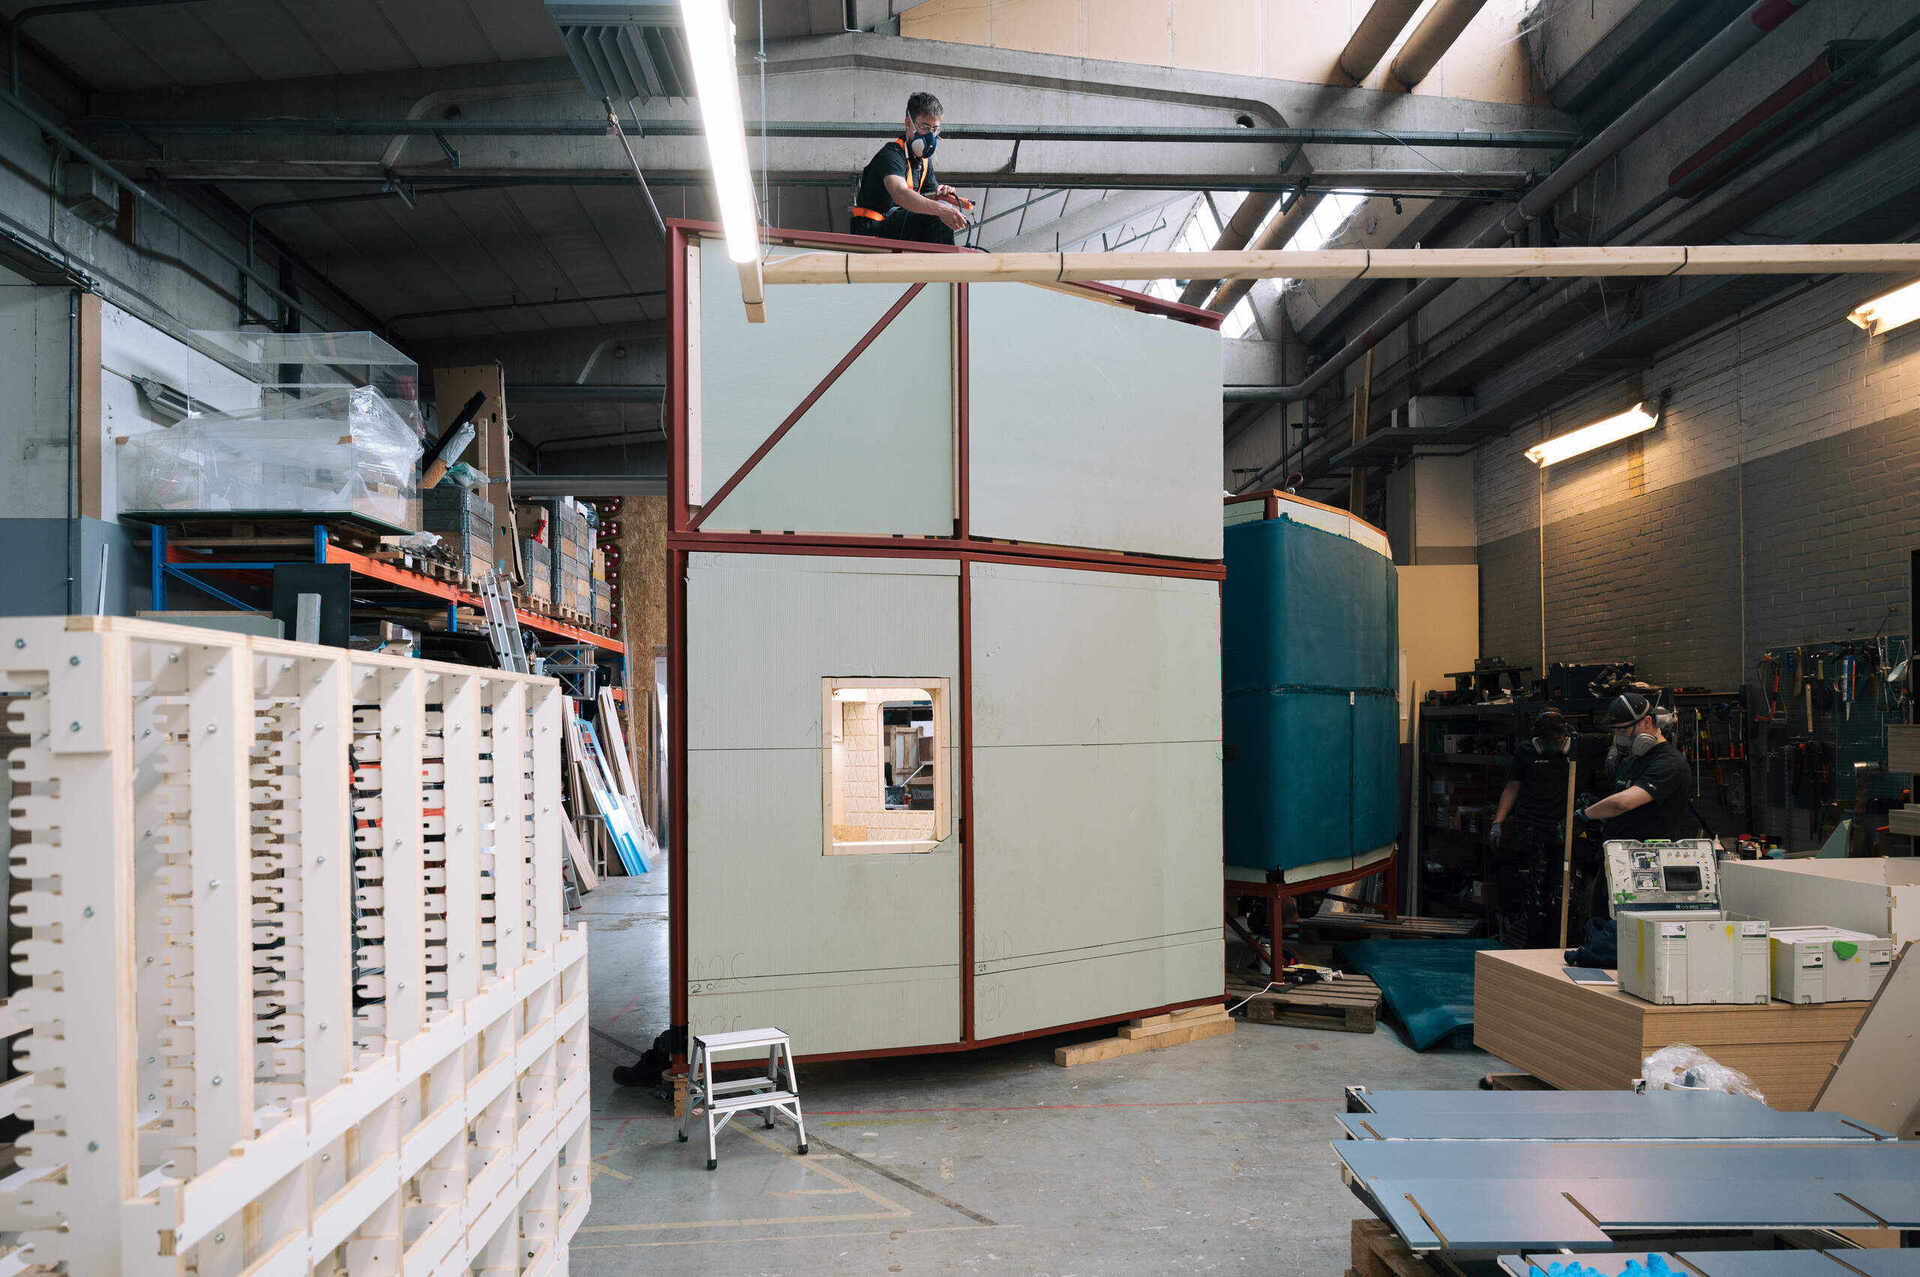
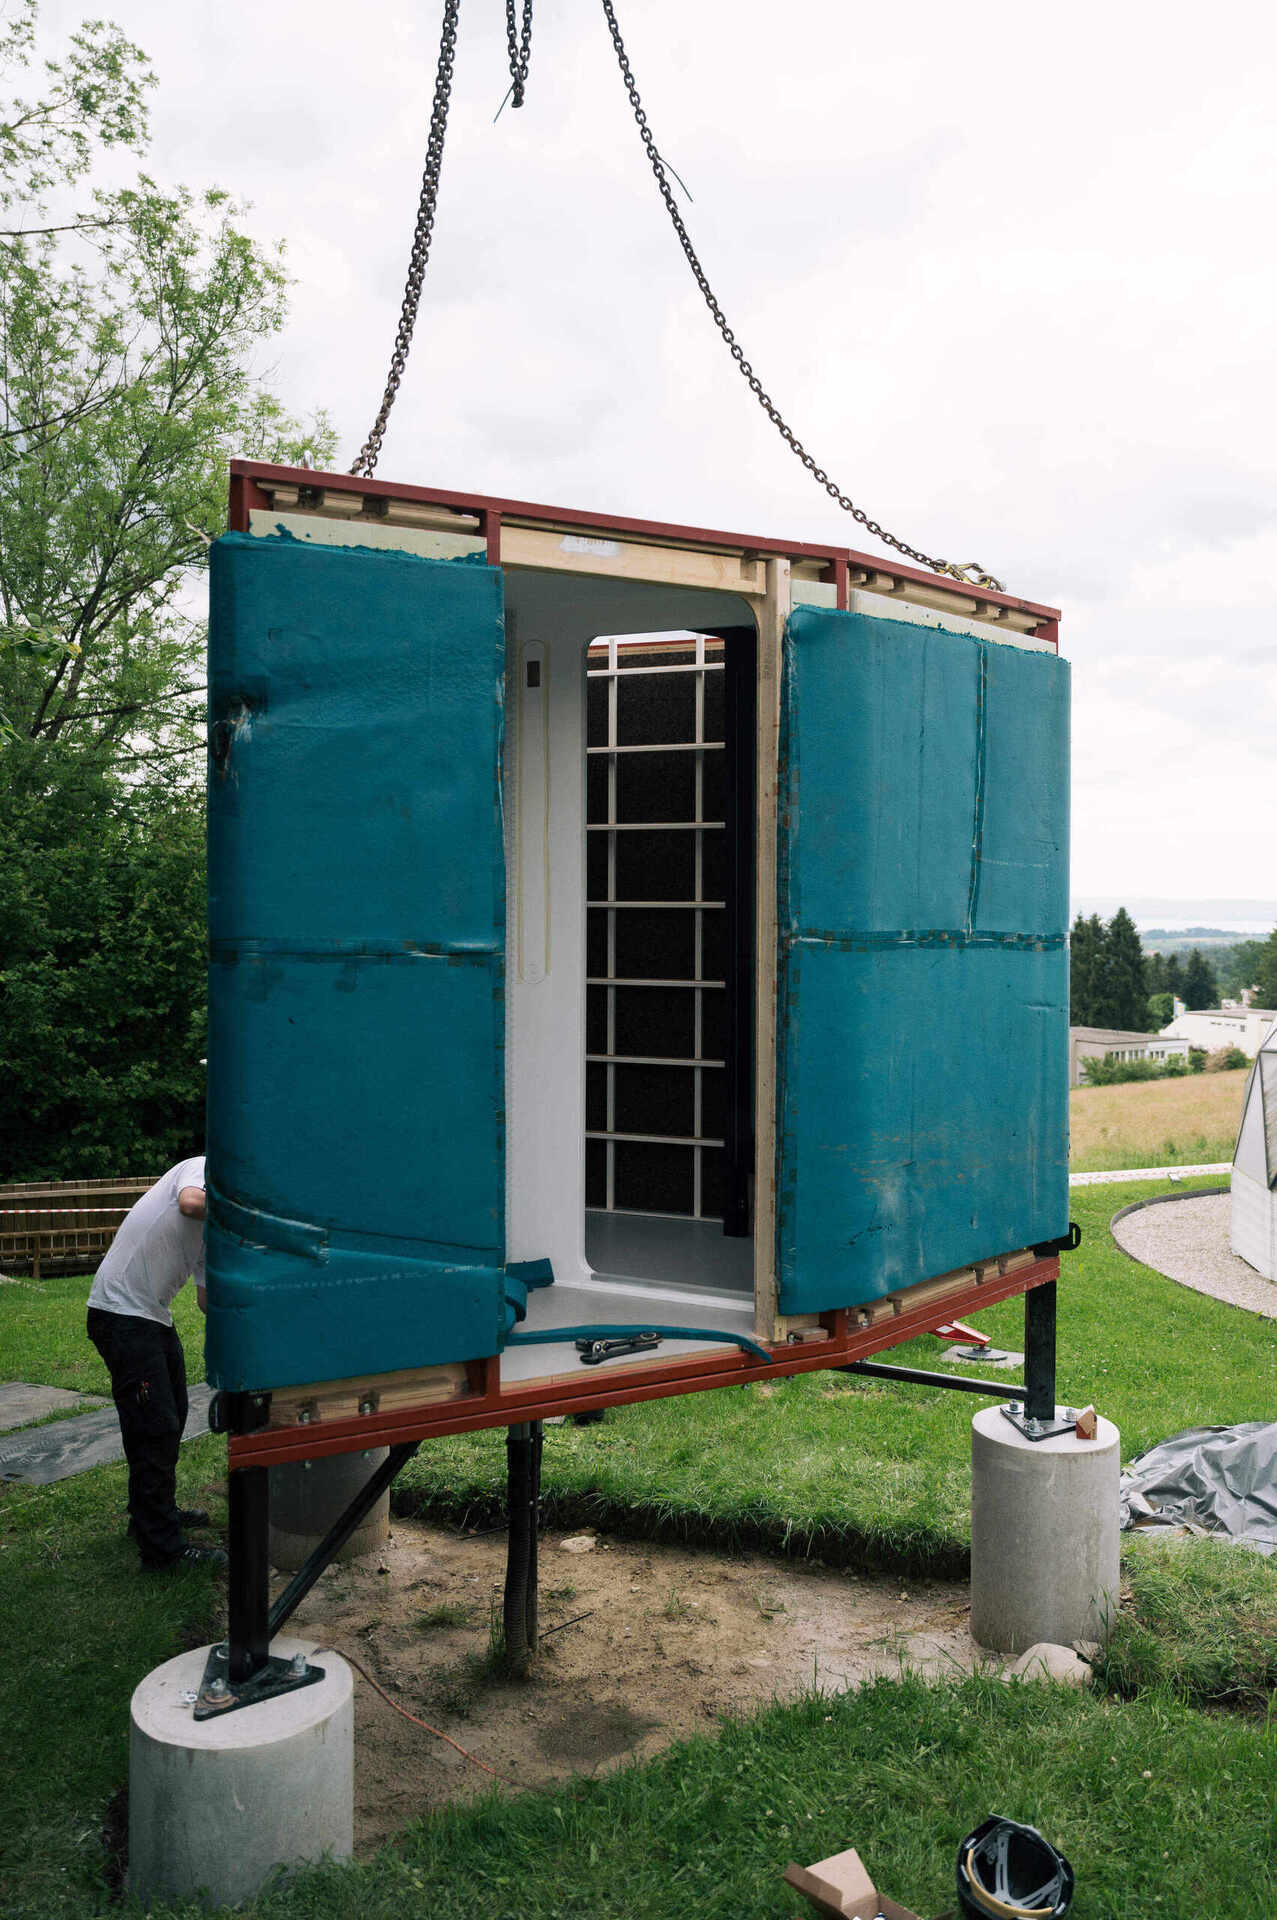
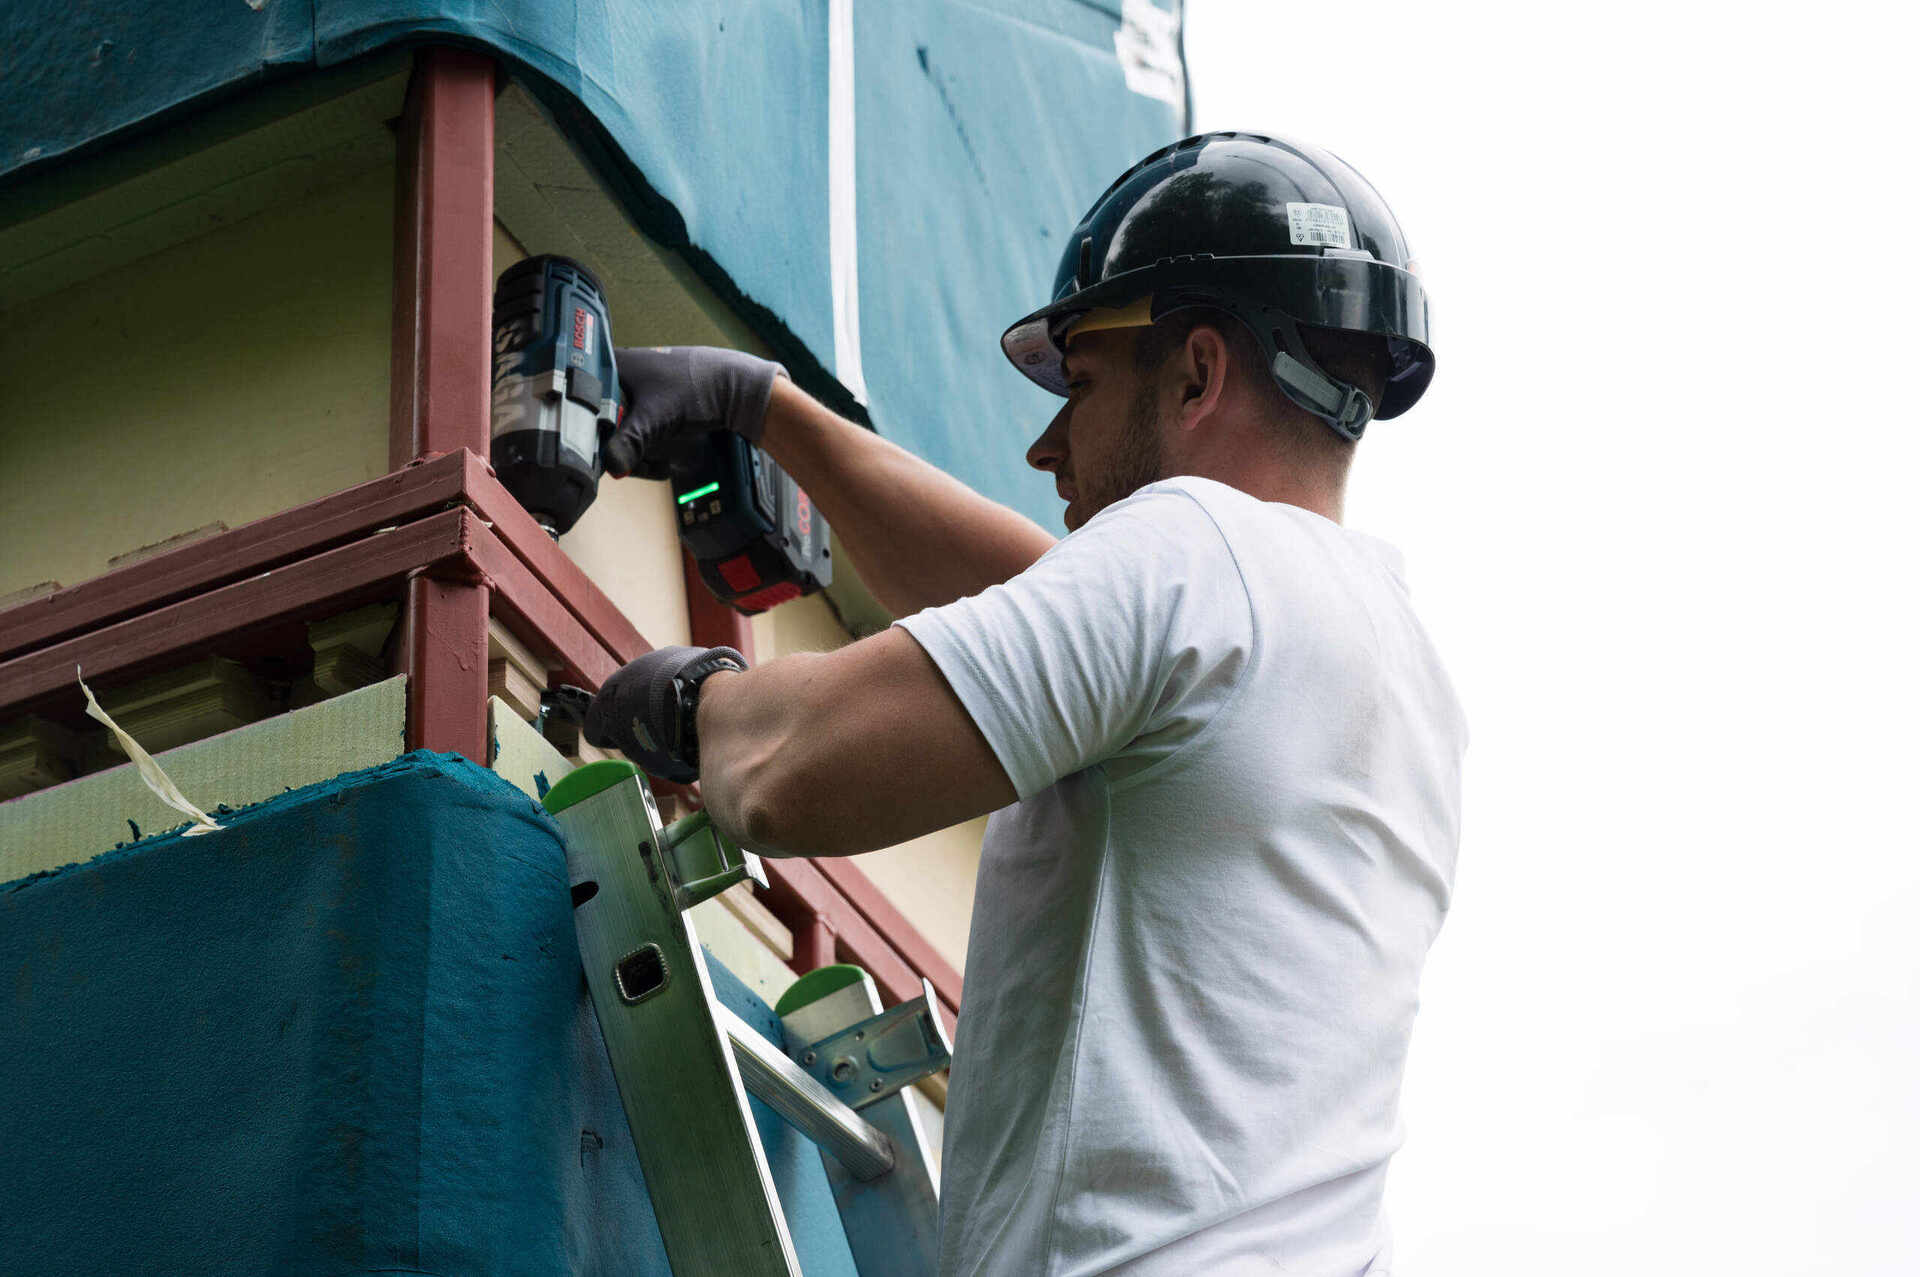
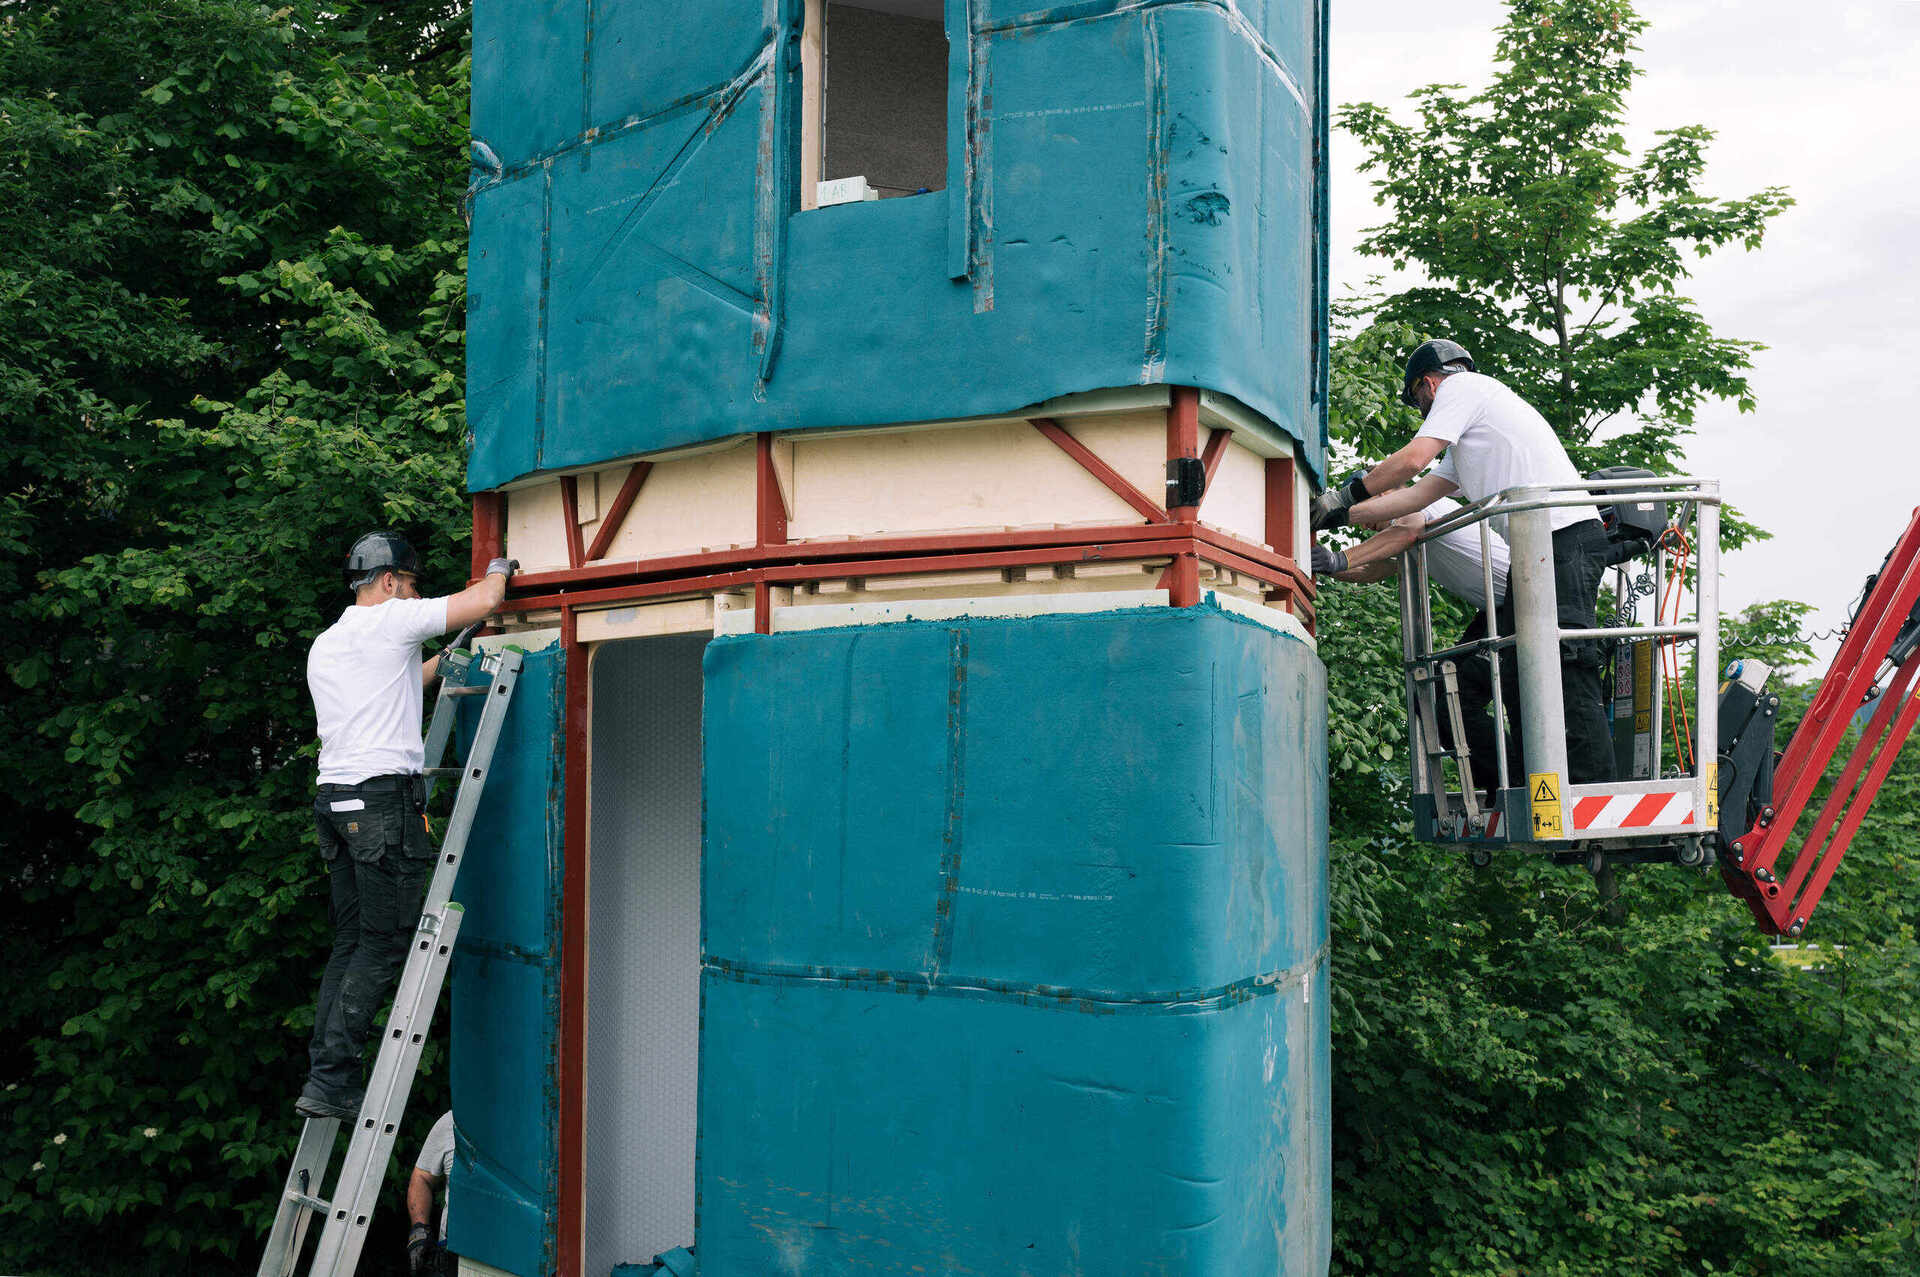
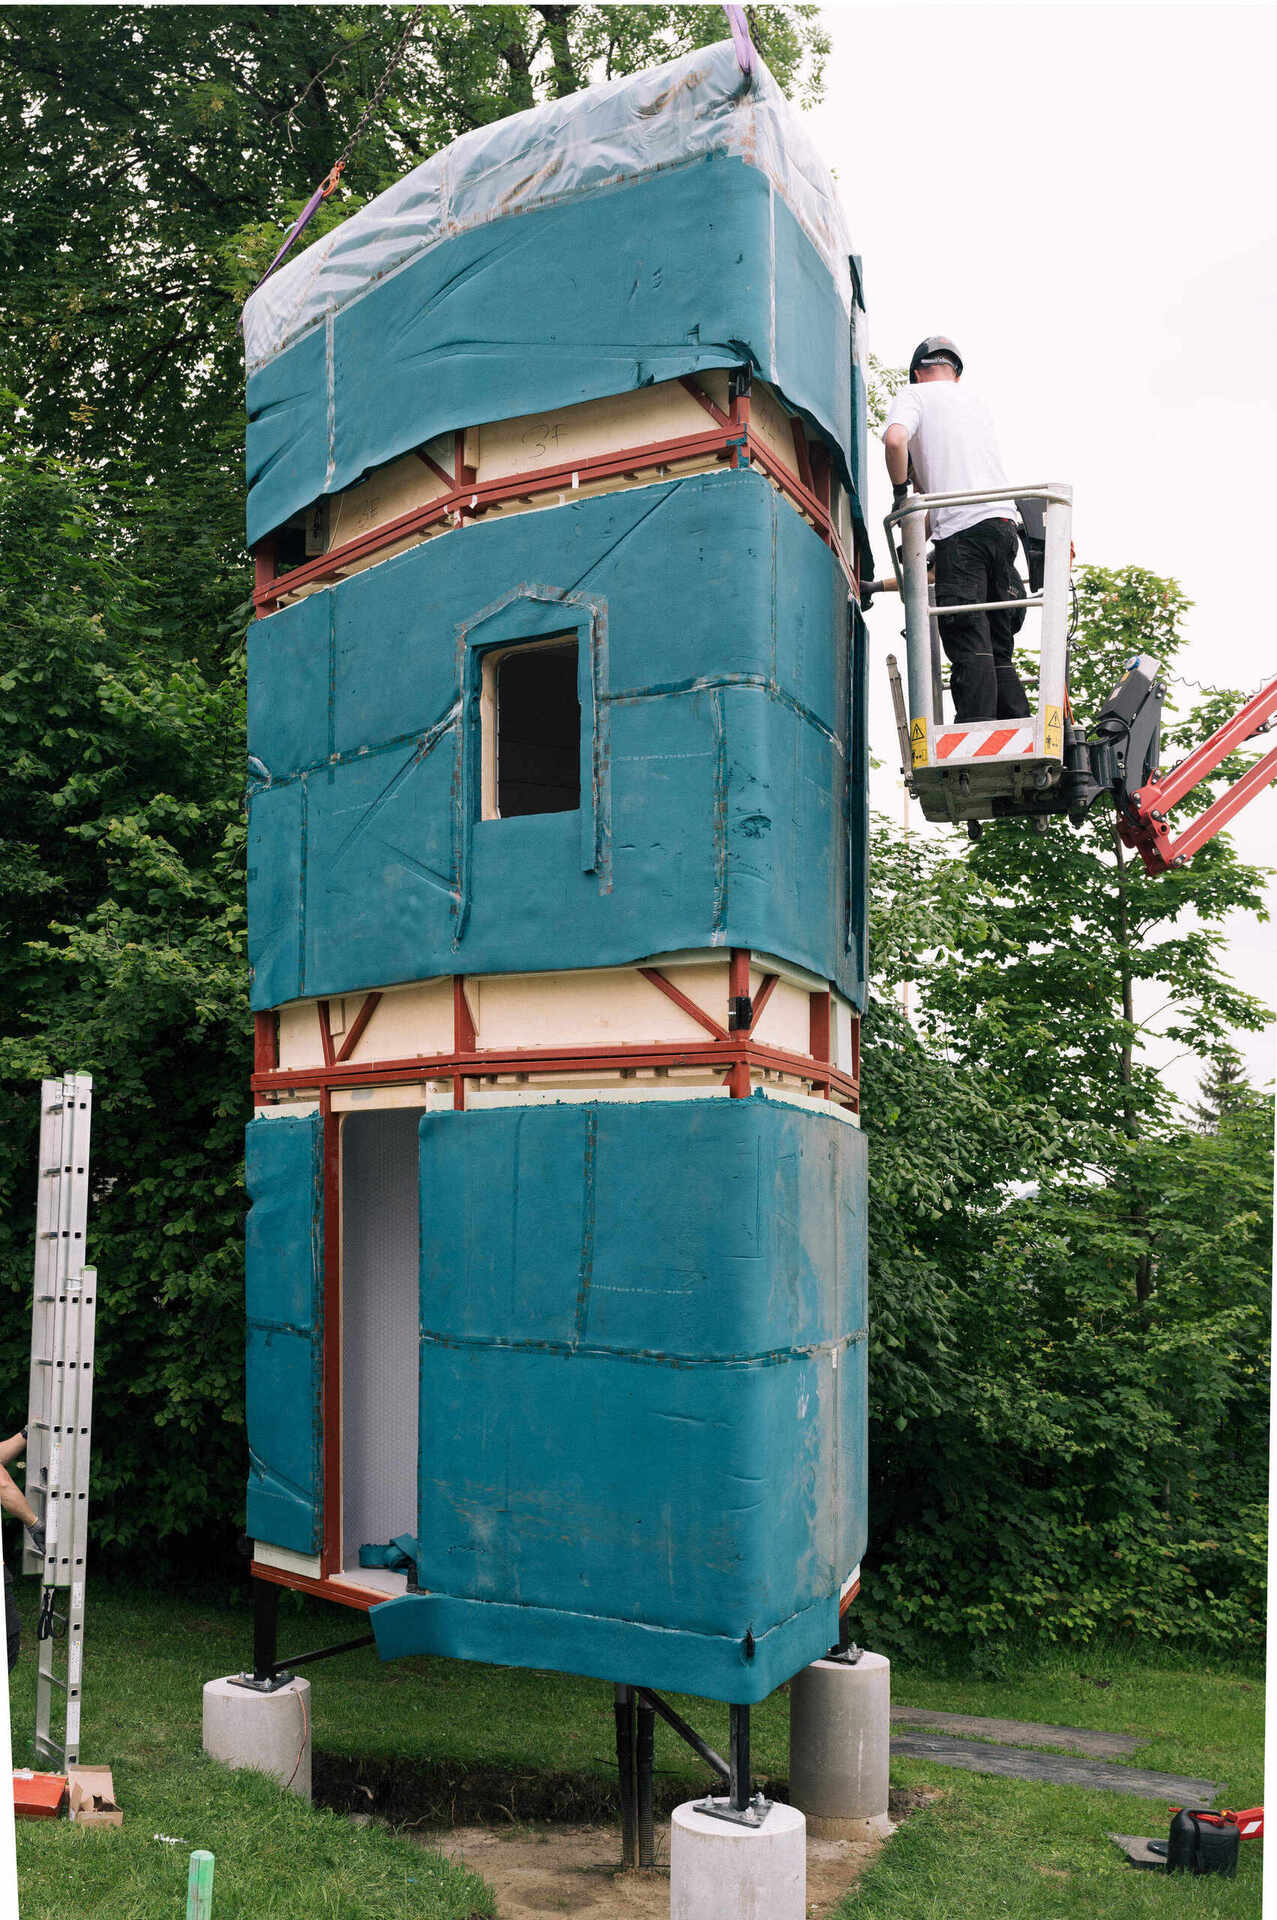
The construction process
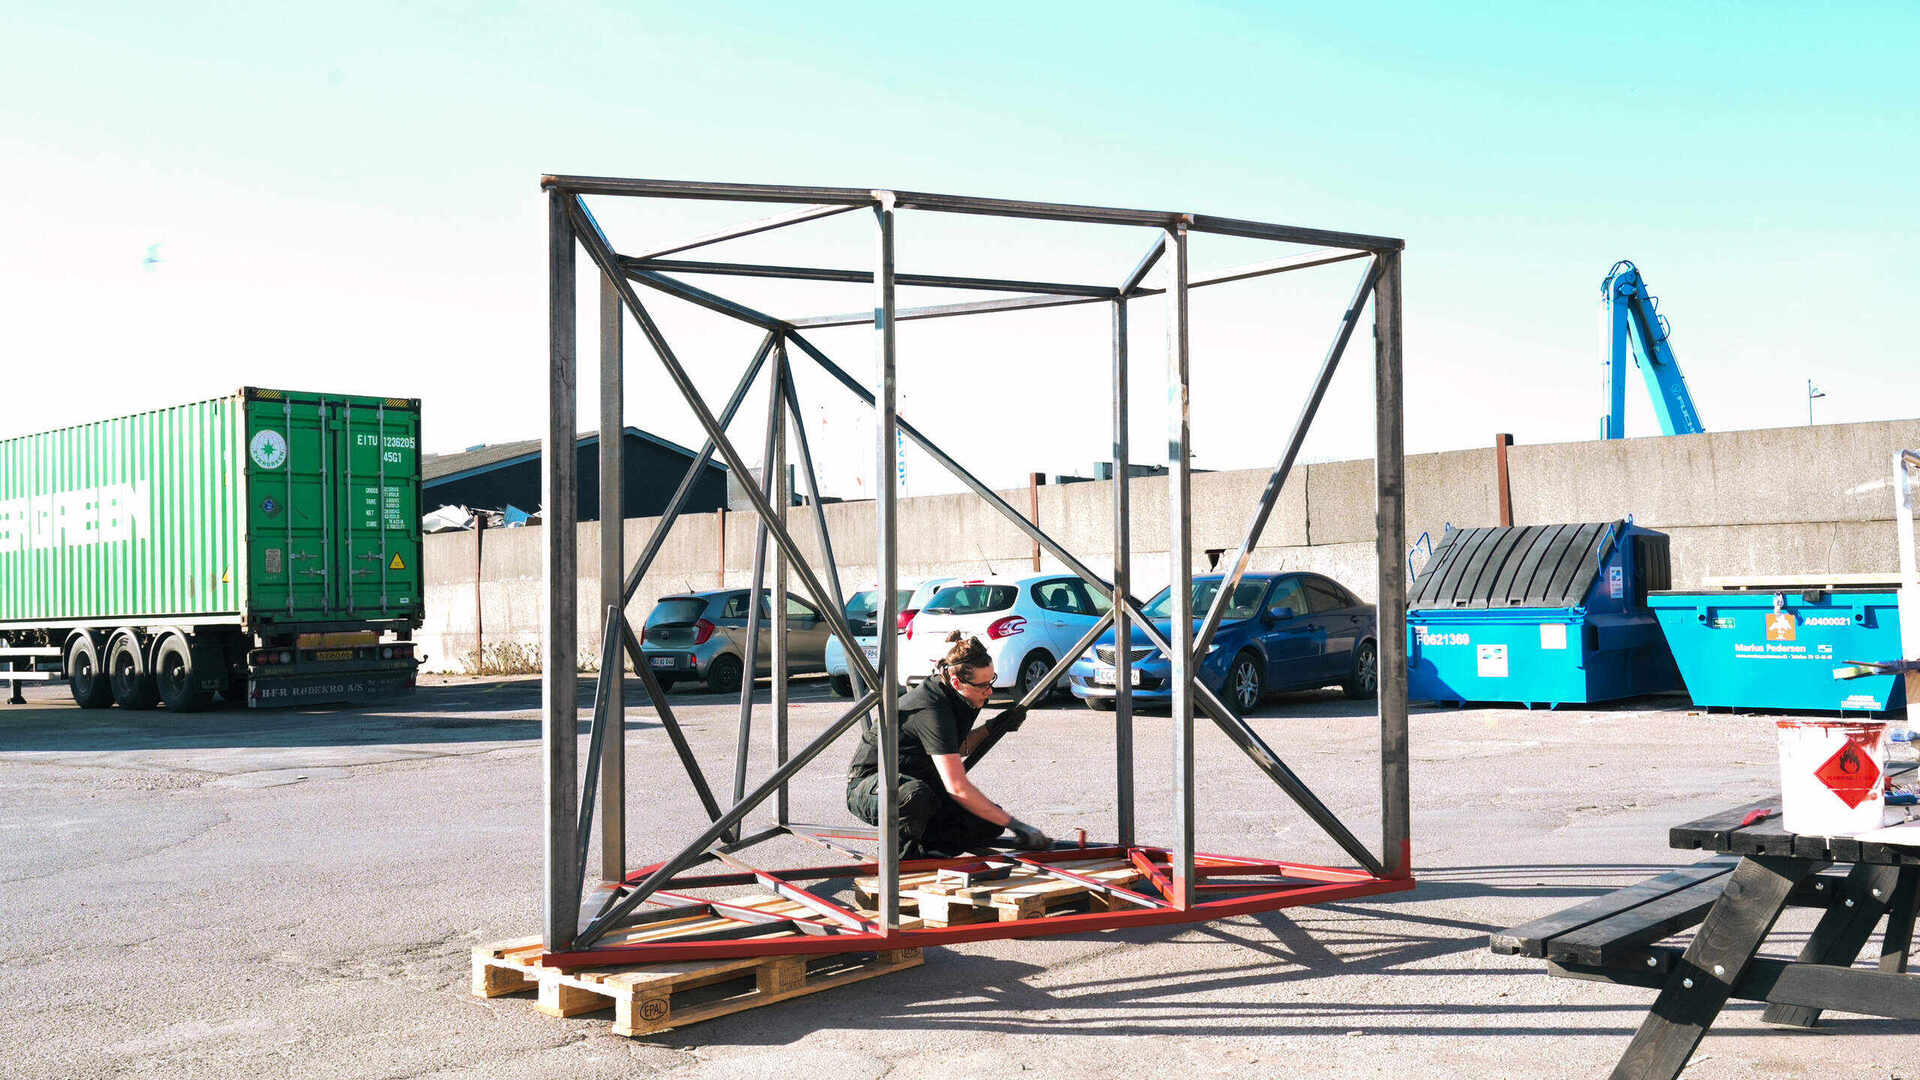
1
To begin, the frame for each module was assembled from lasercut steel and coated with anti-rust paint. 3 modules (one for each floor) and a base with 3 legs.
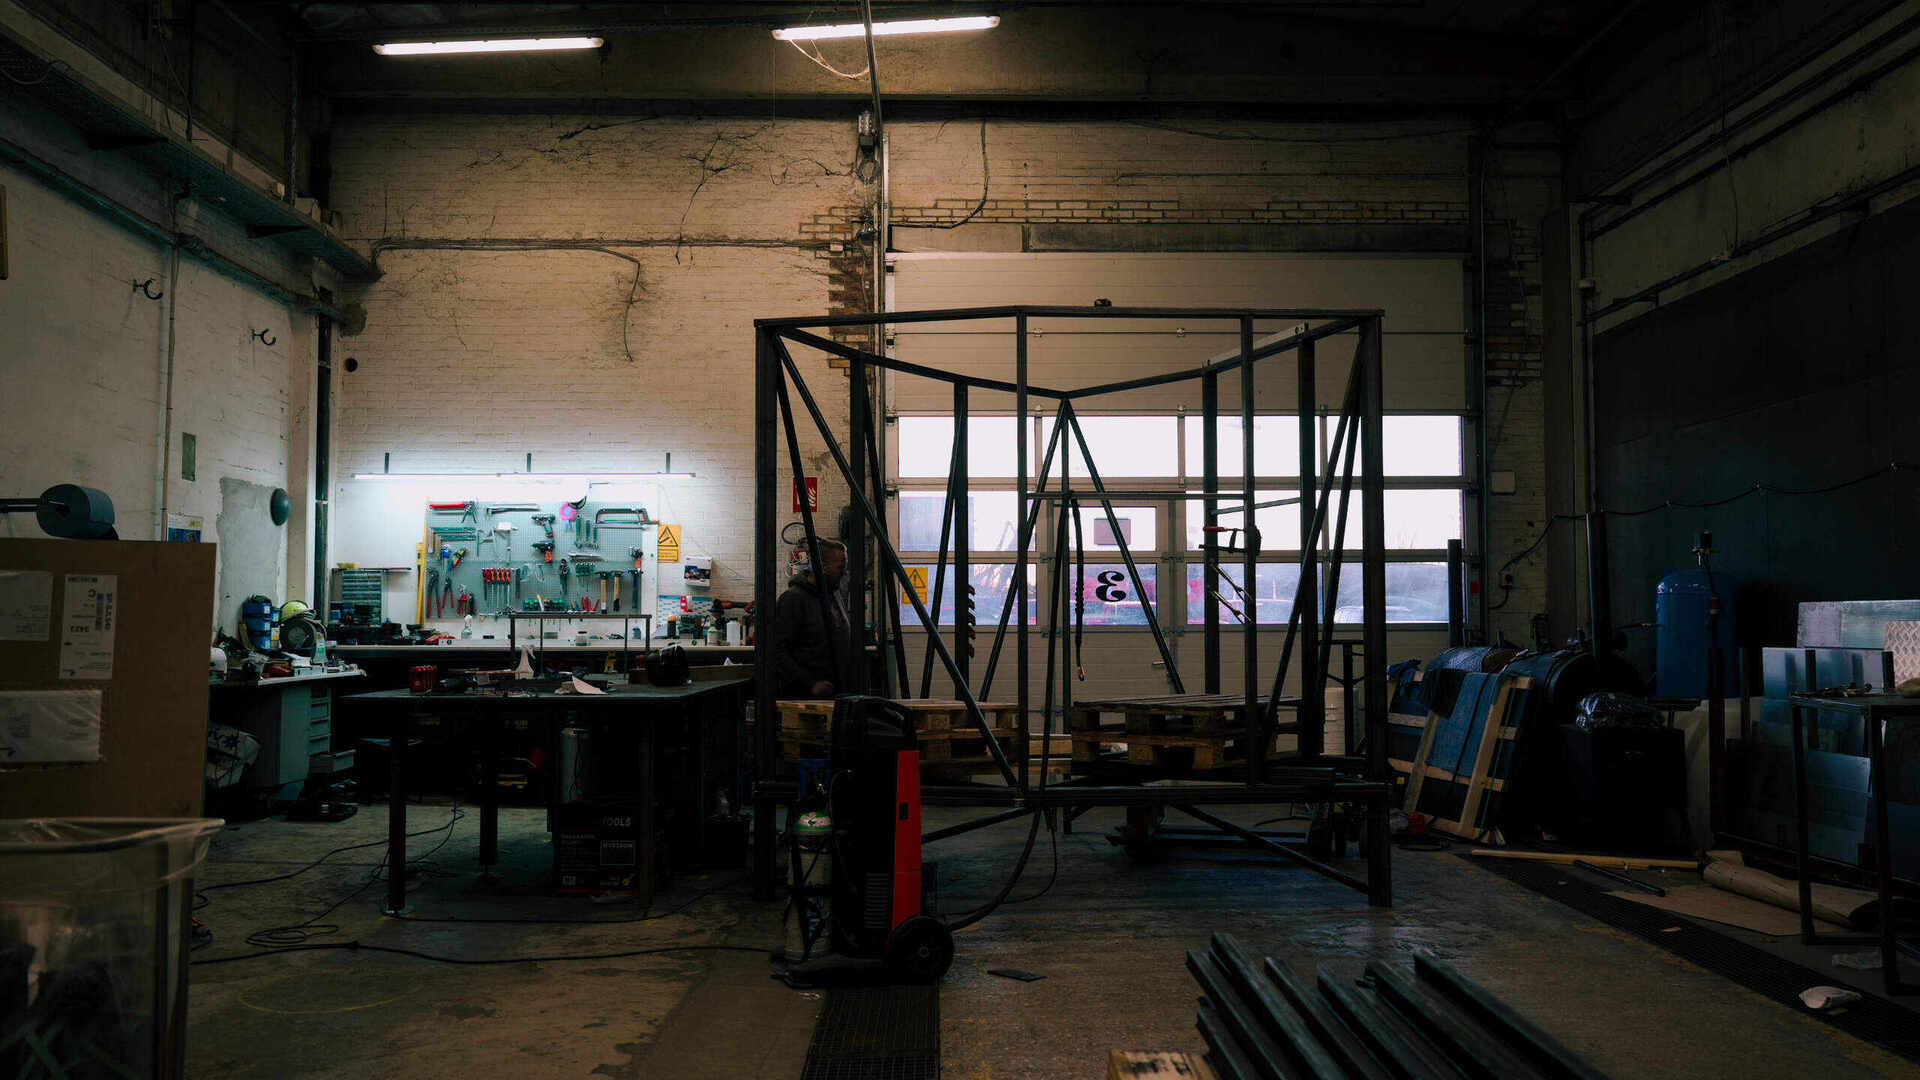
2
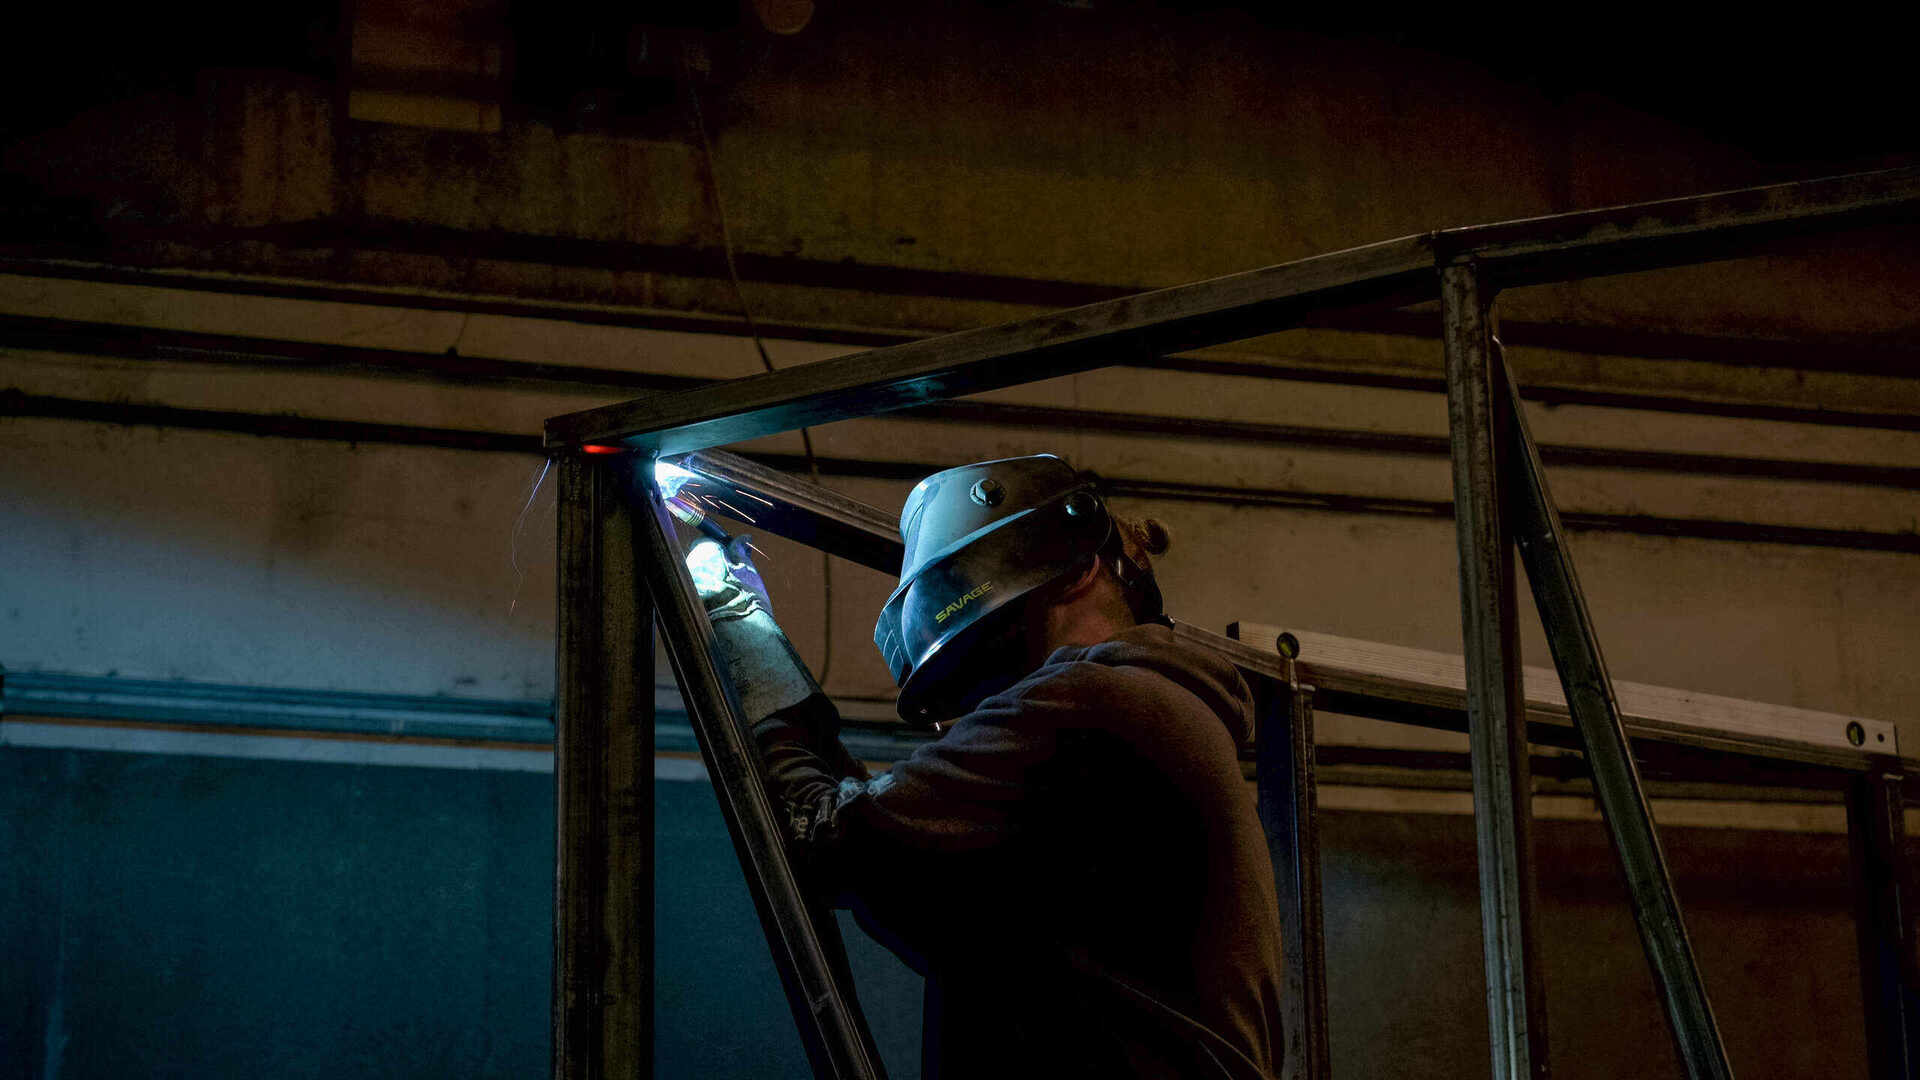
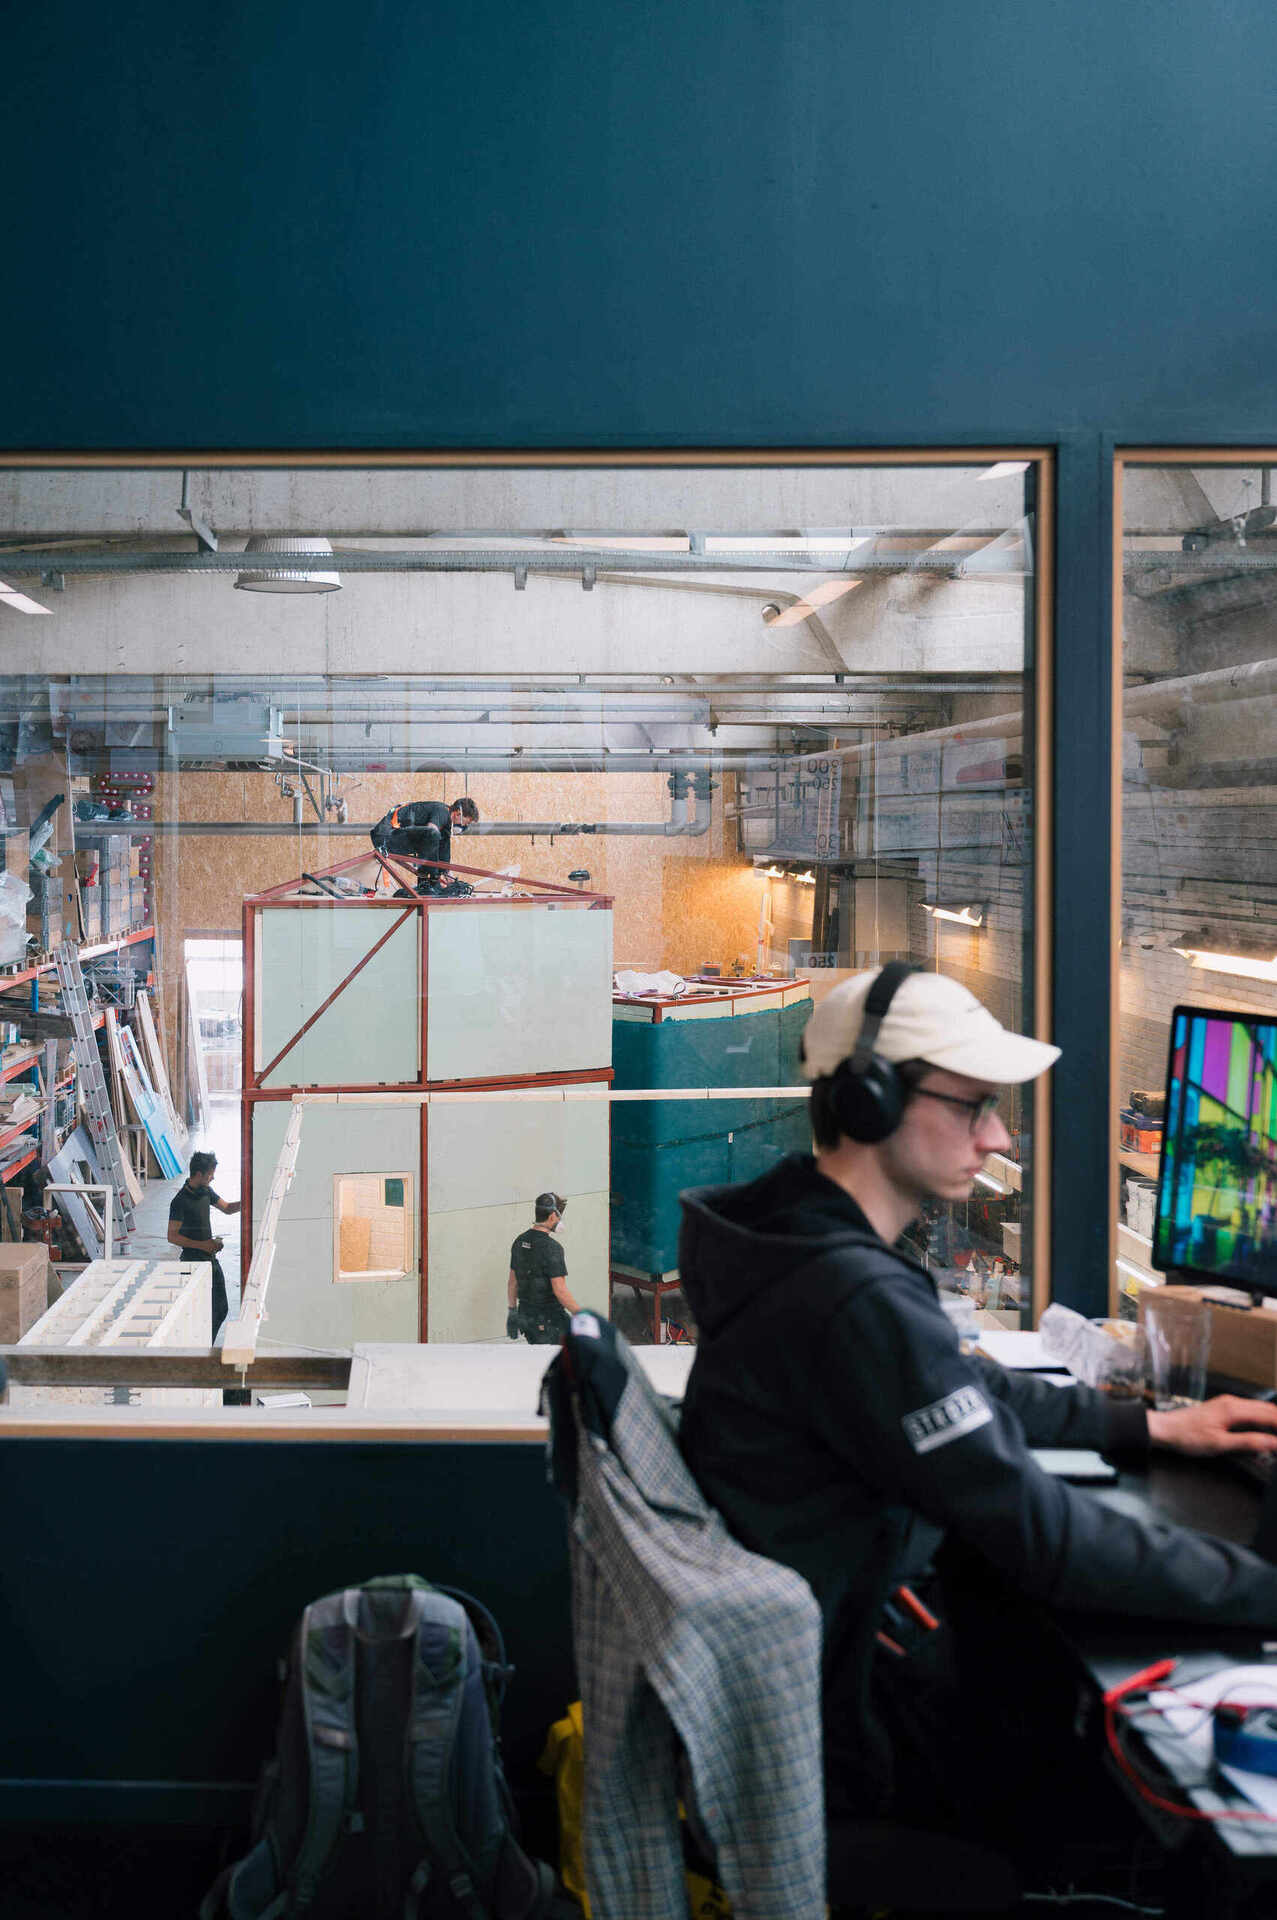
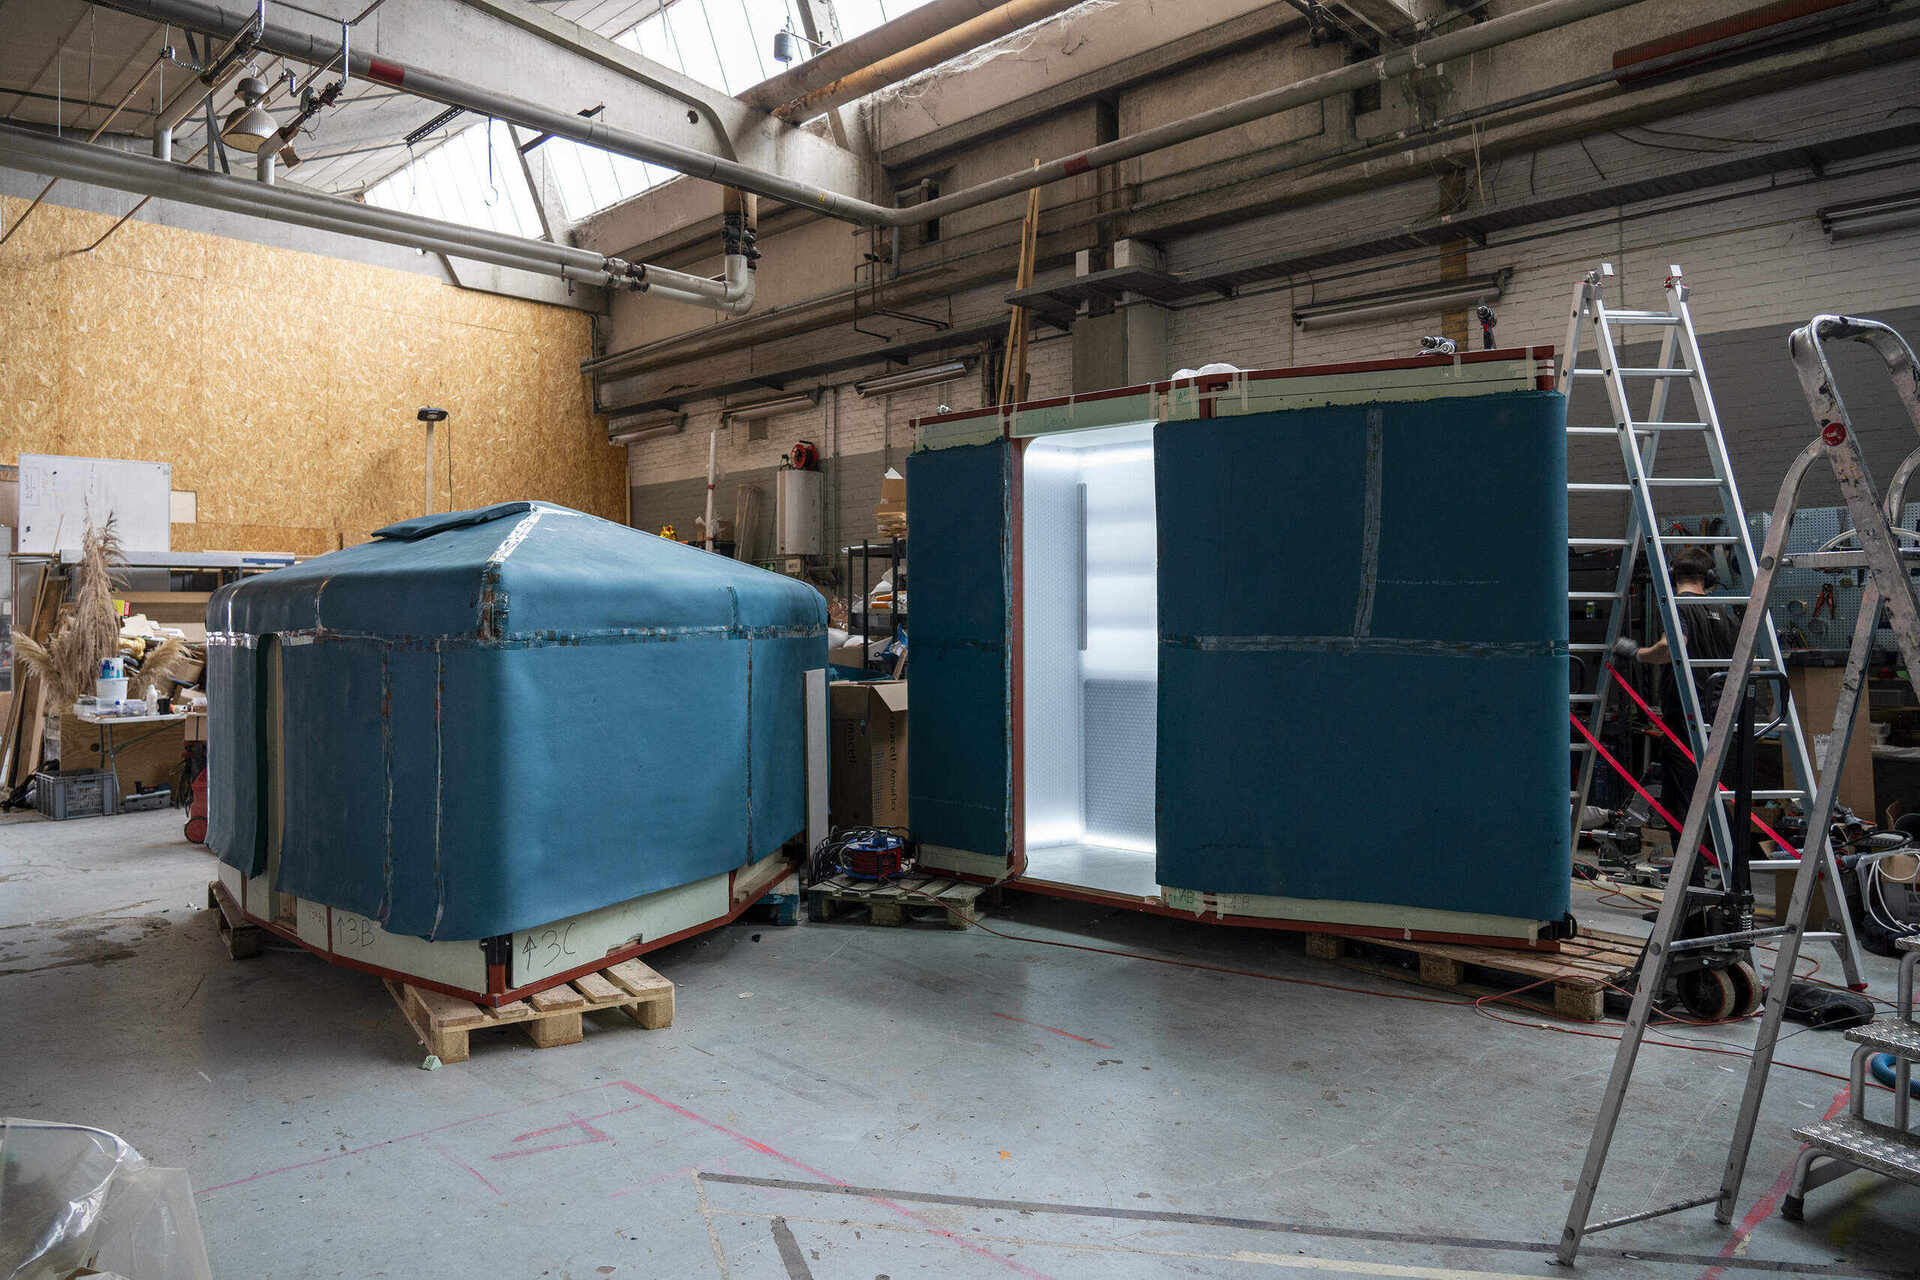
When each frame was finished, walls were added and the interior construction started. All this was done inside our workshop.
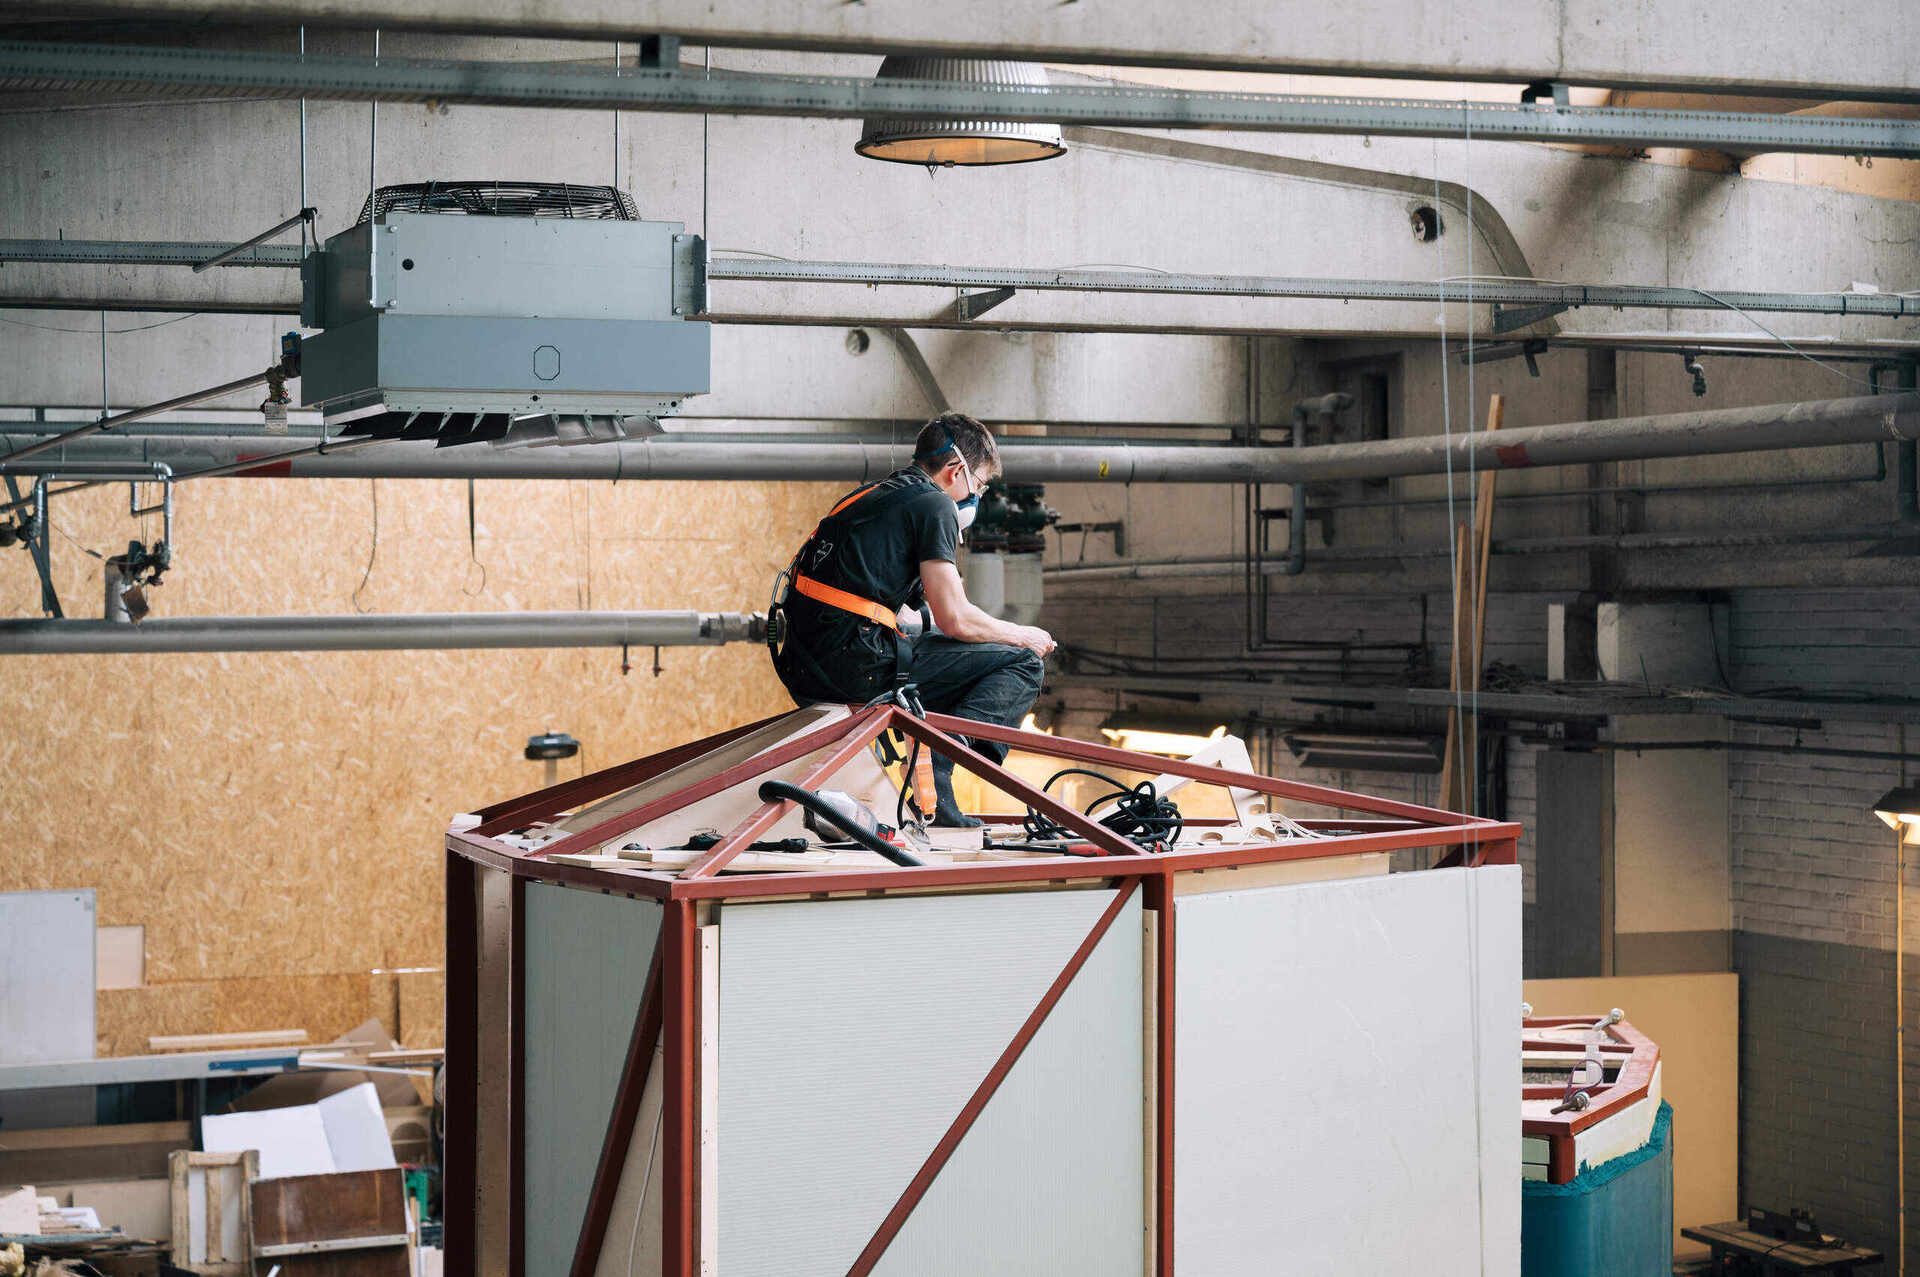
3
The interior of each module was built up using custom materials that each serve a unique purpose. Electrical work was also done at this time.
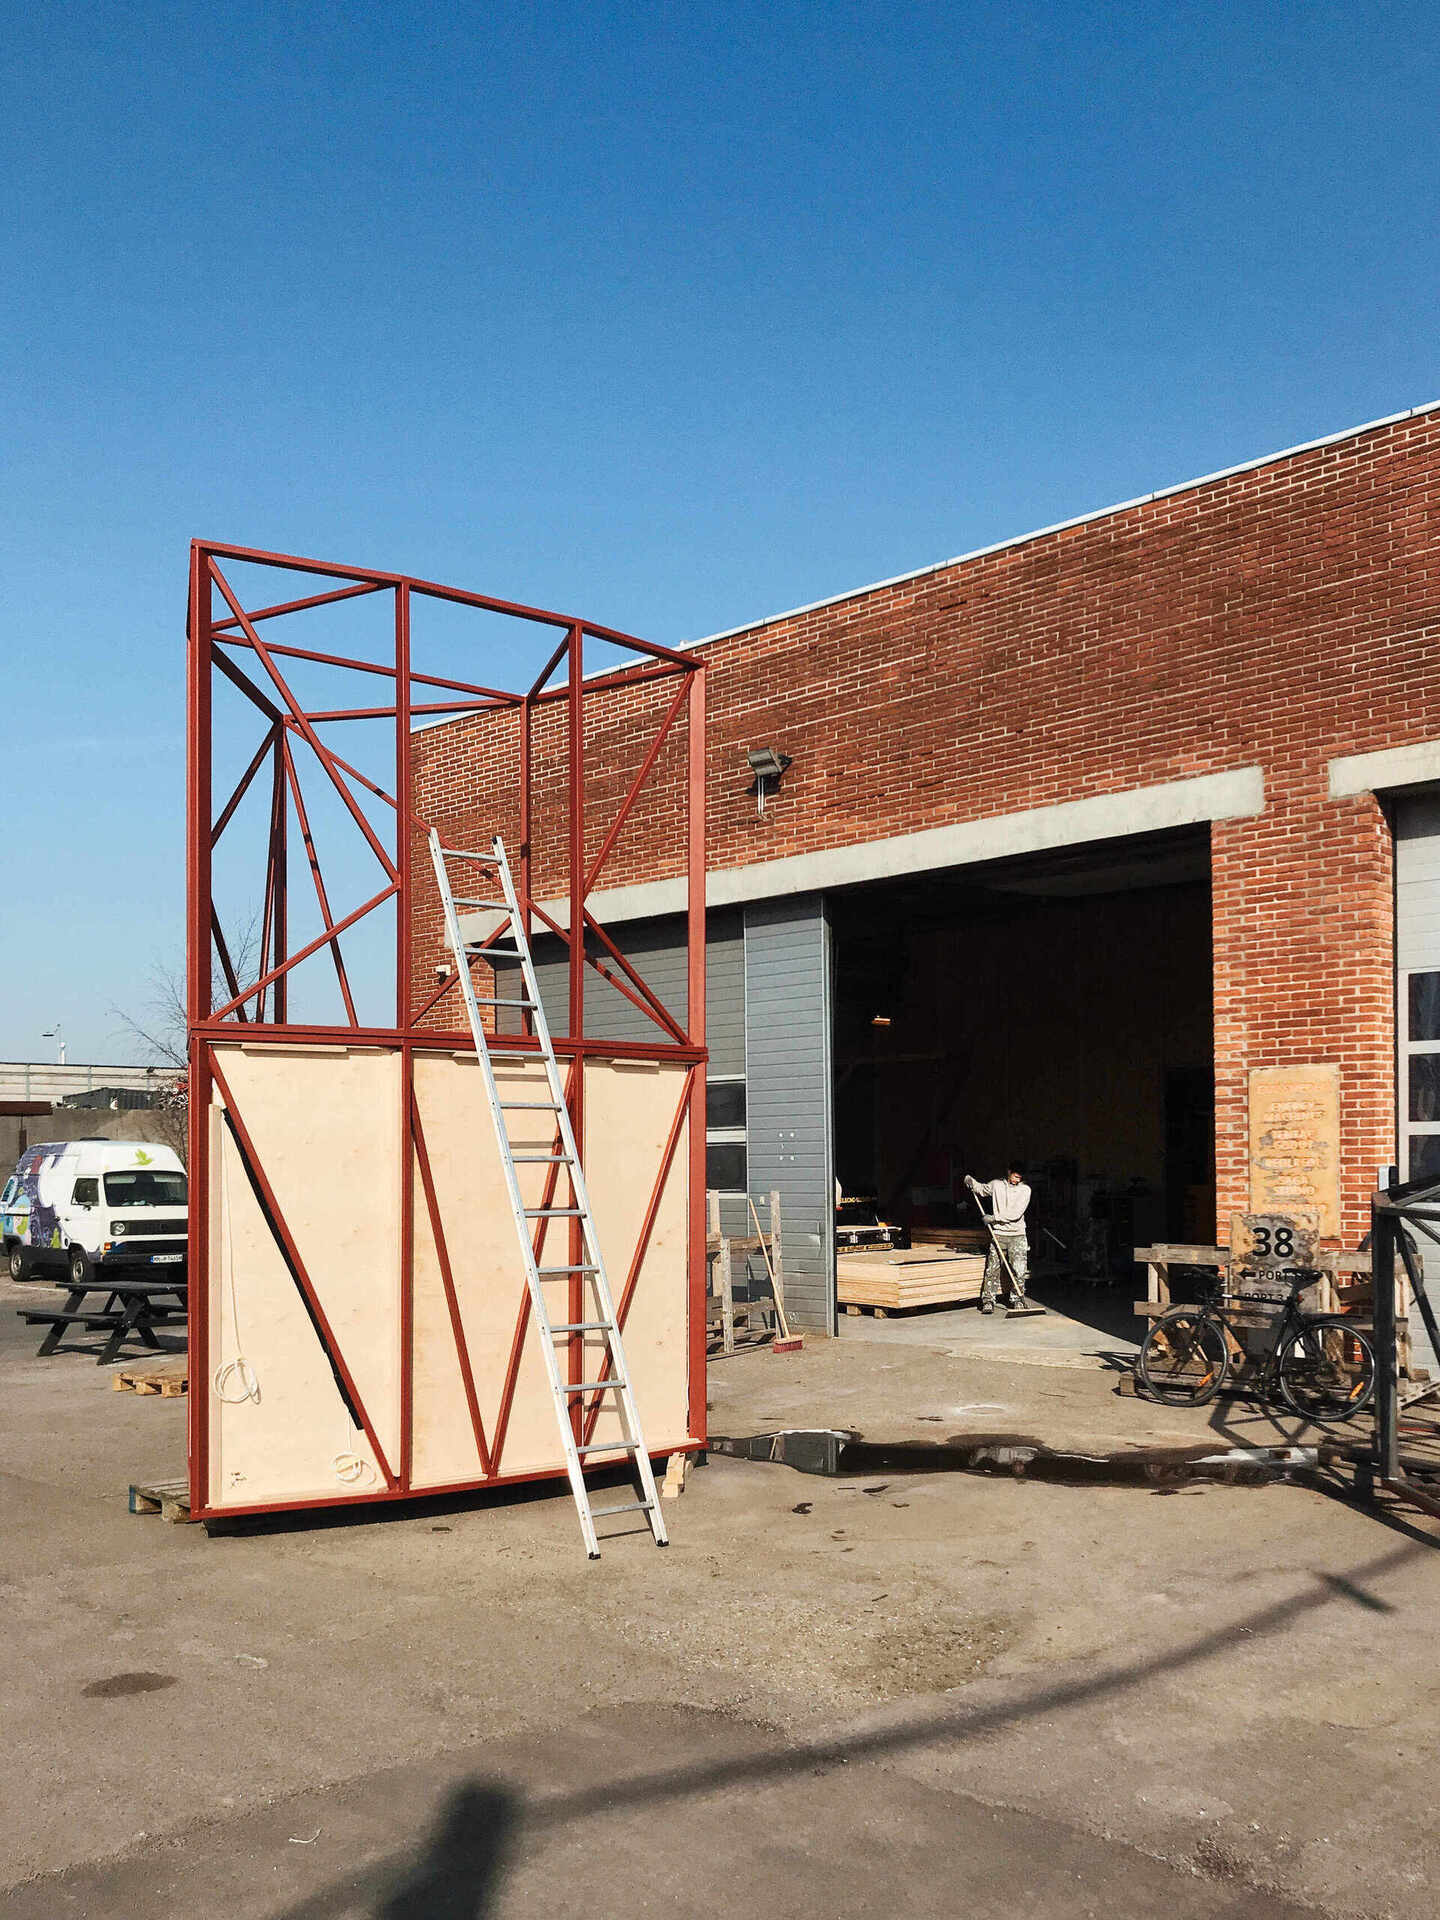
4
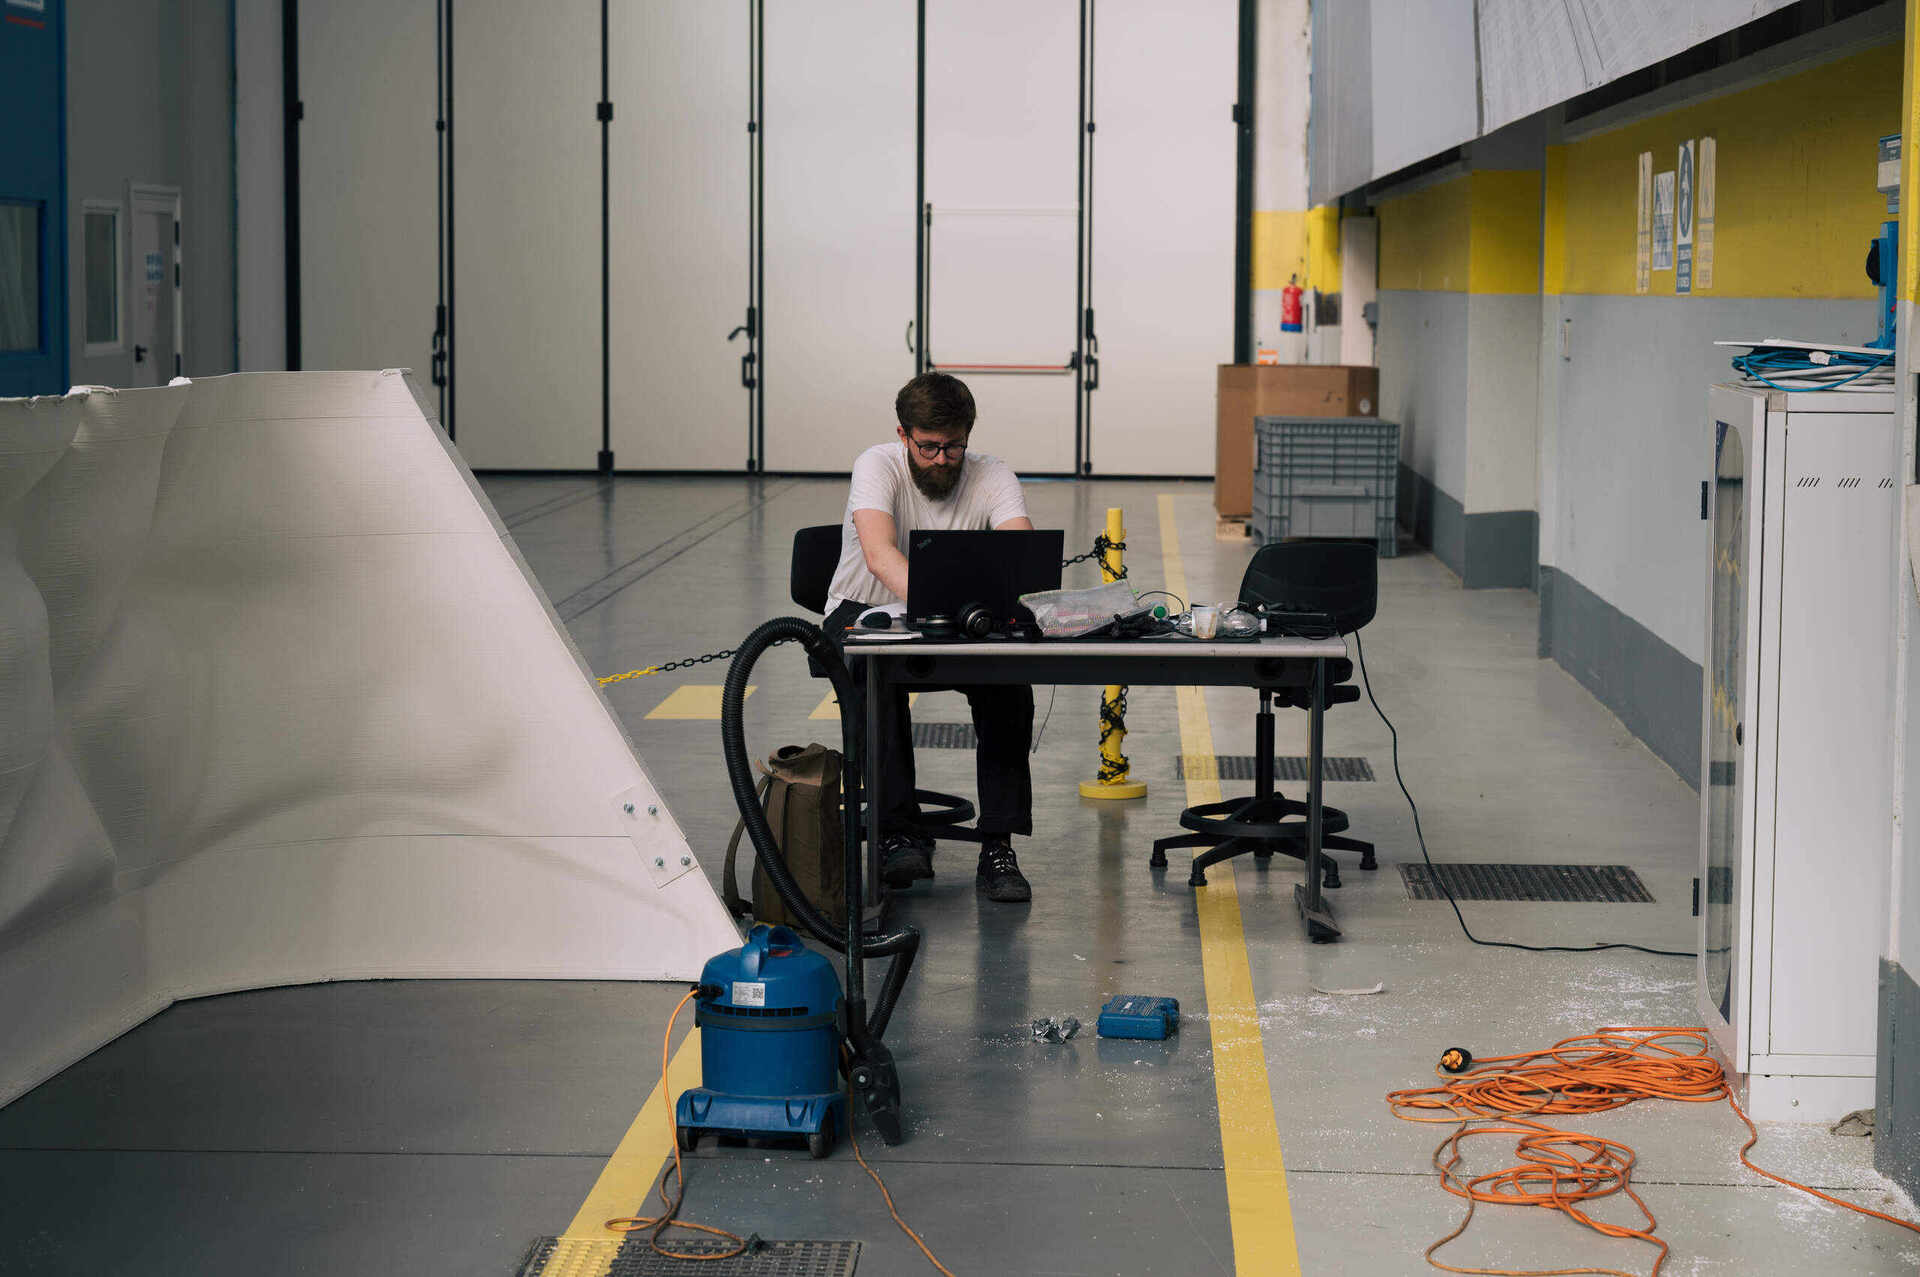
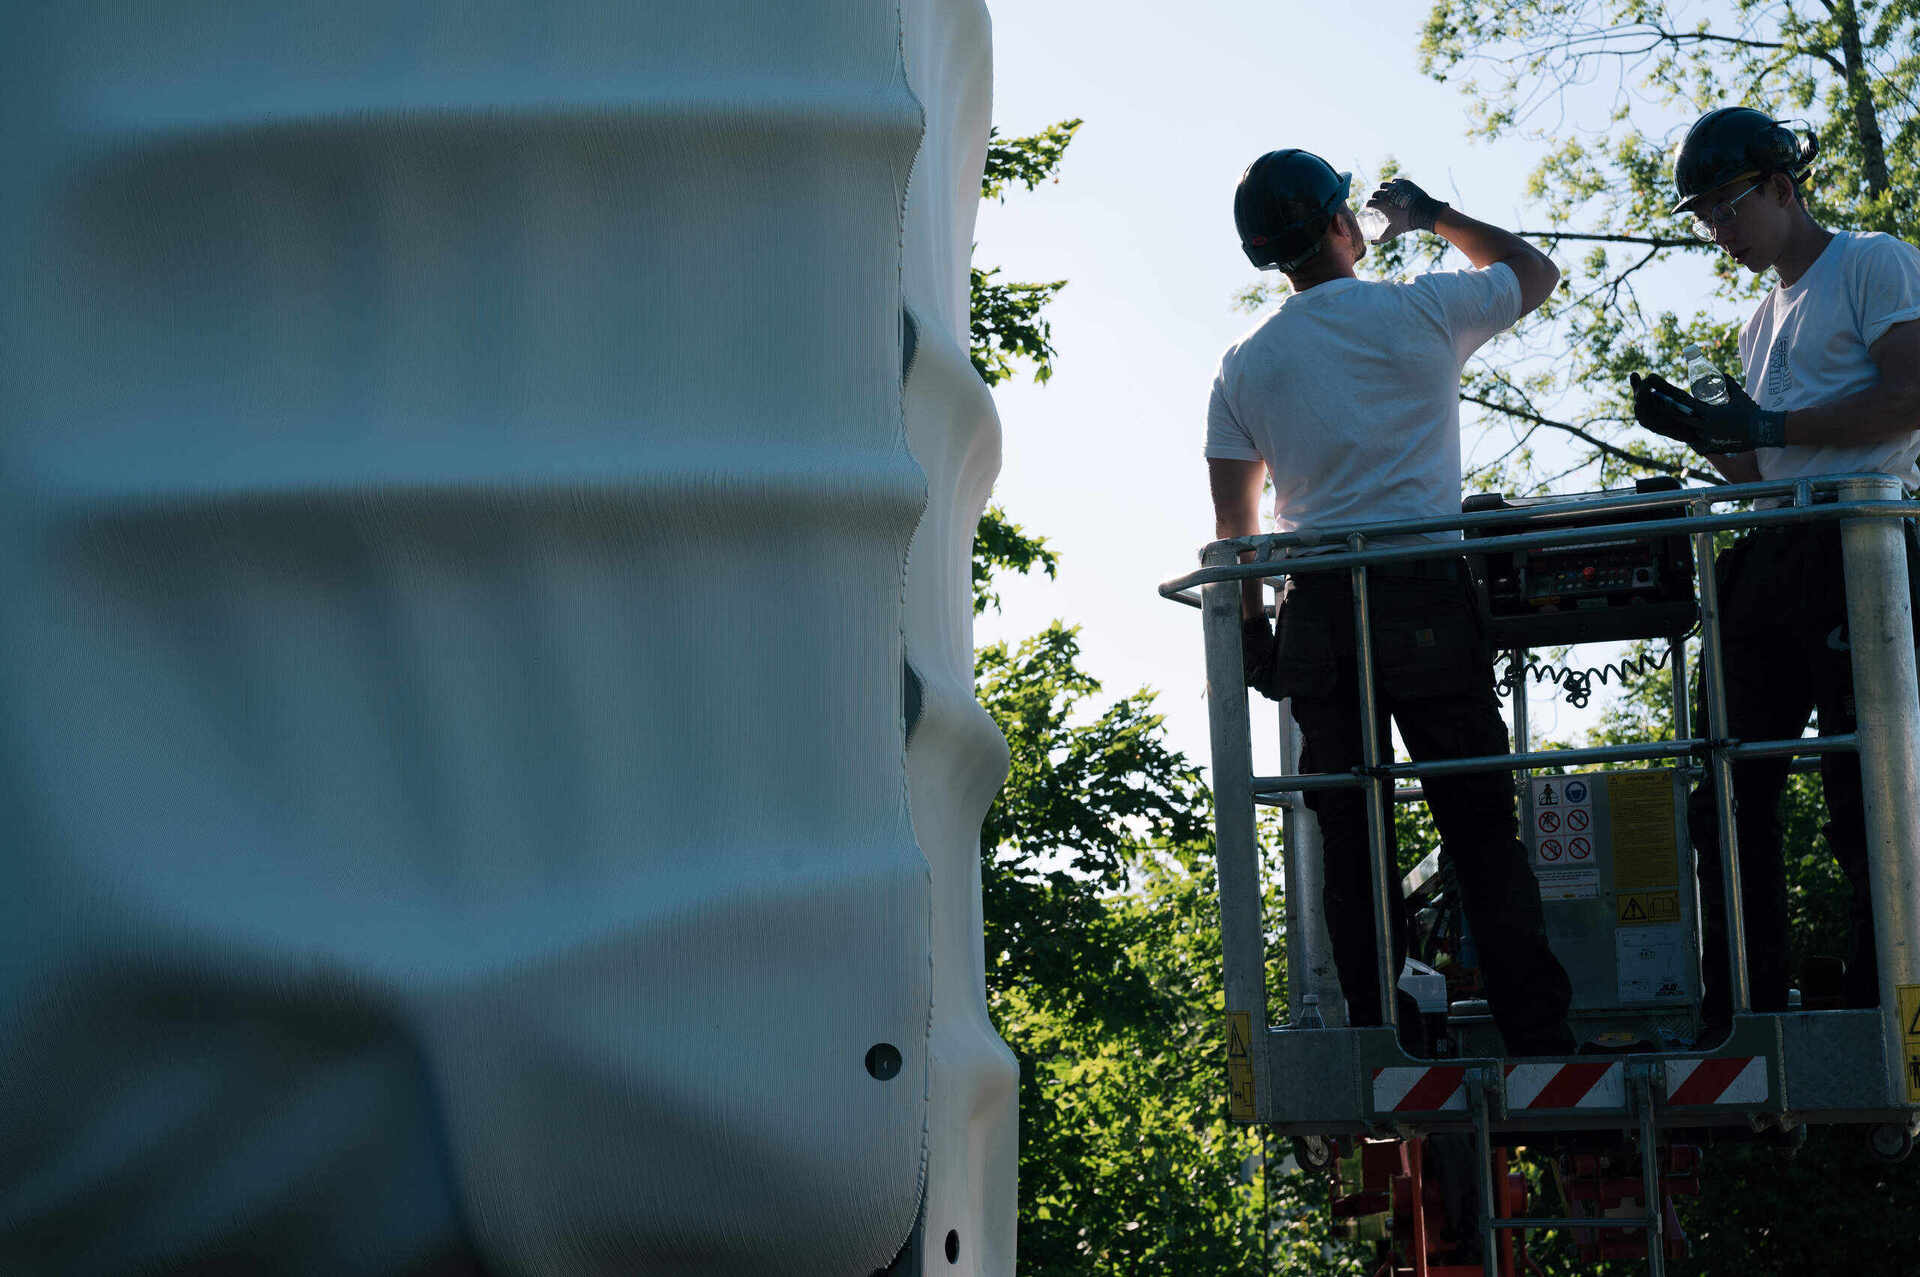
While building the interior, our exterior shell was printed by Ingersoll in Milano, Italy on one of the largest 3D printers in the world. People from our team visited several times throughout to do quality assurance and prep the panels.
5
When the modules were finished, insulation provided by Armacell was added to the exterior and they were prepared for shipping to Switzerland.
6
The panels were loaded onto the largest truck we could find, exactly fitting all modules and the base feet.
7
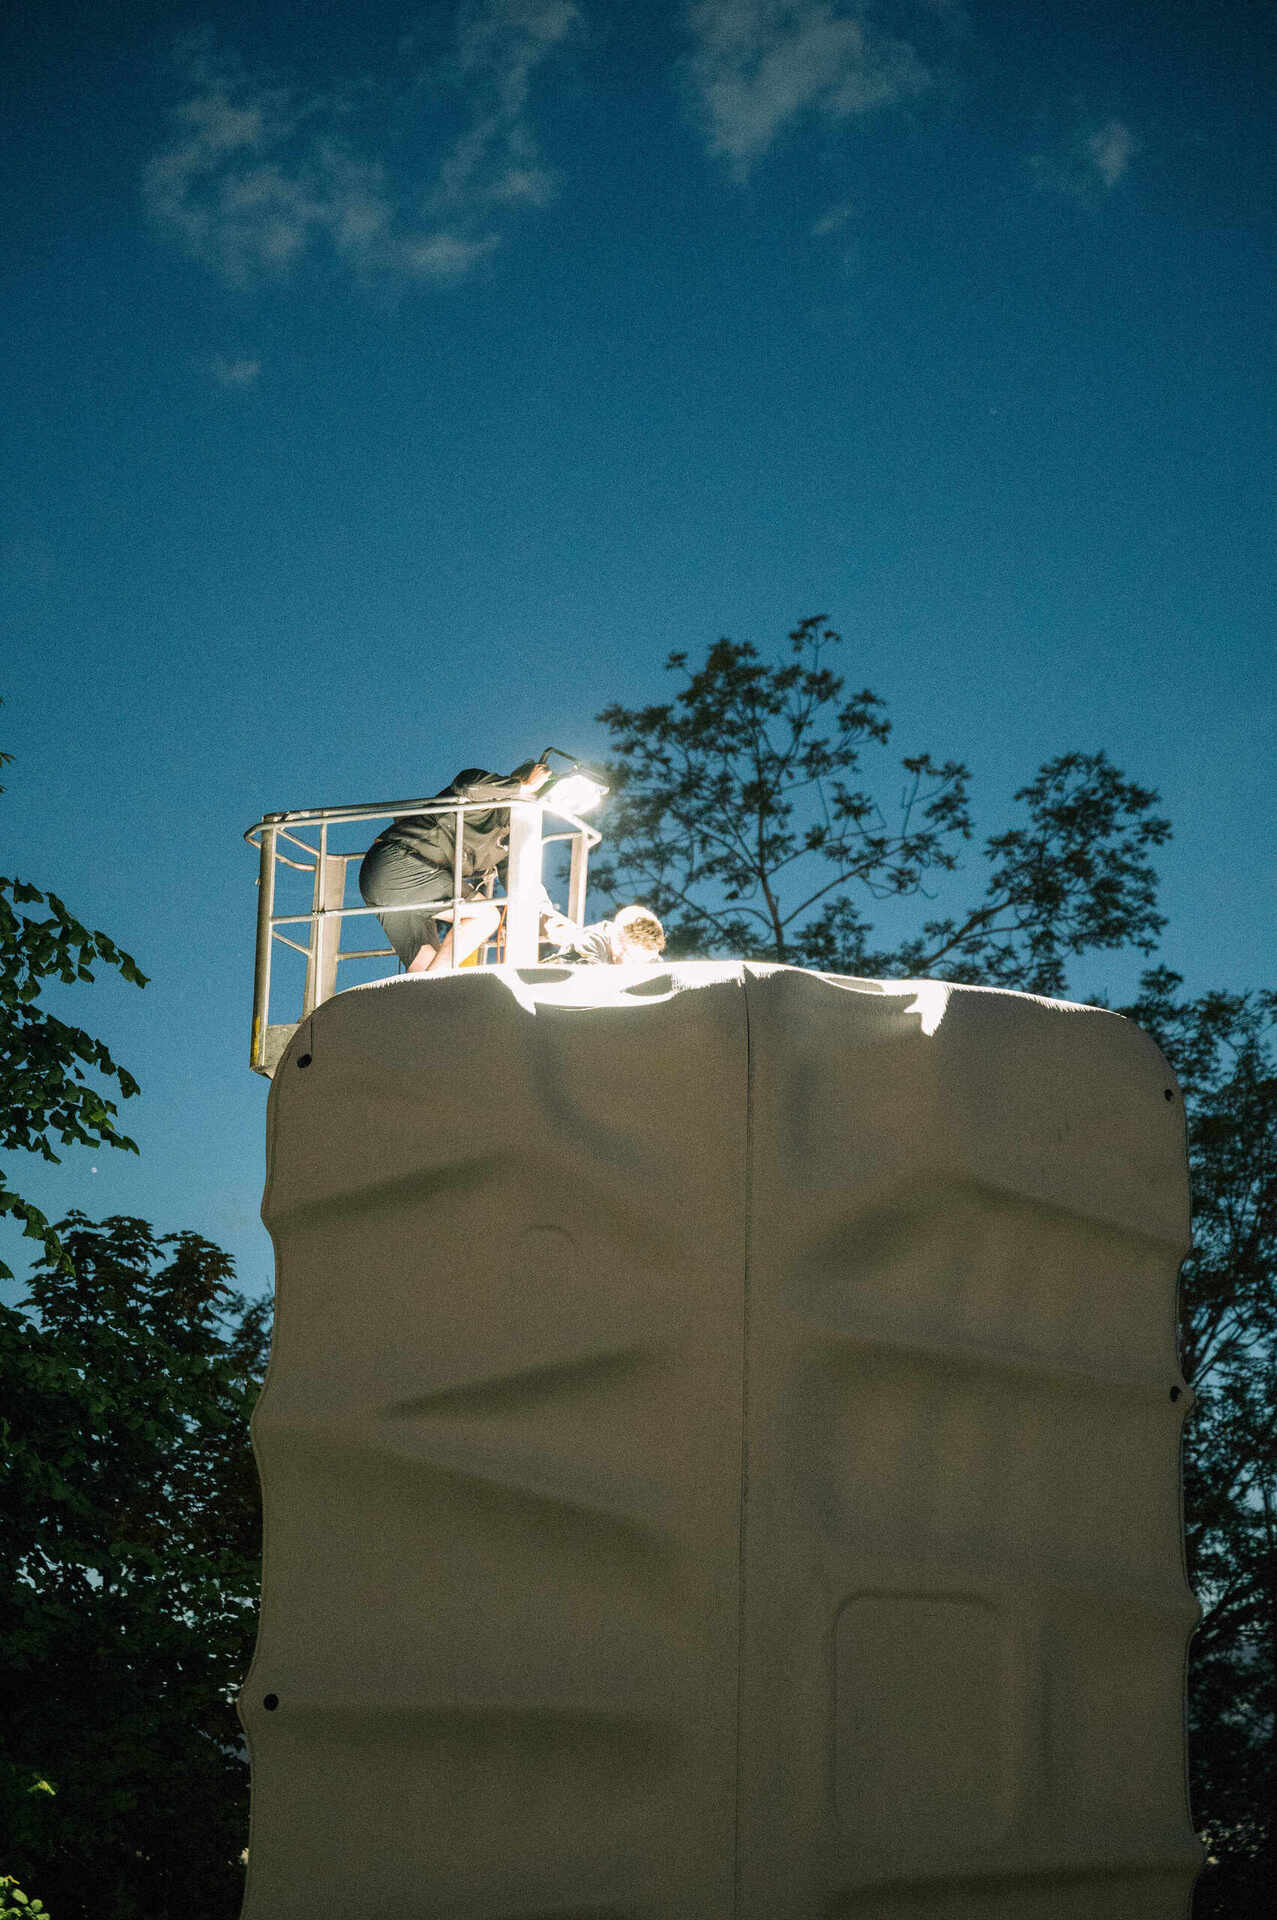
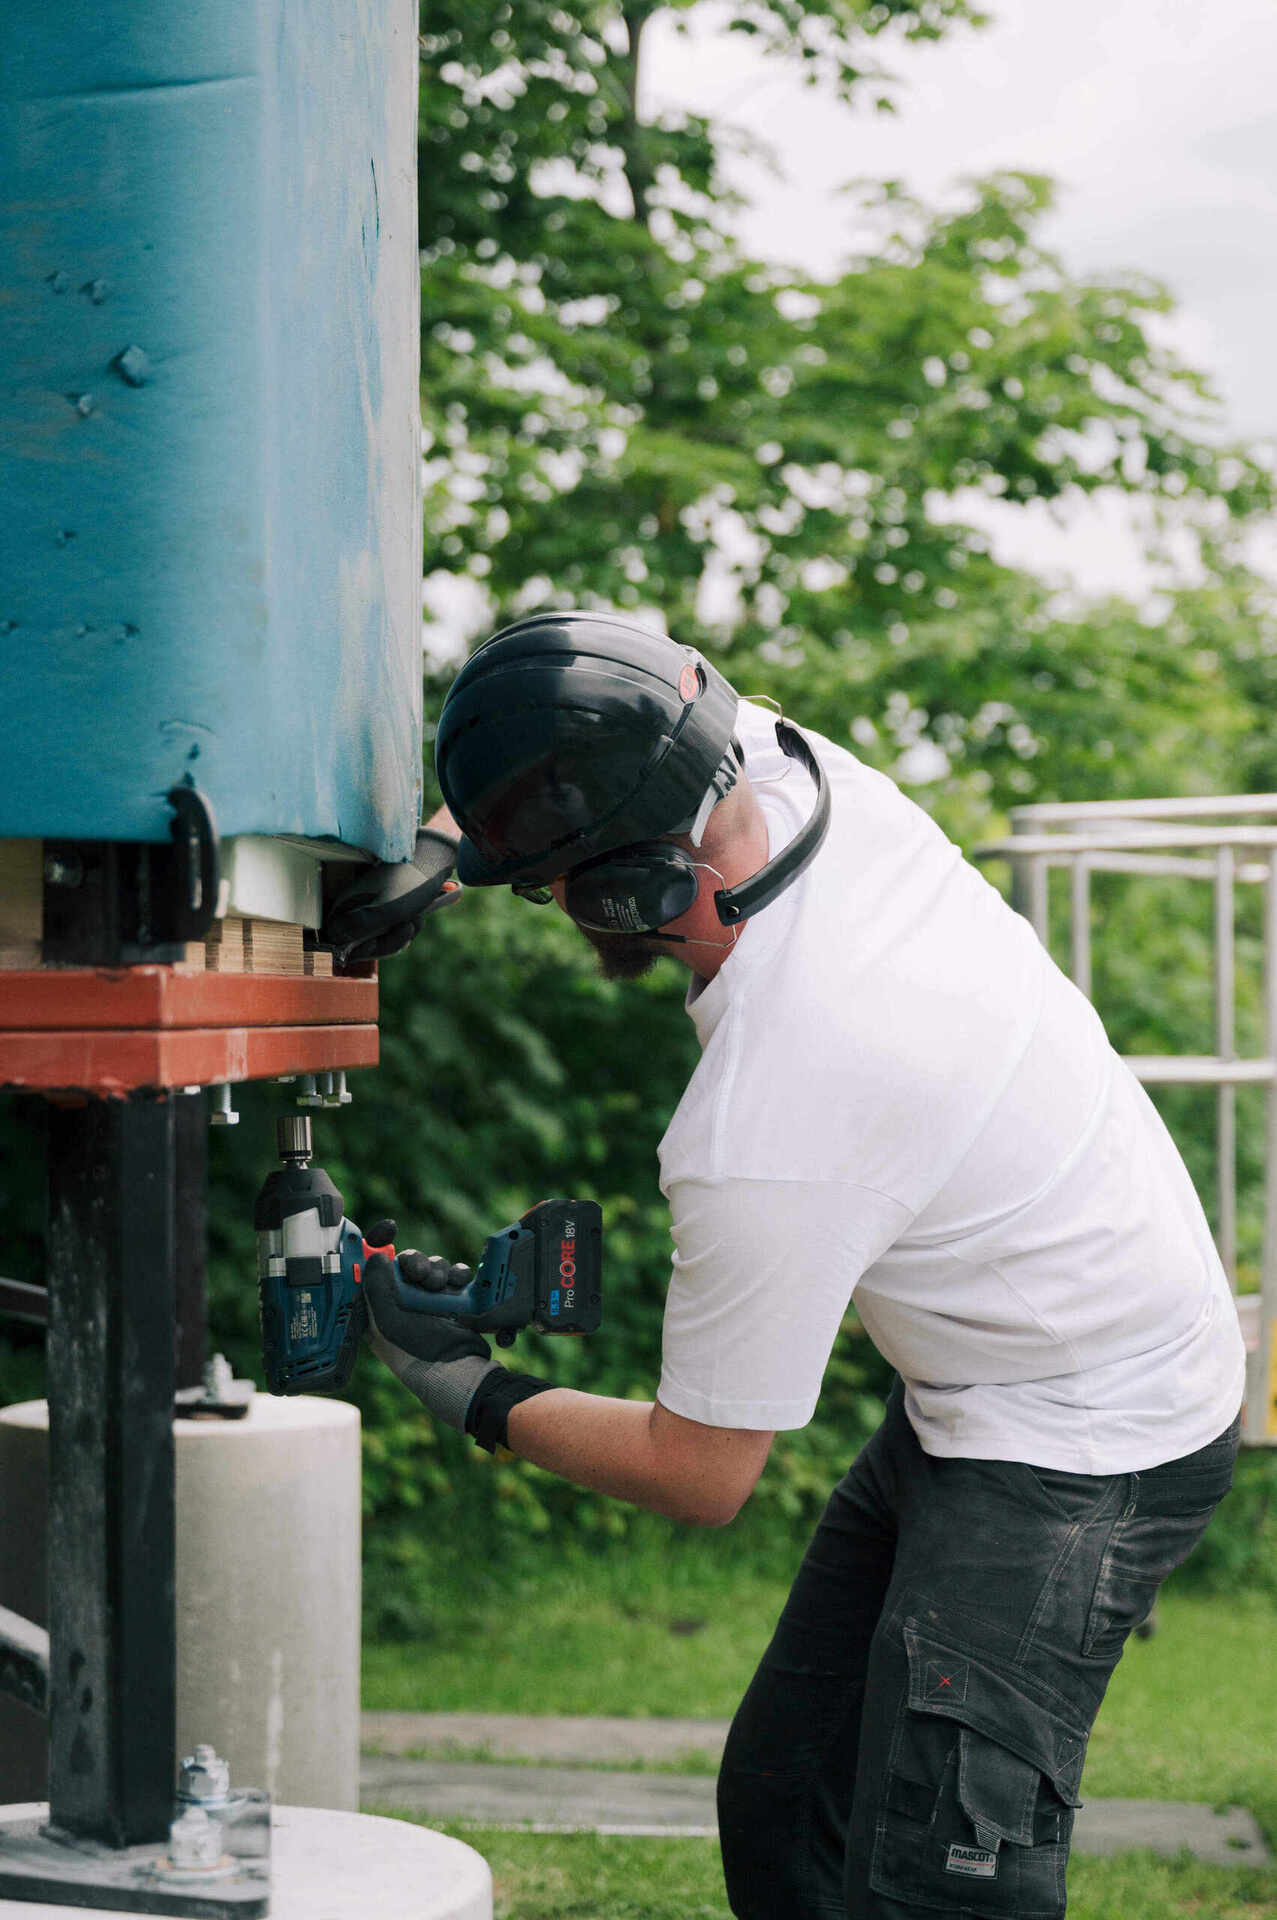
Finally, the modules were stacked on-site in Switzerland, and bolted together through pre-drilled holes.
8
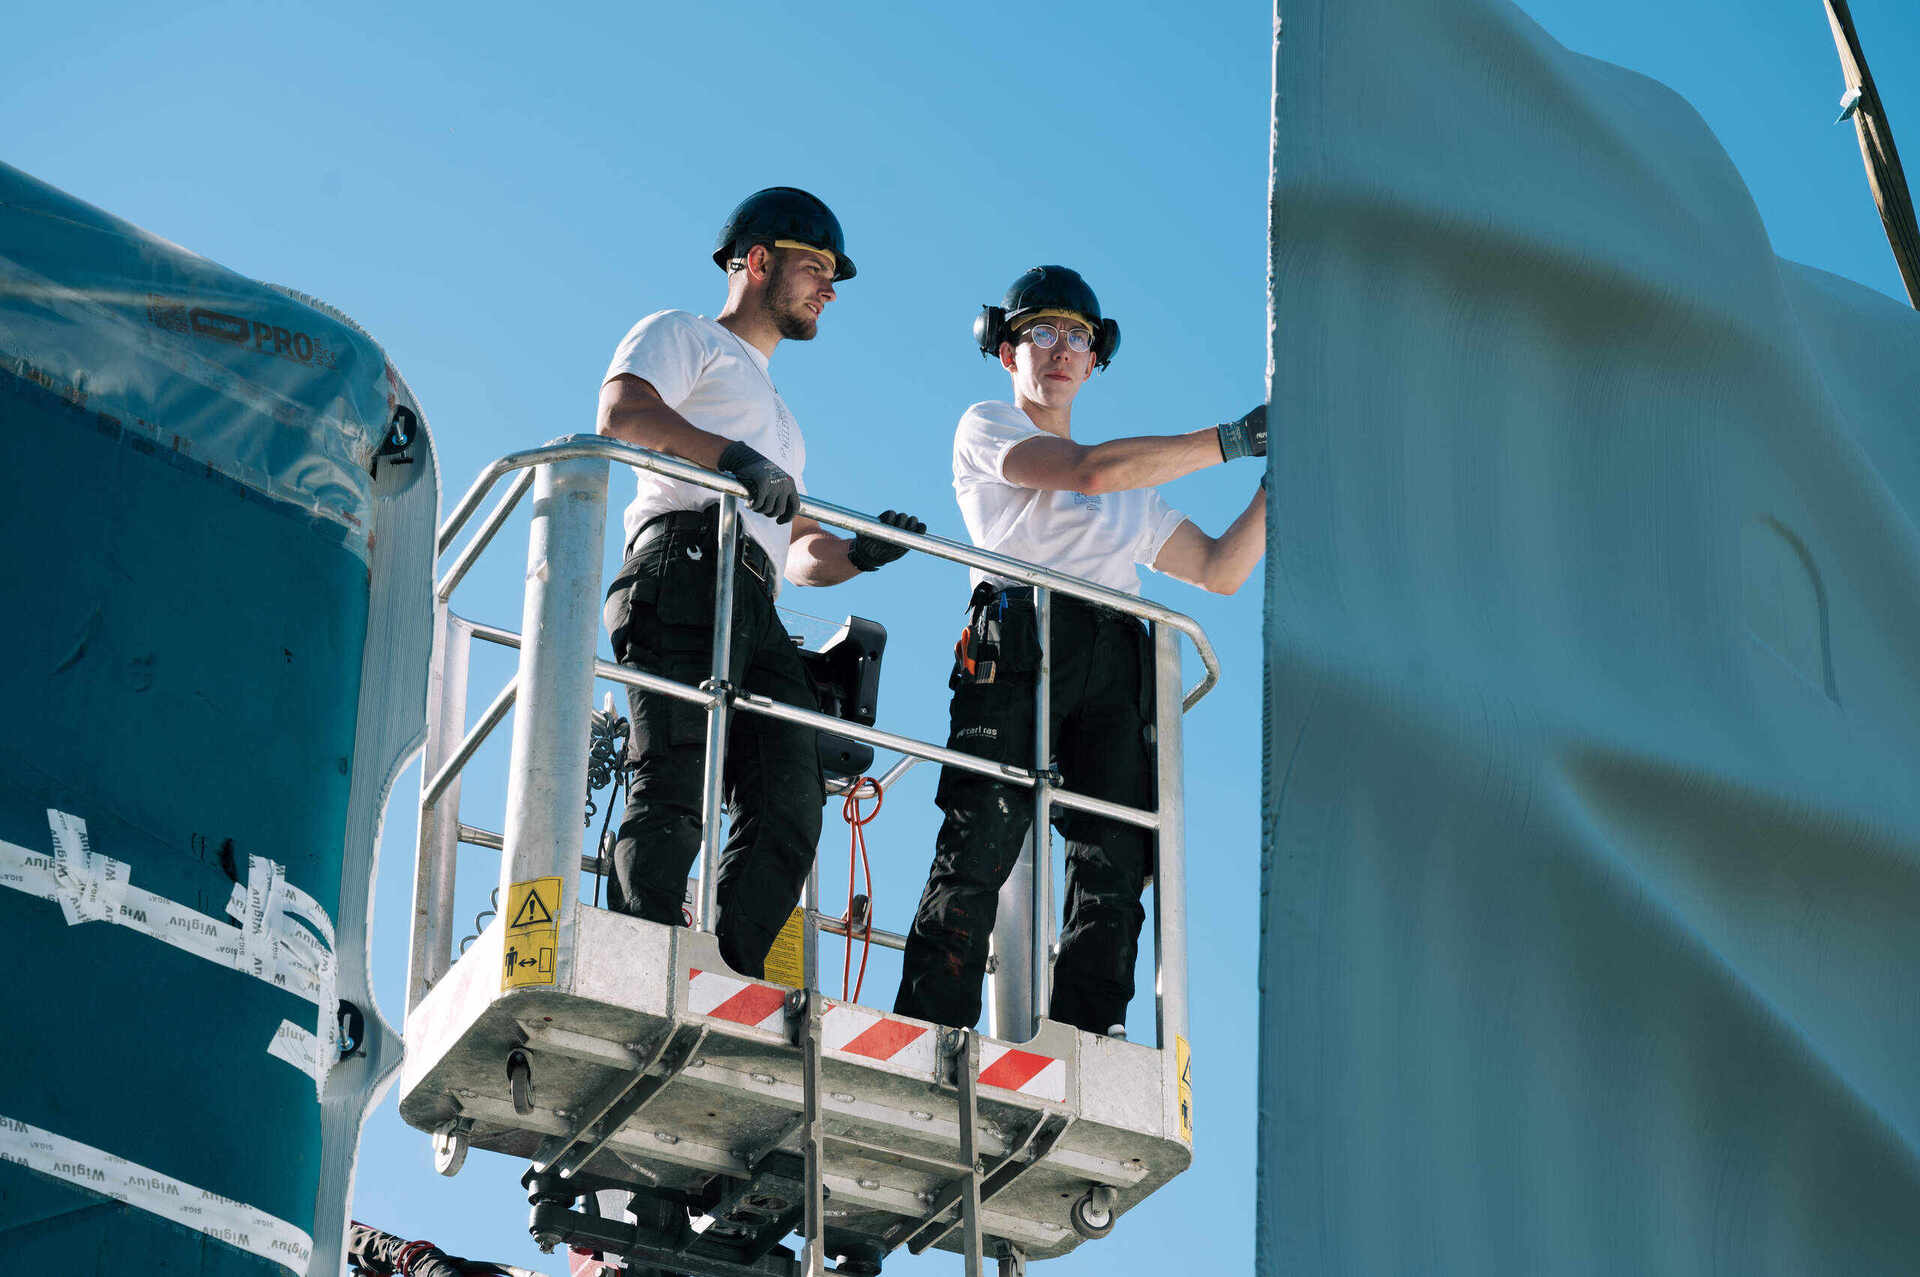
The last step, was fitting the 3D-printed panels onto the fully stacked habitat.
9
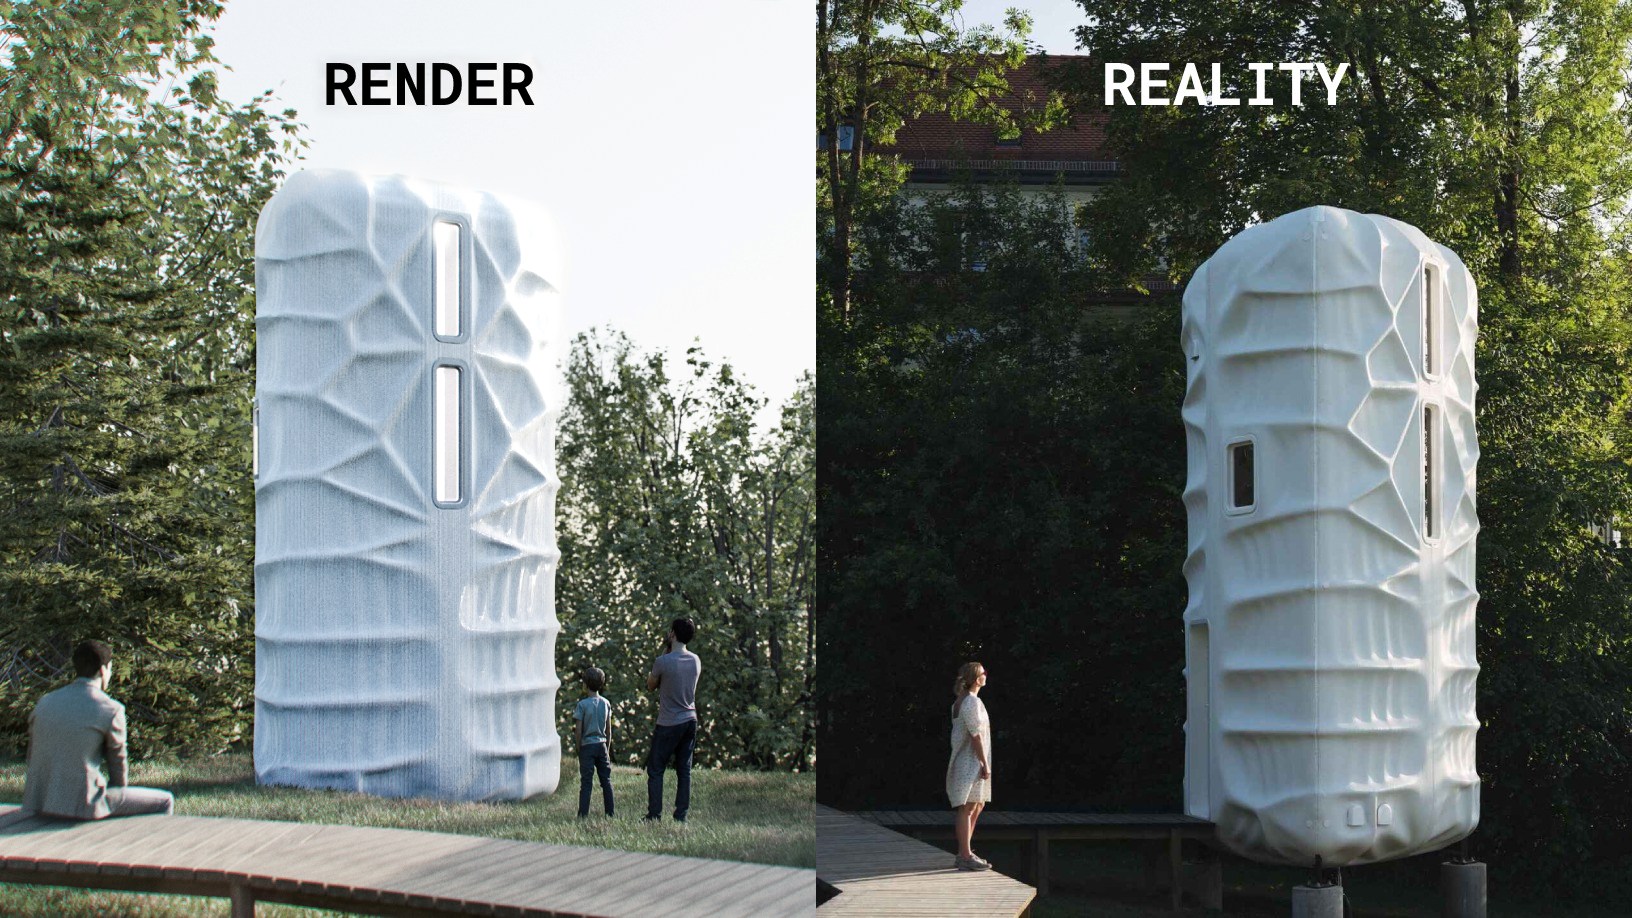
All done! We are quite pleased when comparing the habitat to our early renderings.
More photos of the process